Commodore CDTV
- For emulators, see Amiga emulators#Commodore CDTV.

| |

| |
| Manufacturer | Commodore International |
|---|---|
| Generation | Fourth generation |
| Release date | April 1991 |
| Media type | CD-ROM |
| Predecessor | Commodore 64 |
| Successor | Amiga CD32 |
The CDTV (from Commodore Dynamic Total Vision, later treated as a backronym for Compact Disc Television) is a home multimedia entertainment and video game console – convertible into a full-fledged personal computer by the addition of optional peripherals – developed by Commodore International and launched in April 1991.
The CDTV was based on the same technology as earlier Amiga systems, essentially an Amiga 500, but featured a single-speed CD-ROM drive and no floppy disk drive as standard. Commodore marketed the machine as an all-in-one multimedia appliance. As such, it targeted the same market as the Philips CD-i. The expected market for multimedia appliances did not materialize, and neither machine met with any real commercial success.
Technical specifications
[edit | edit source]| Attribute | Specification |
|---|---|
| CPU | Motorola 68000 at 7.16 MHz (NTSC) or 7.09 MHz (PAL) |
| RAM | 1 MB Amiga Chip RAM (upgradable) 2 KB non-volatile RAM |
| ROM | 256 KB Kickstart ROM 256 KB CDTV firmware ROM |
| Chipset | Original Chip Set (OCS) Enhanced Chip Set (ECS) |
| Video | 12-bit color palette (4096 colors) Graphics modes with up to 32, 64 (Amiga Halfbrite mode mode), or 4096 (Hold-and-Modify mode) on-screen colors:
Graphics modes with up to 16 on-screen colors:
|
| Audio | Four 8-bit PCM channels (two stereo channels) 28 kHz maximum Direct memory access sampling rate |
| Removable storage | Single-speed CD-ROM drive (proprietary controller) |
| Input/output ports | Keyboard (5 pin mini-DIN) Mouse (4 pin mini-DIN) RS-232 serial port (DB-25M) Centronics-style parallel port (DB-25F) Floppy disk drive port (DB-23F) MIDI (in and out) |
| Audio/Video output | Audio out (Two RCA and 6.35 mm stereo phone jack) Analog RGB video out (DB-23M) RF audio/video out (RCA or RF loop through) Composite video out (RCA) S-Video out (4-pin mini-DIN) SCART audio/video out |
| Expansion slots | Proprietary card slot by ITT-Cannon and Fujisoku for 8 KB to 1024 KB non-volatile memory cards (1 MB addressing needs a hardware hack) 80-pin diagnostic slot 30-pin DMA expansion slot Video slot |
| Operating system | AmigaOS 1.3 (Kickstart 1.3/Workbench 1.3) CDTV firmware |
| Physical dimensions | 430 × 330 × 95 mm (width × depth × height) |
| Other | Wireless infrared gamepad (40 kHz) Front panel with display and controls for CD player |
Hardware
[edit | edit source]CDTV Player (CD1000)
[edit | edit source]

The CD1000 (or CD-1000 as it is printed on the bottom of the actual unit) is the model number of the CDTV player main unit. The CD1000 model is the same worldwide. The power supply accepts both 110V and 220V AC, while the video output can easily be switched between NTSC and PAL by swapping the video module at the back of the player (although additional jumper pads on the motherboard might need to be (un)shorted to switch between the two). A SCART video module (CD1321) and genlock video module (CD1300/1301) were available as well.
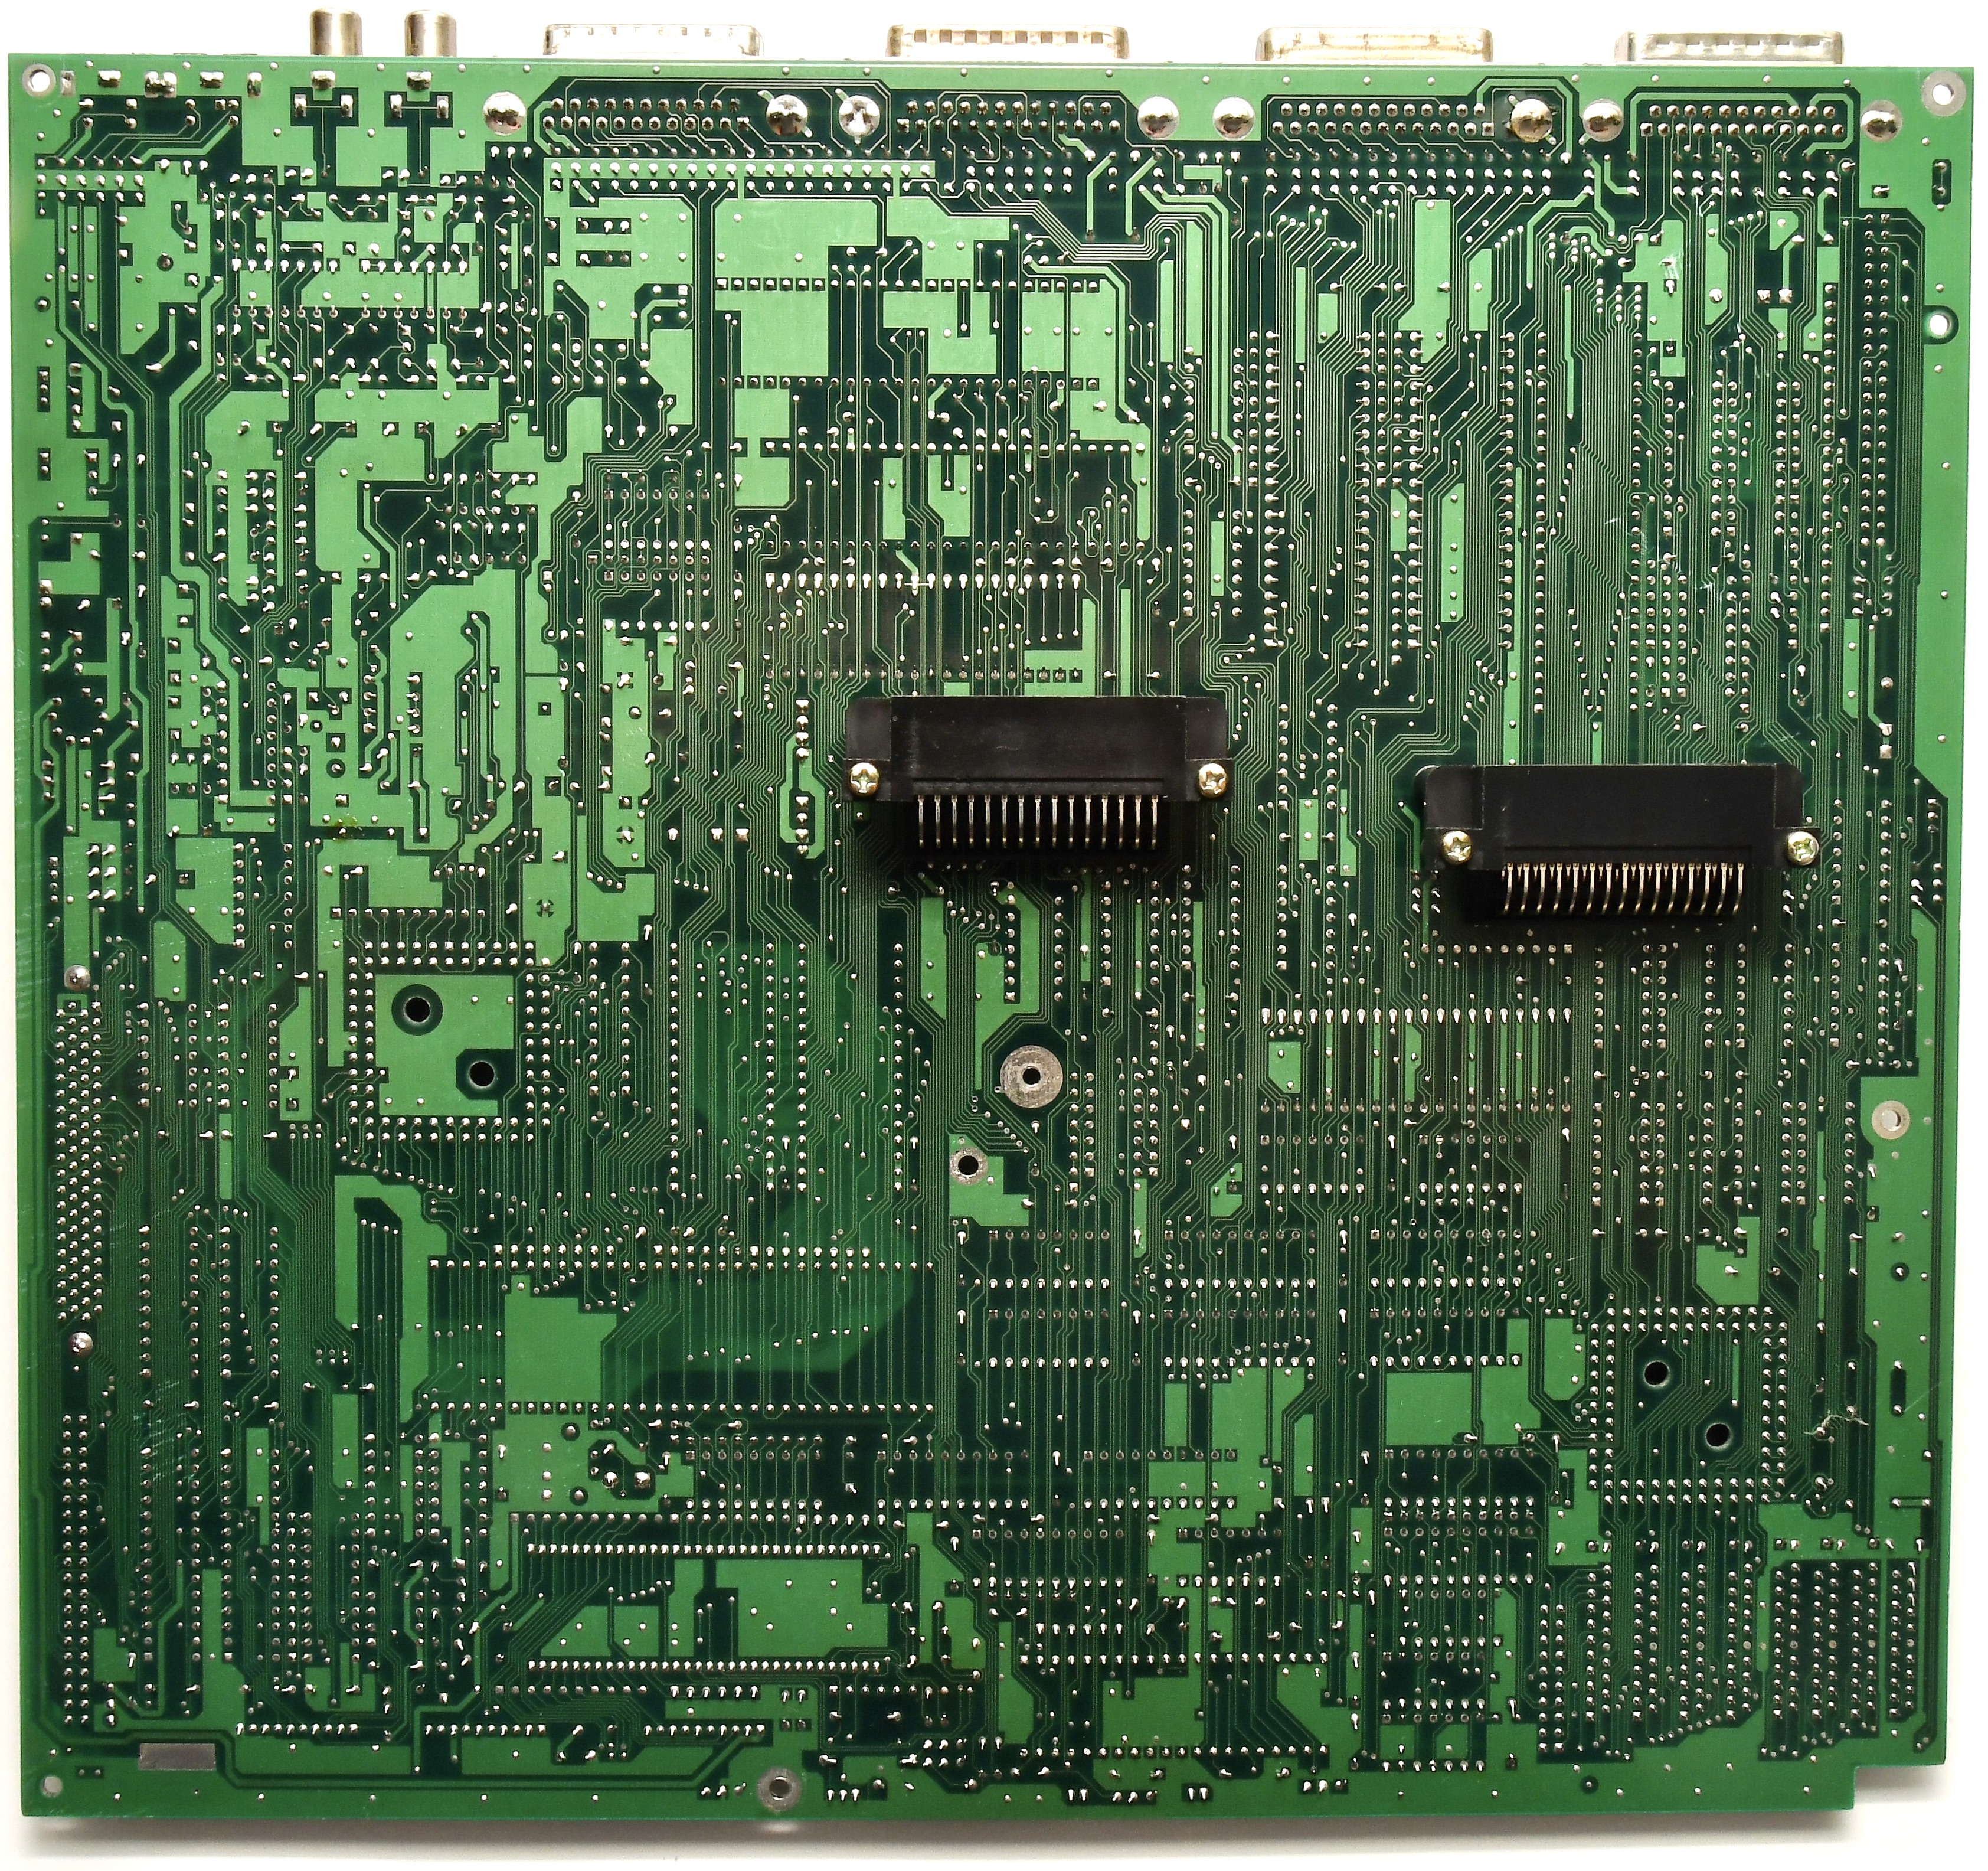
Motherboard
[edit | edit source]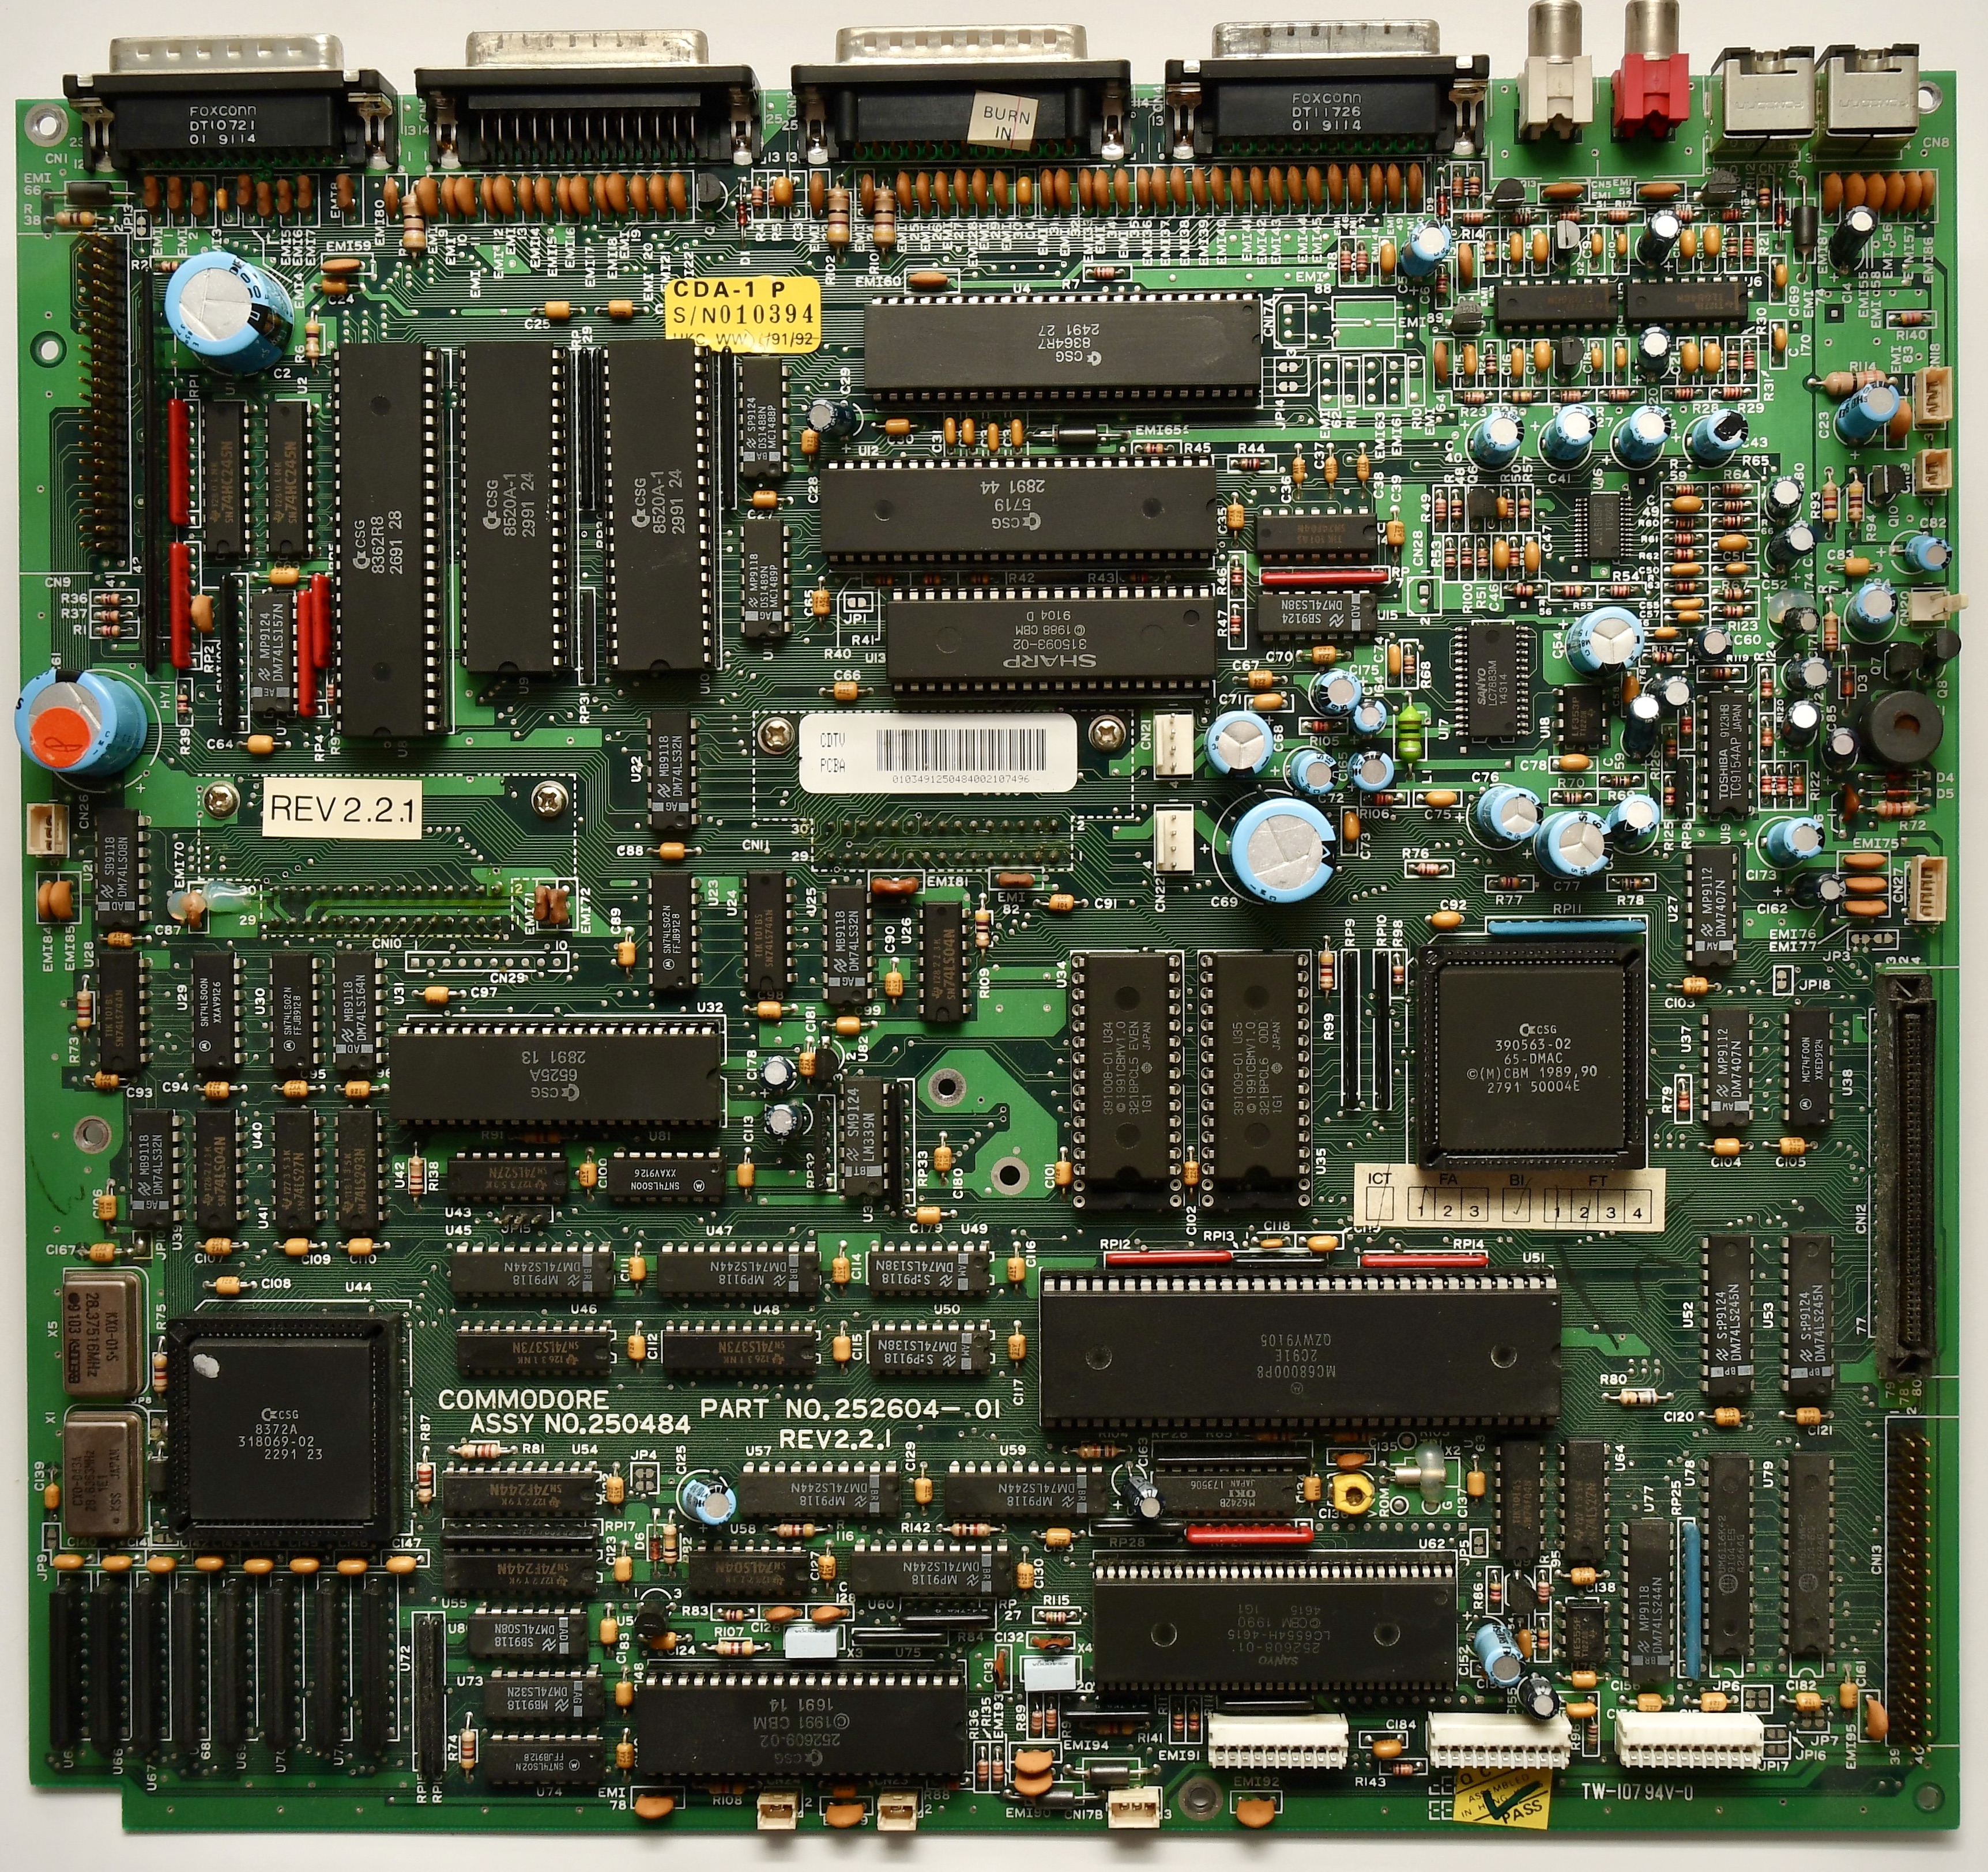
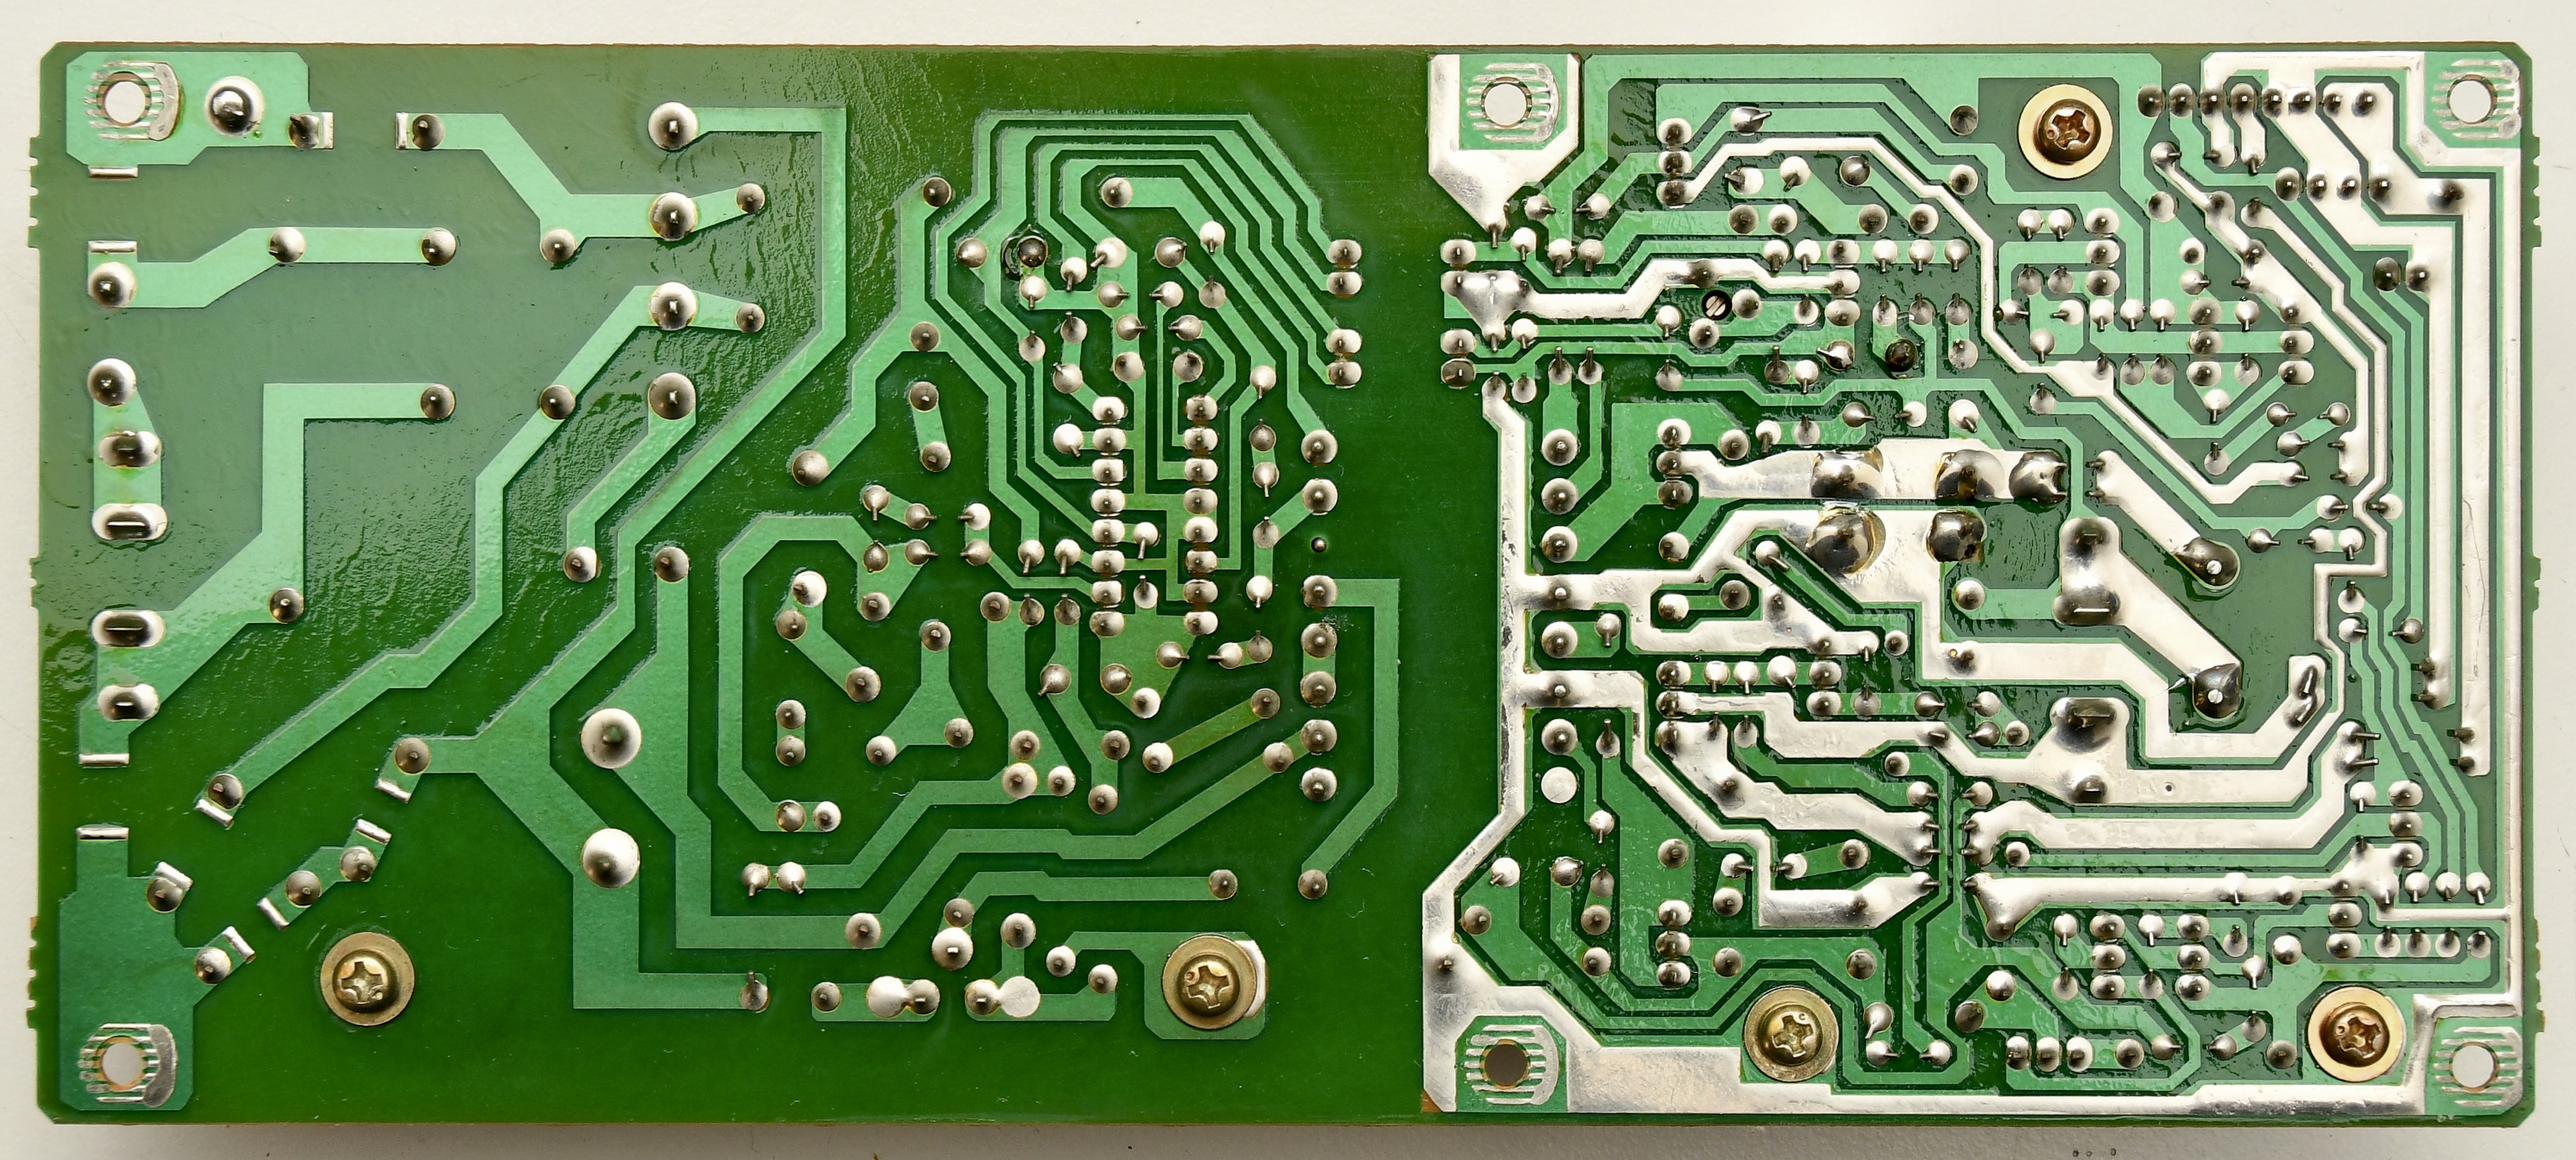
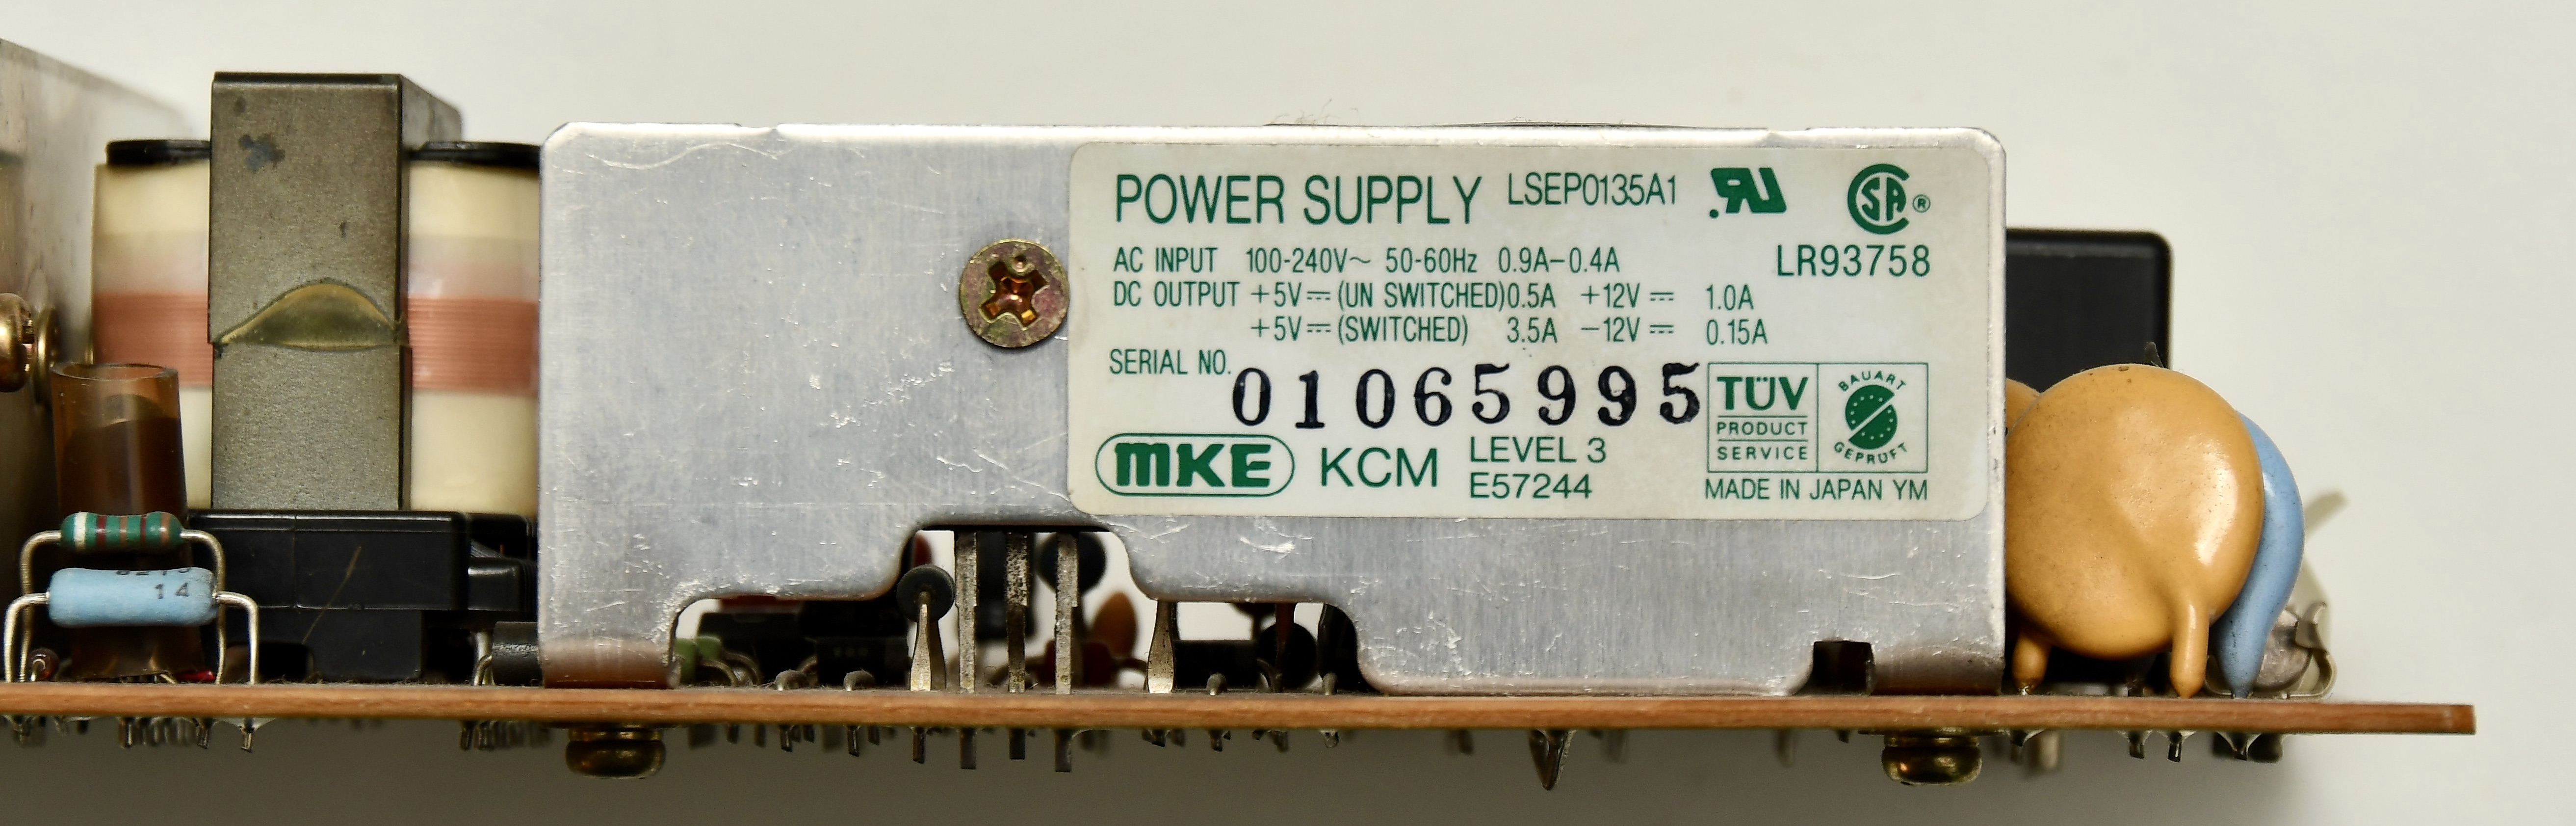
Power Supply
[edit | edit source]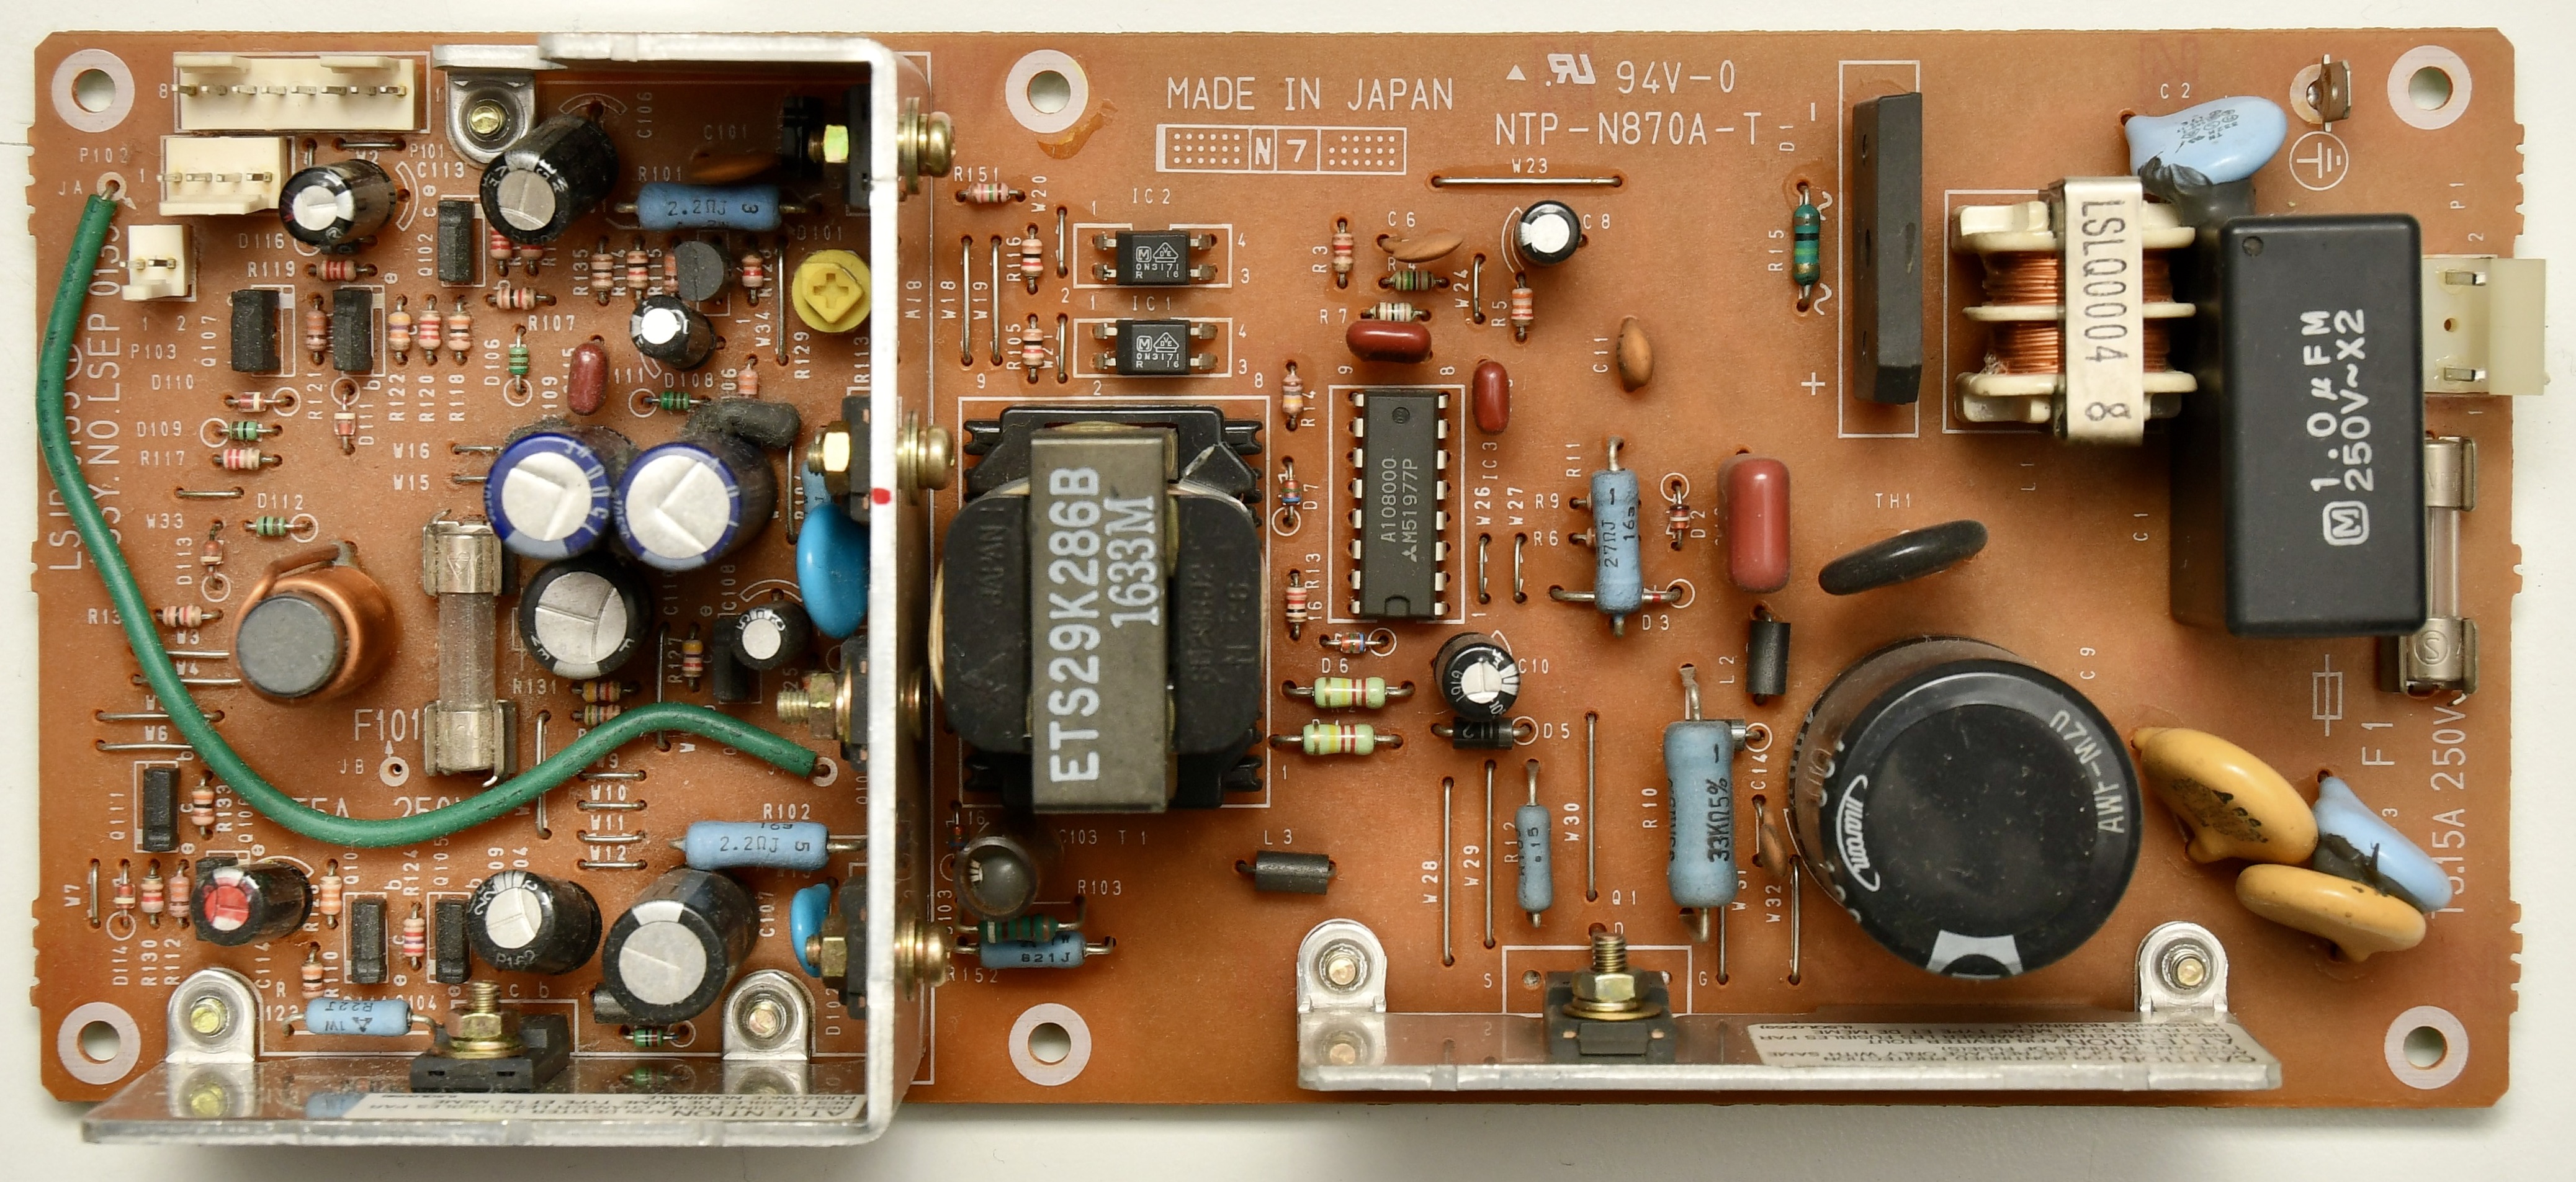
CD-ROM Drive
[edit | edit source]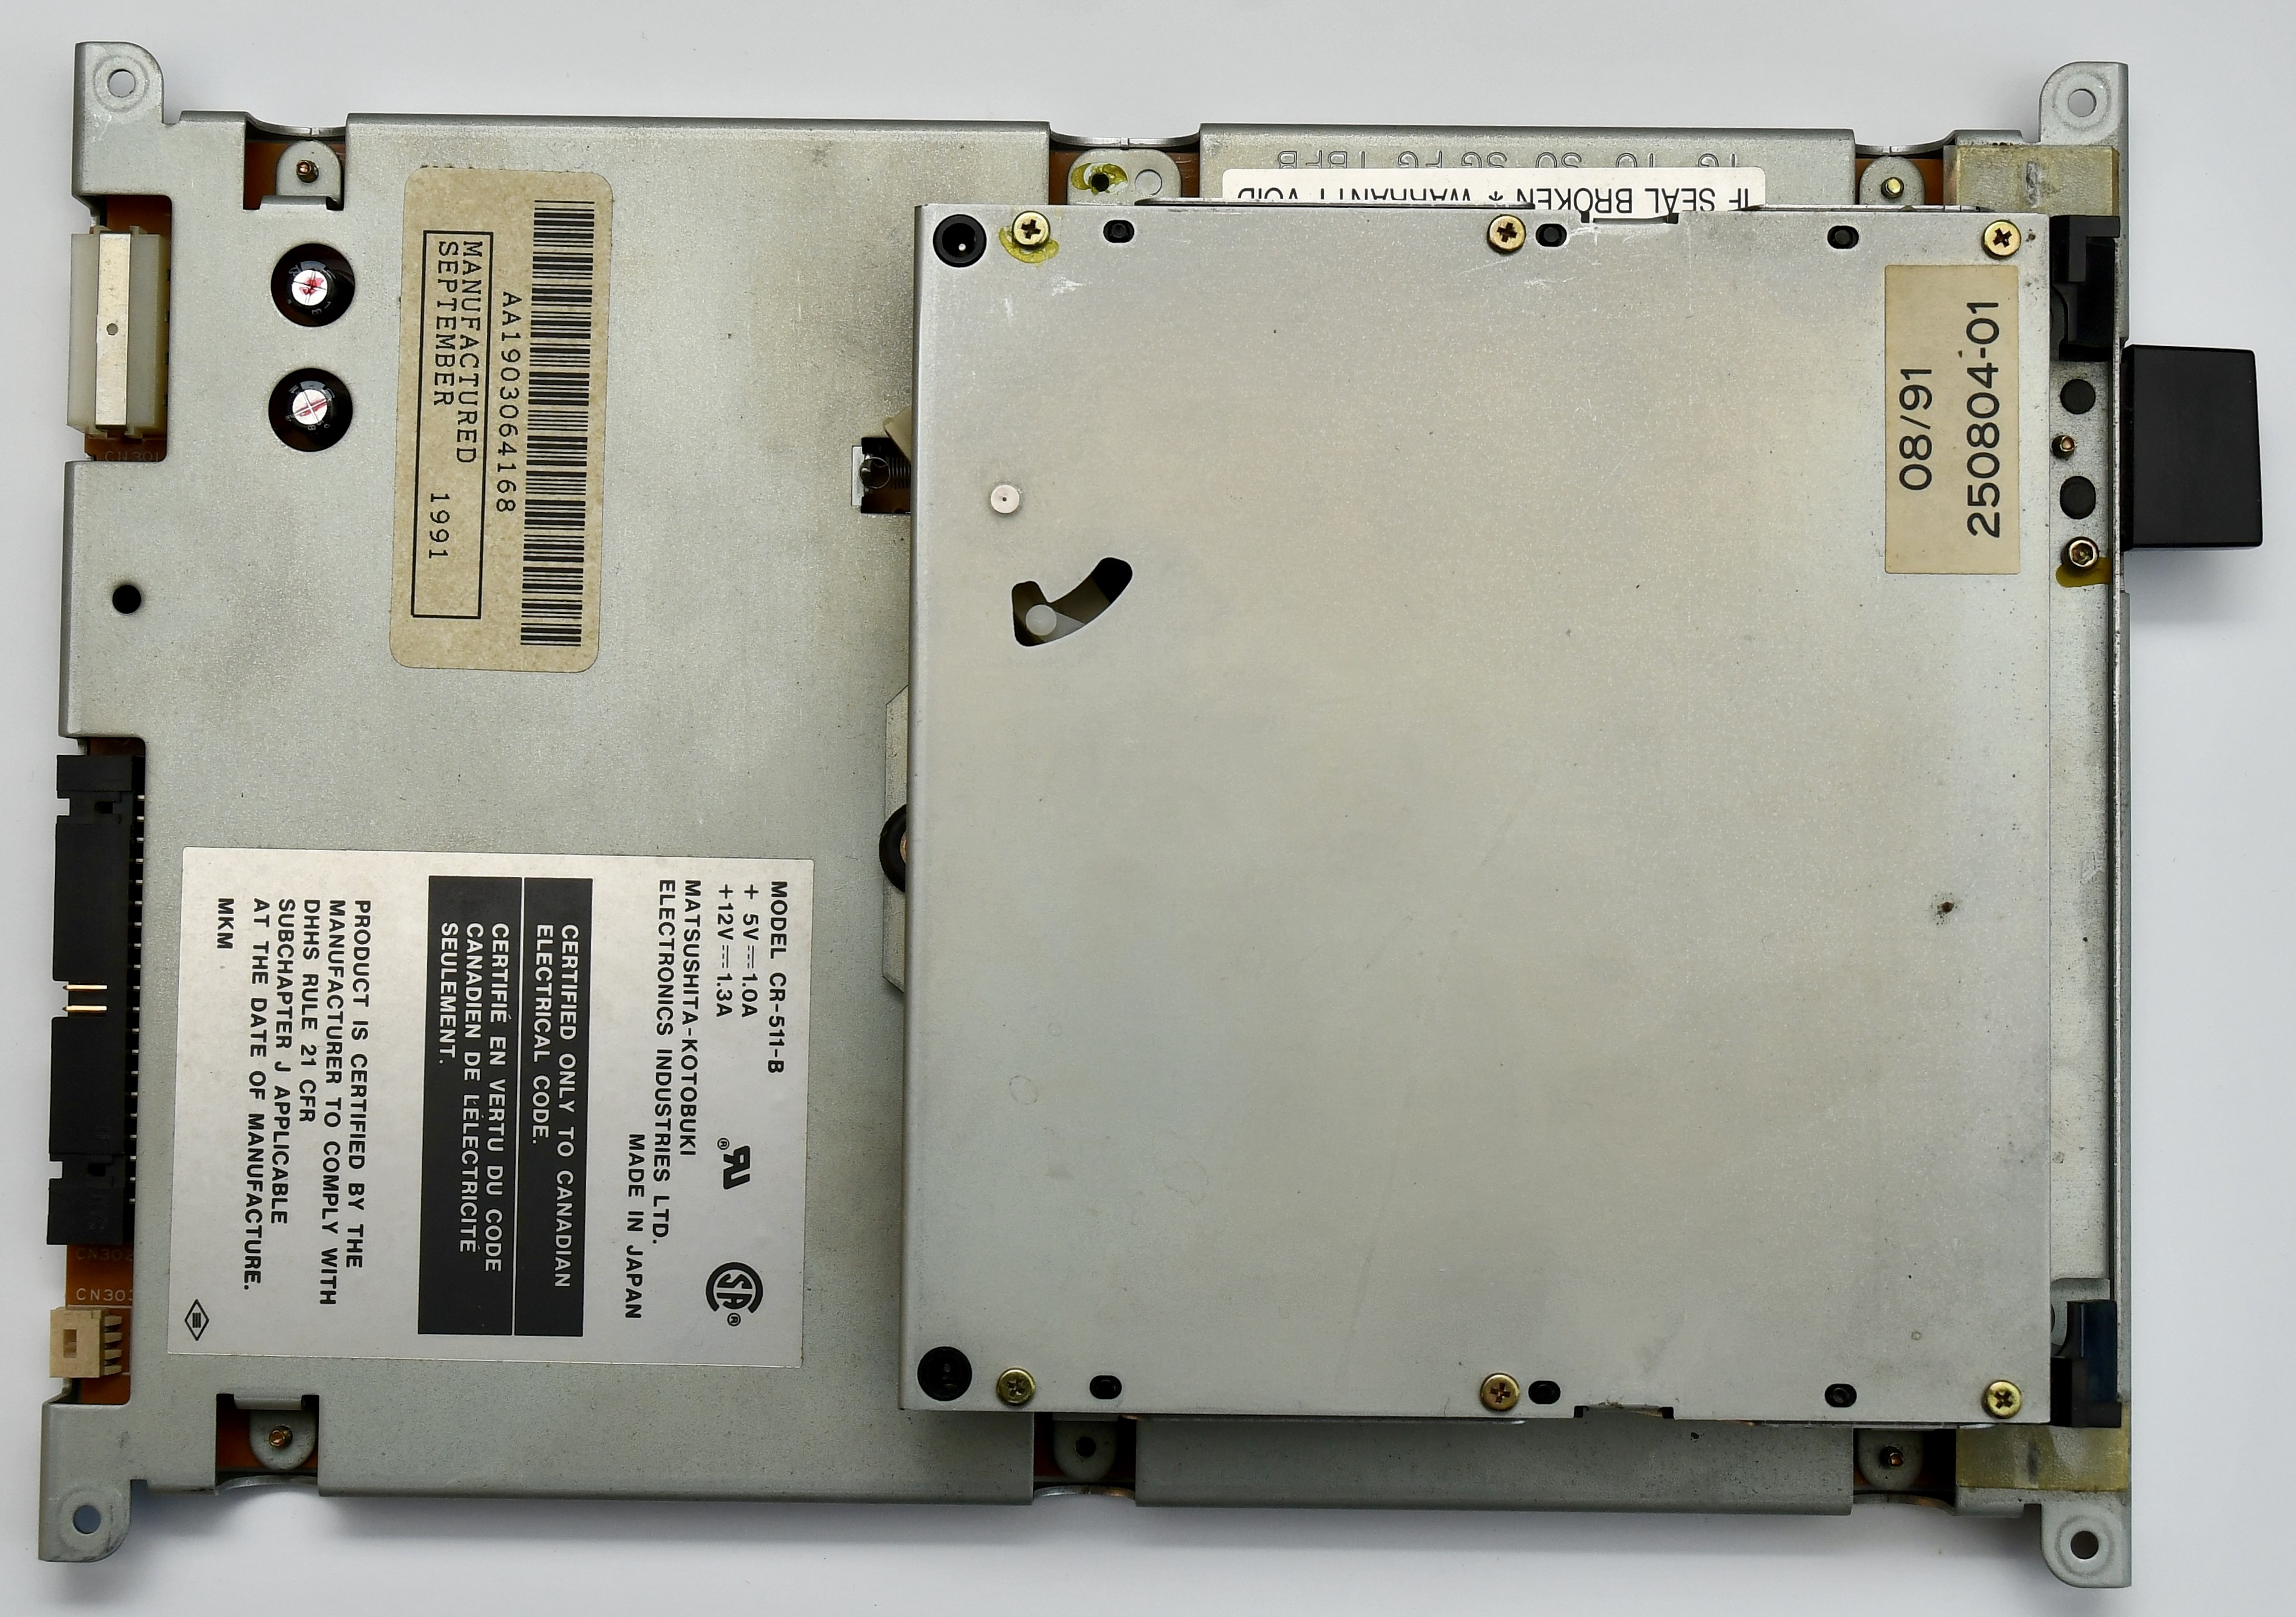


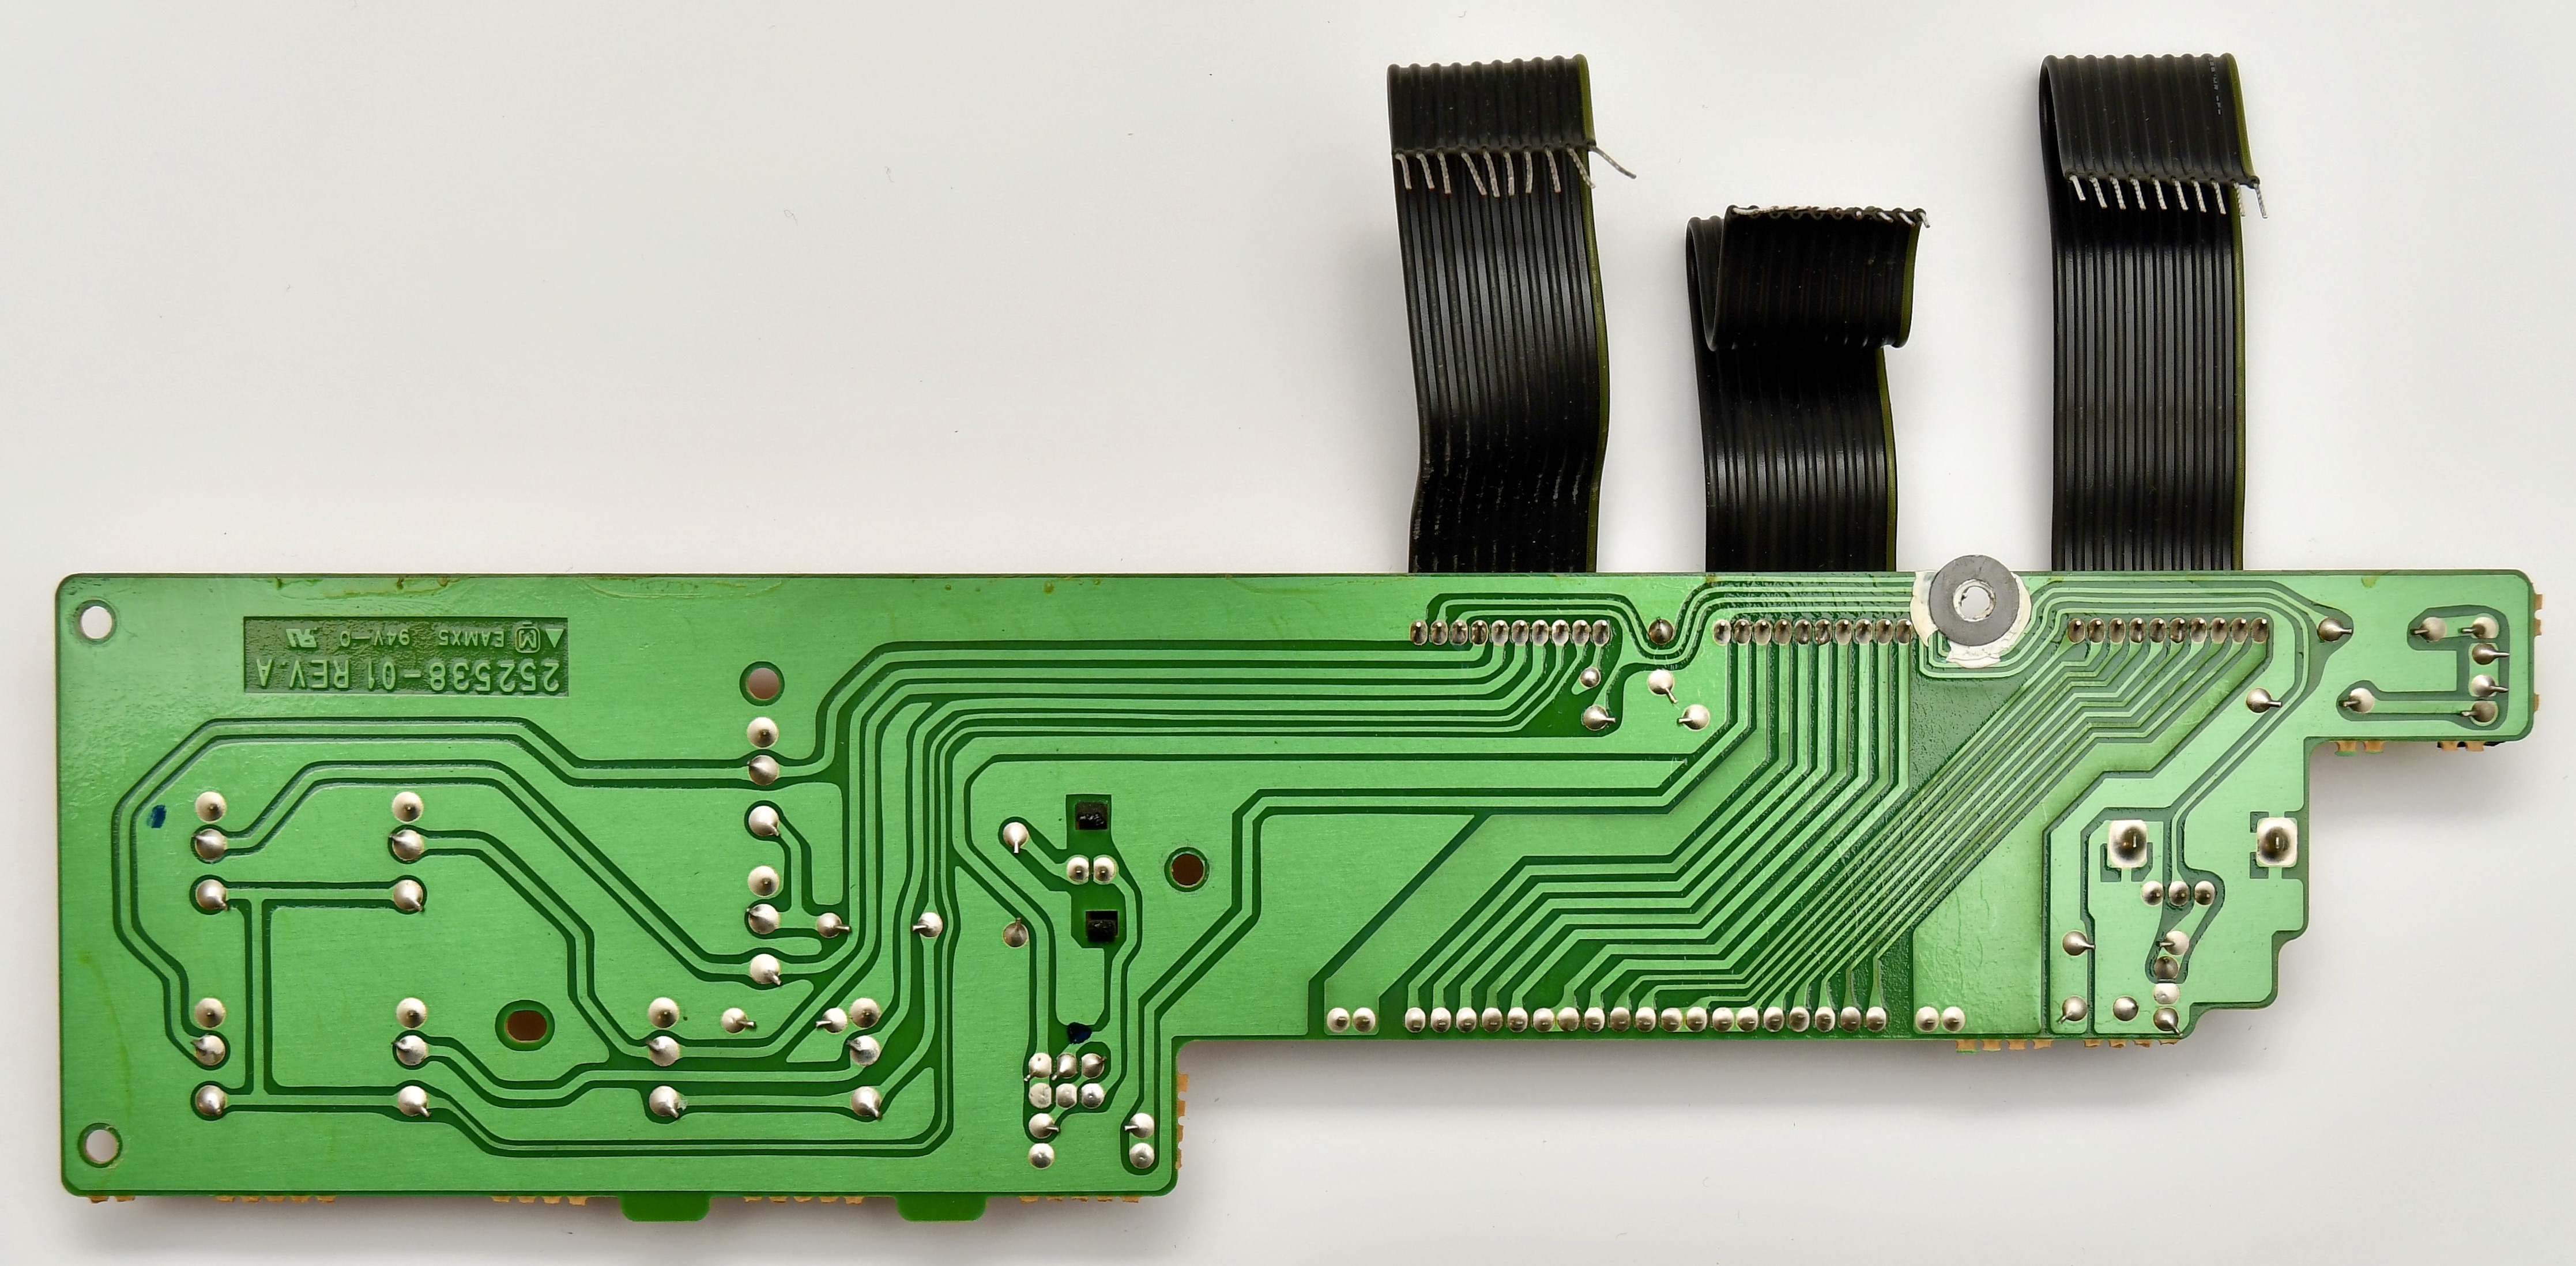
Front Panel
[edit | edit source]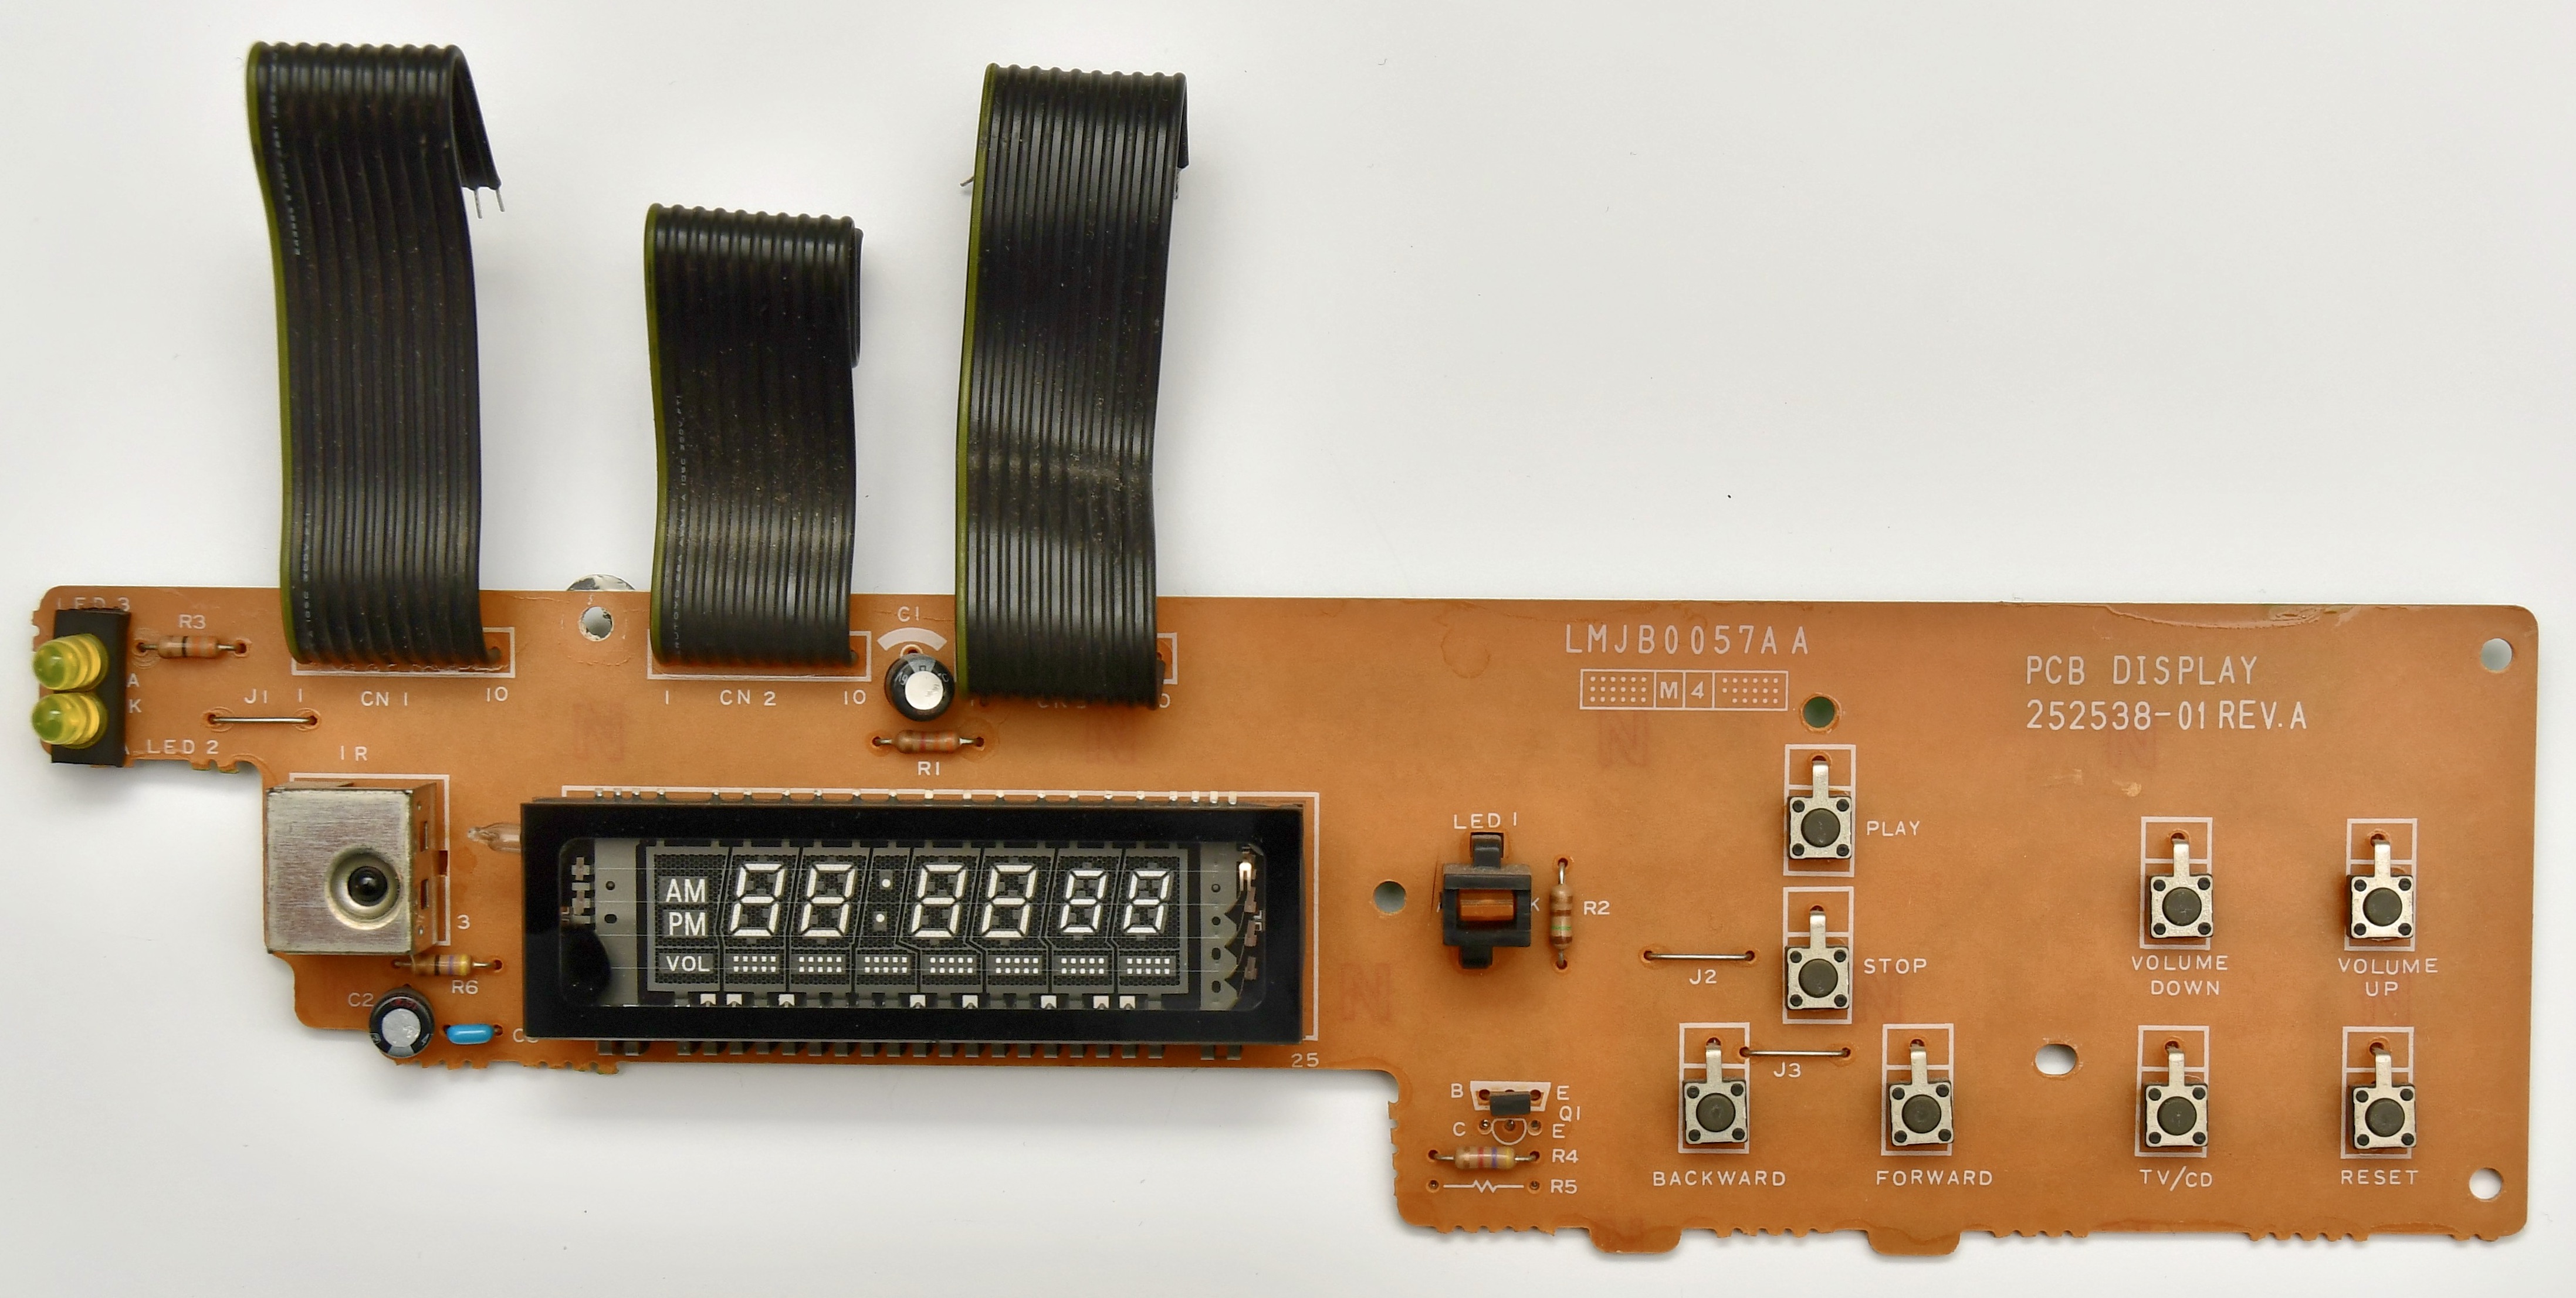
Power Switch and Headphones Module
[edit | edit source]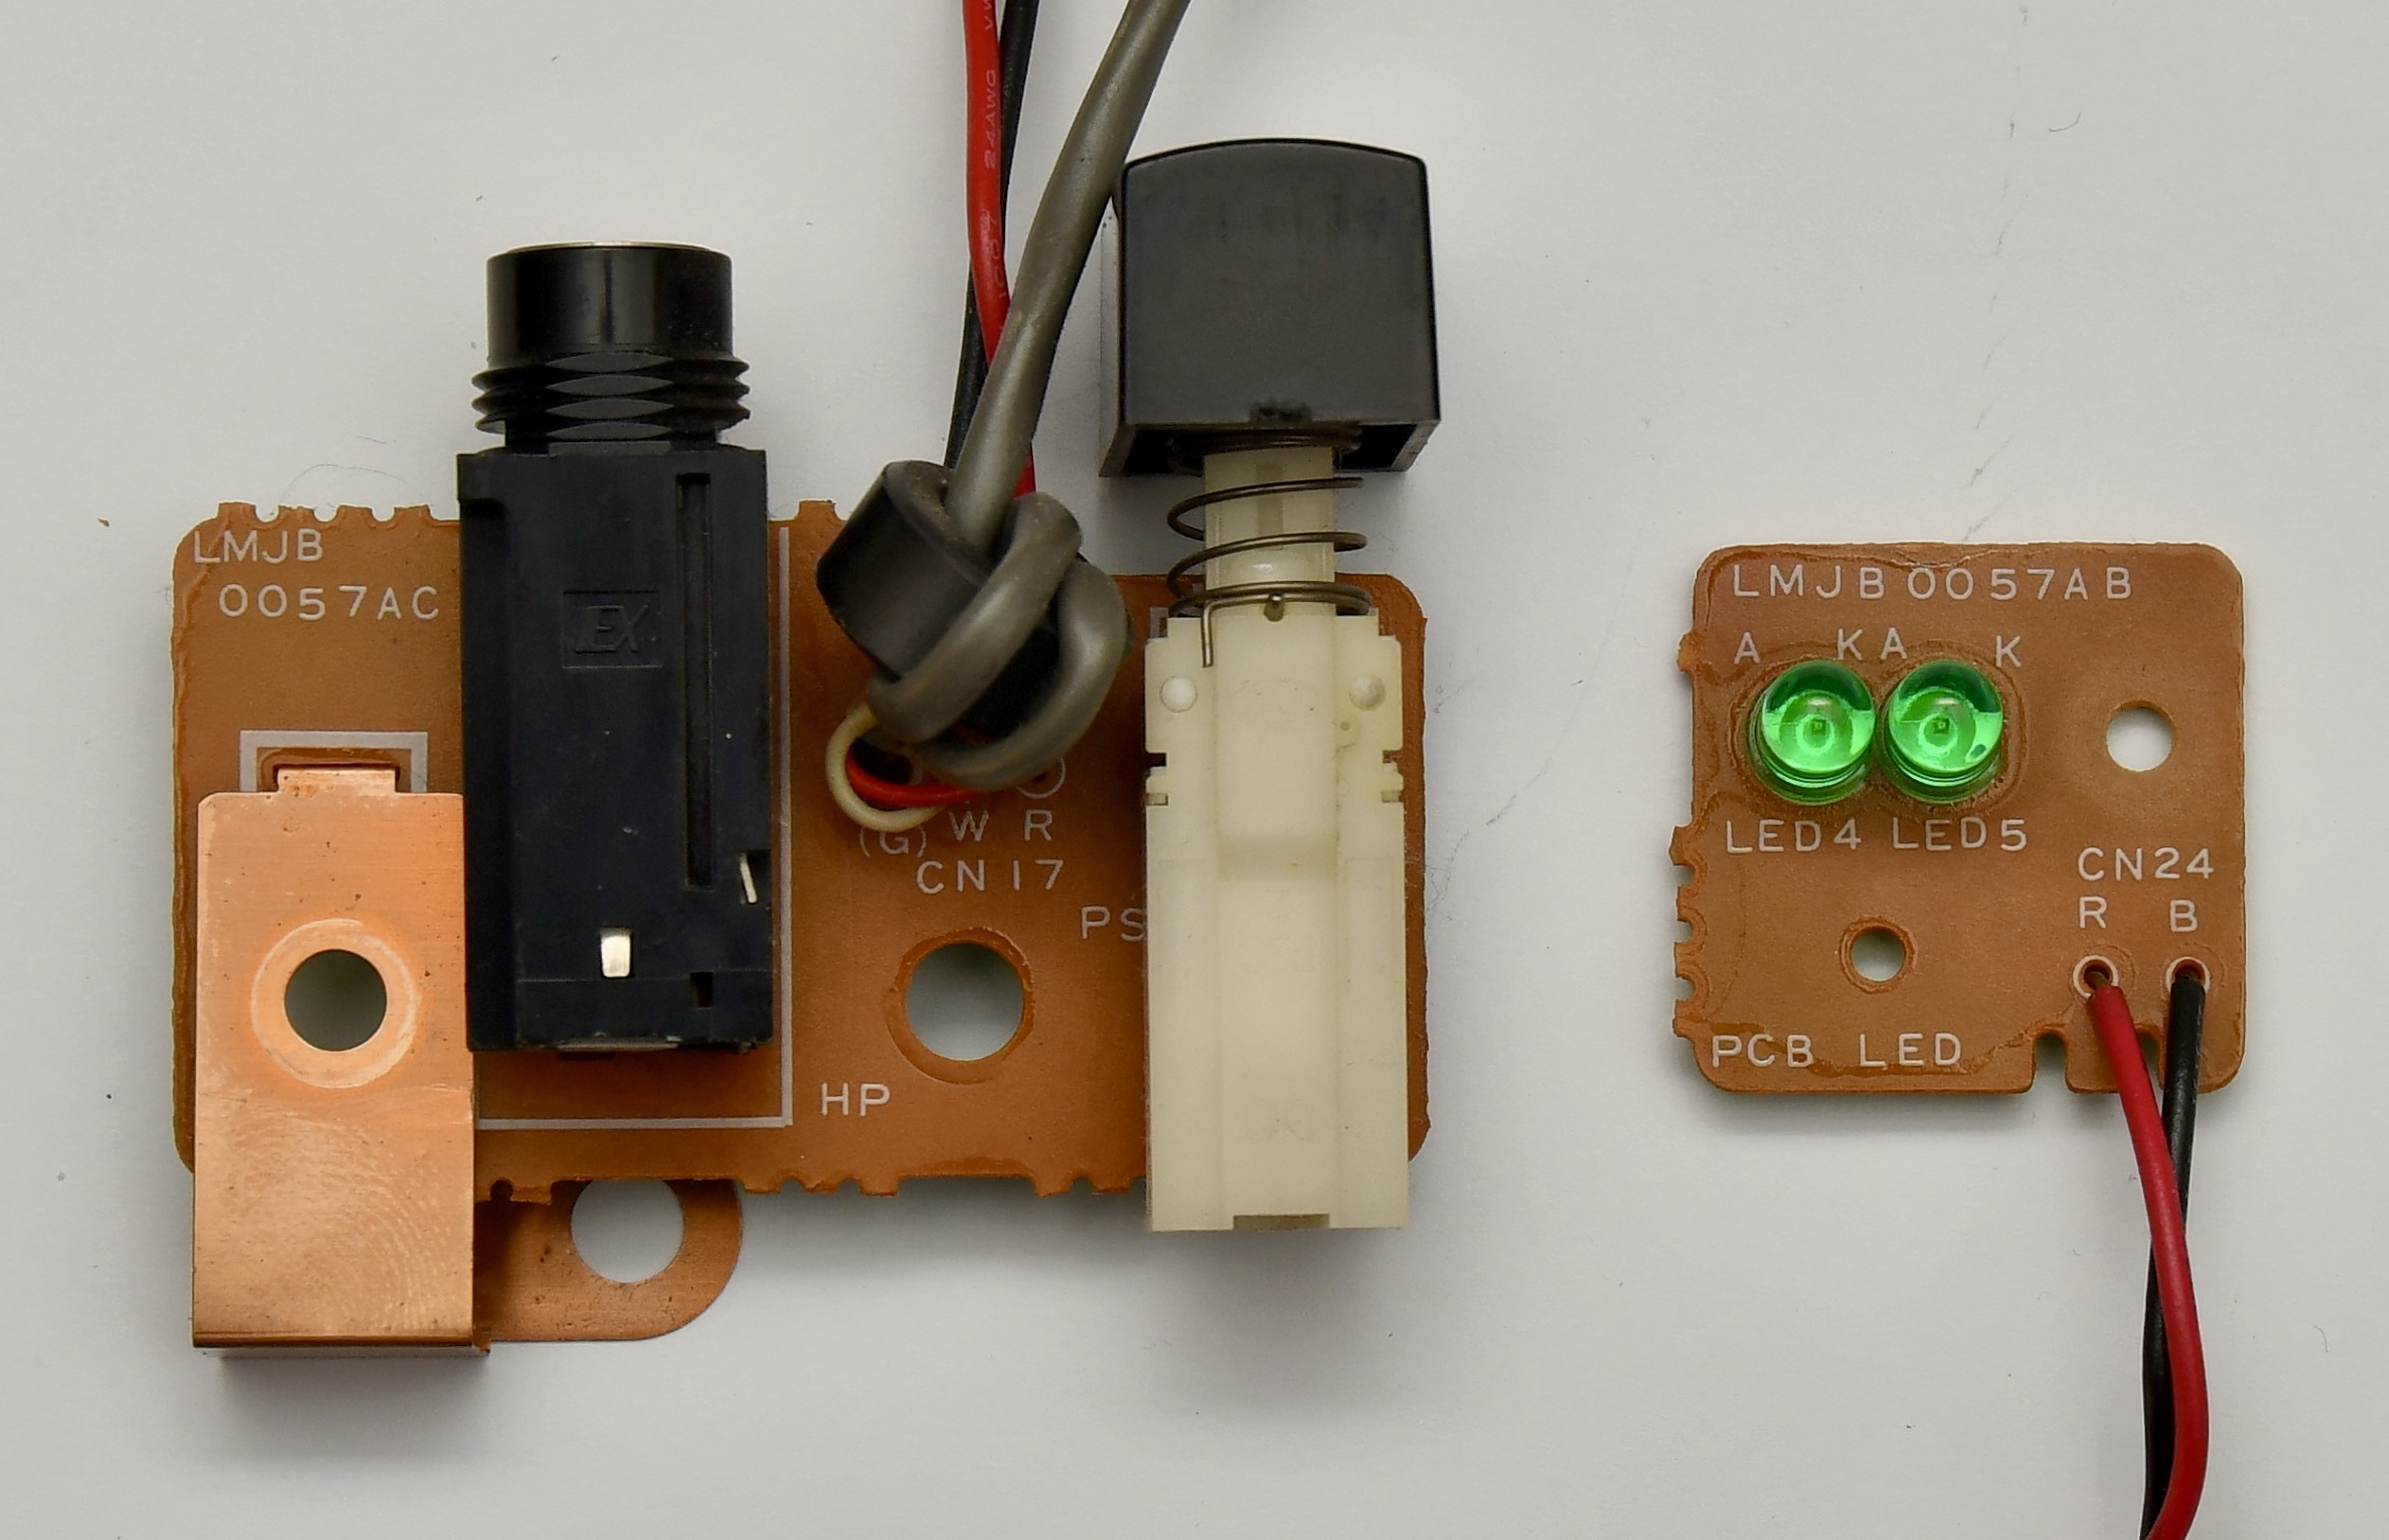

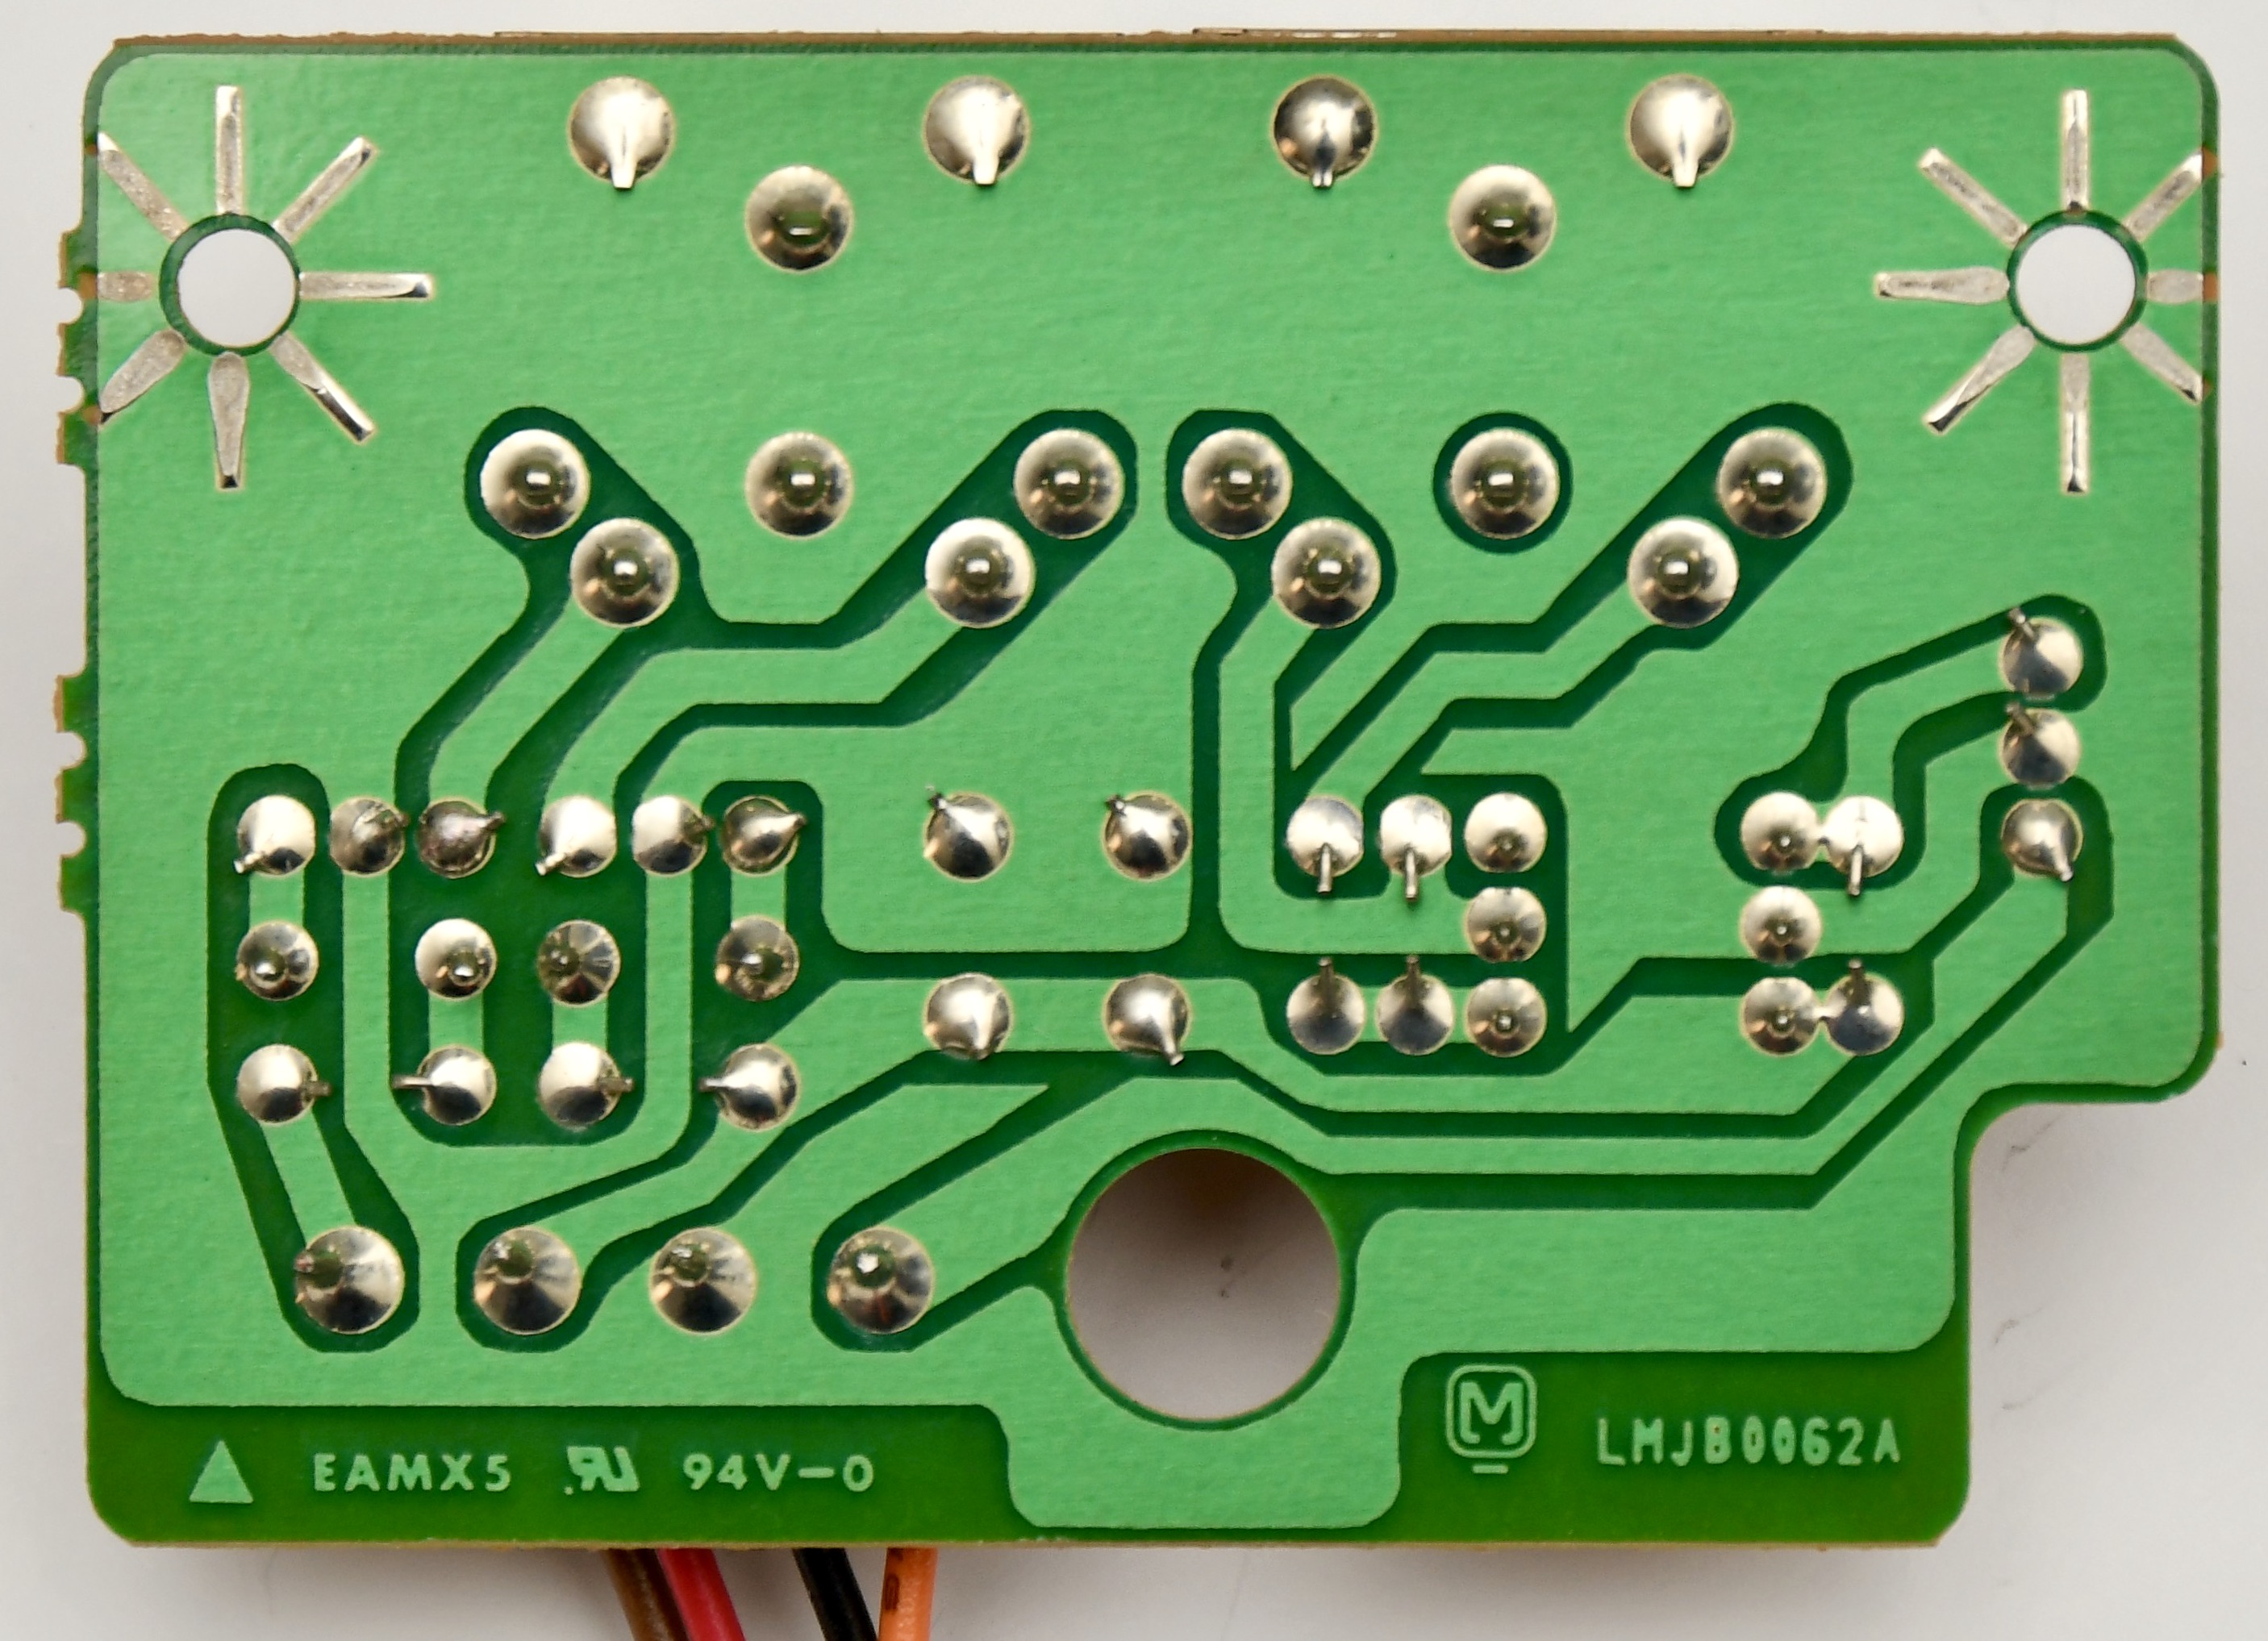
MIDI Port Module
[edit | edit source]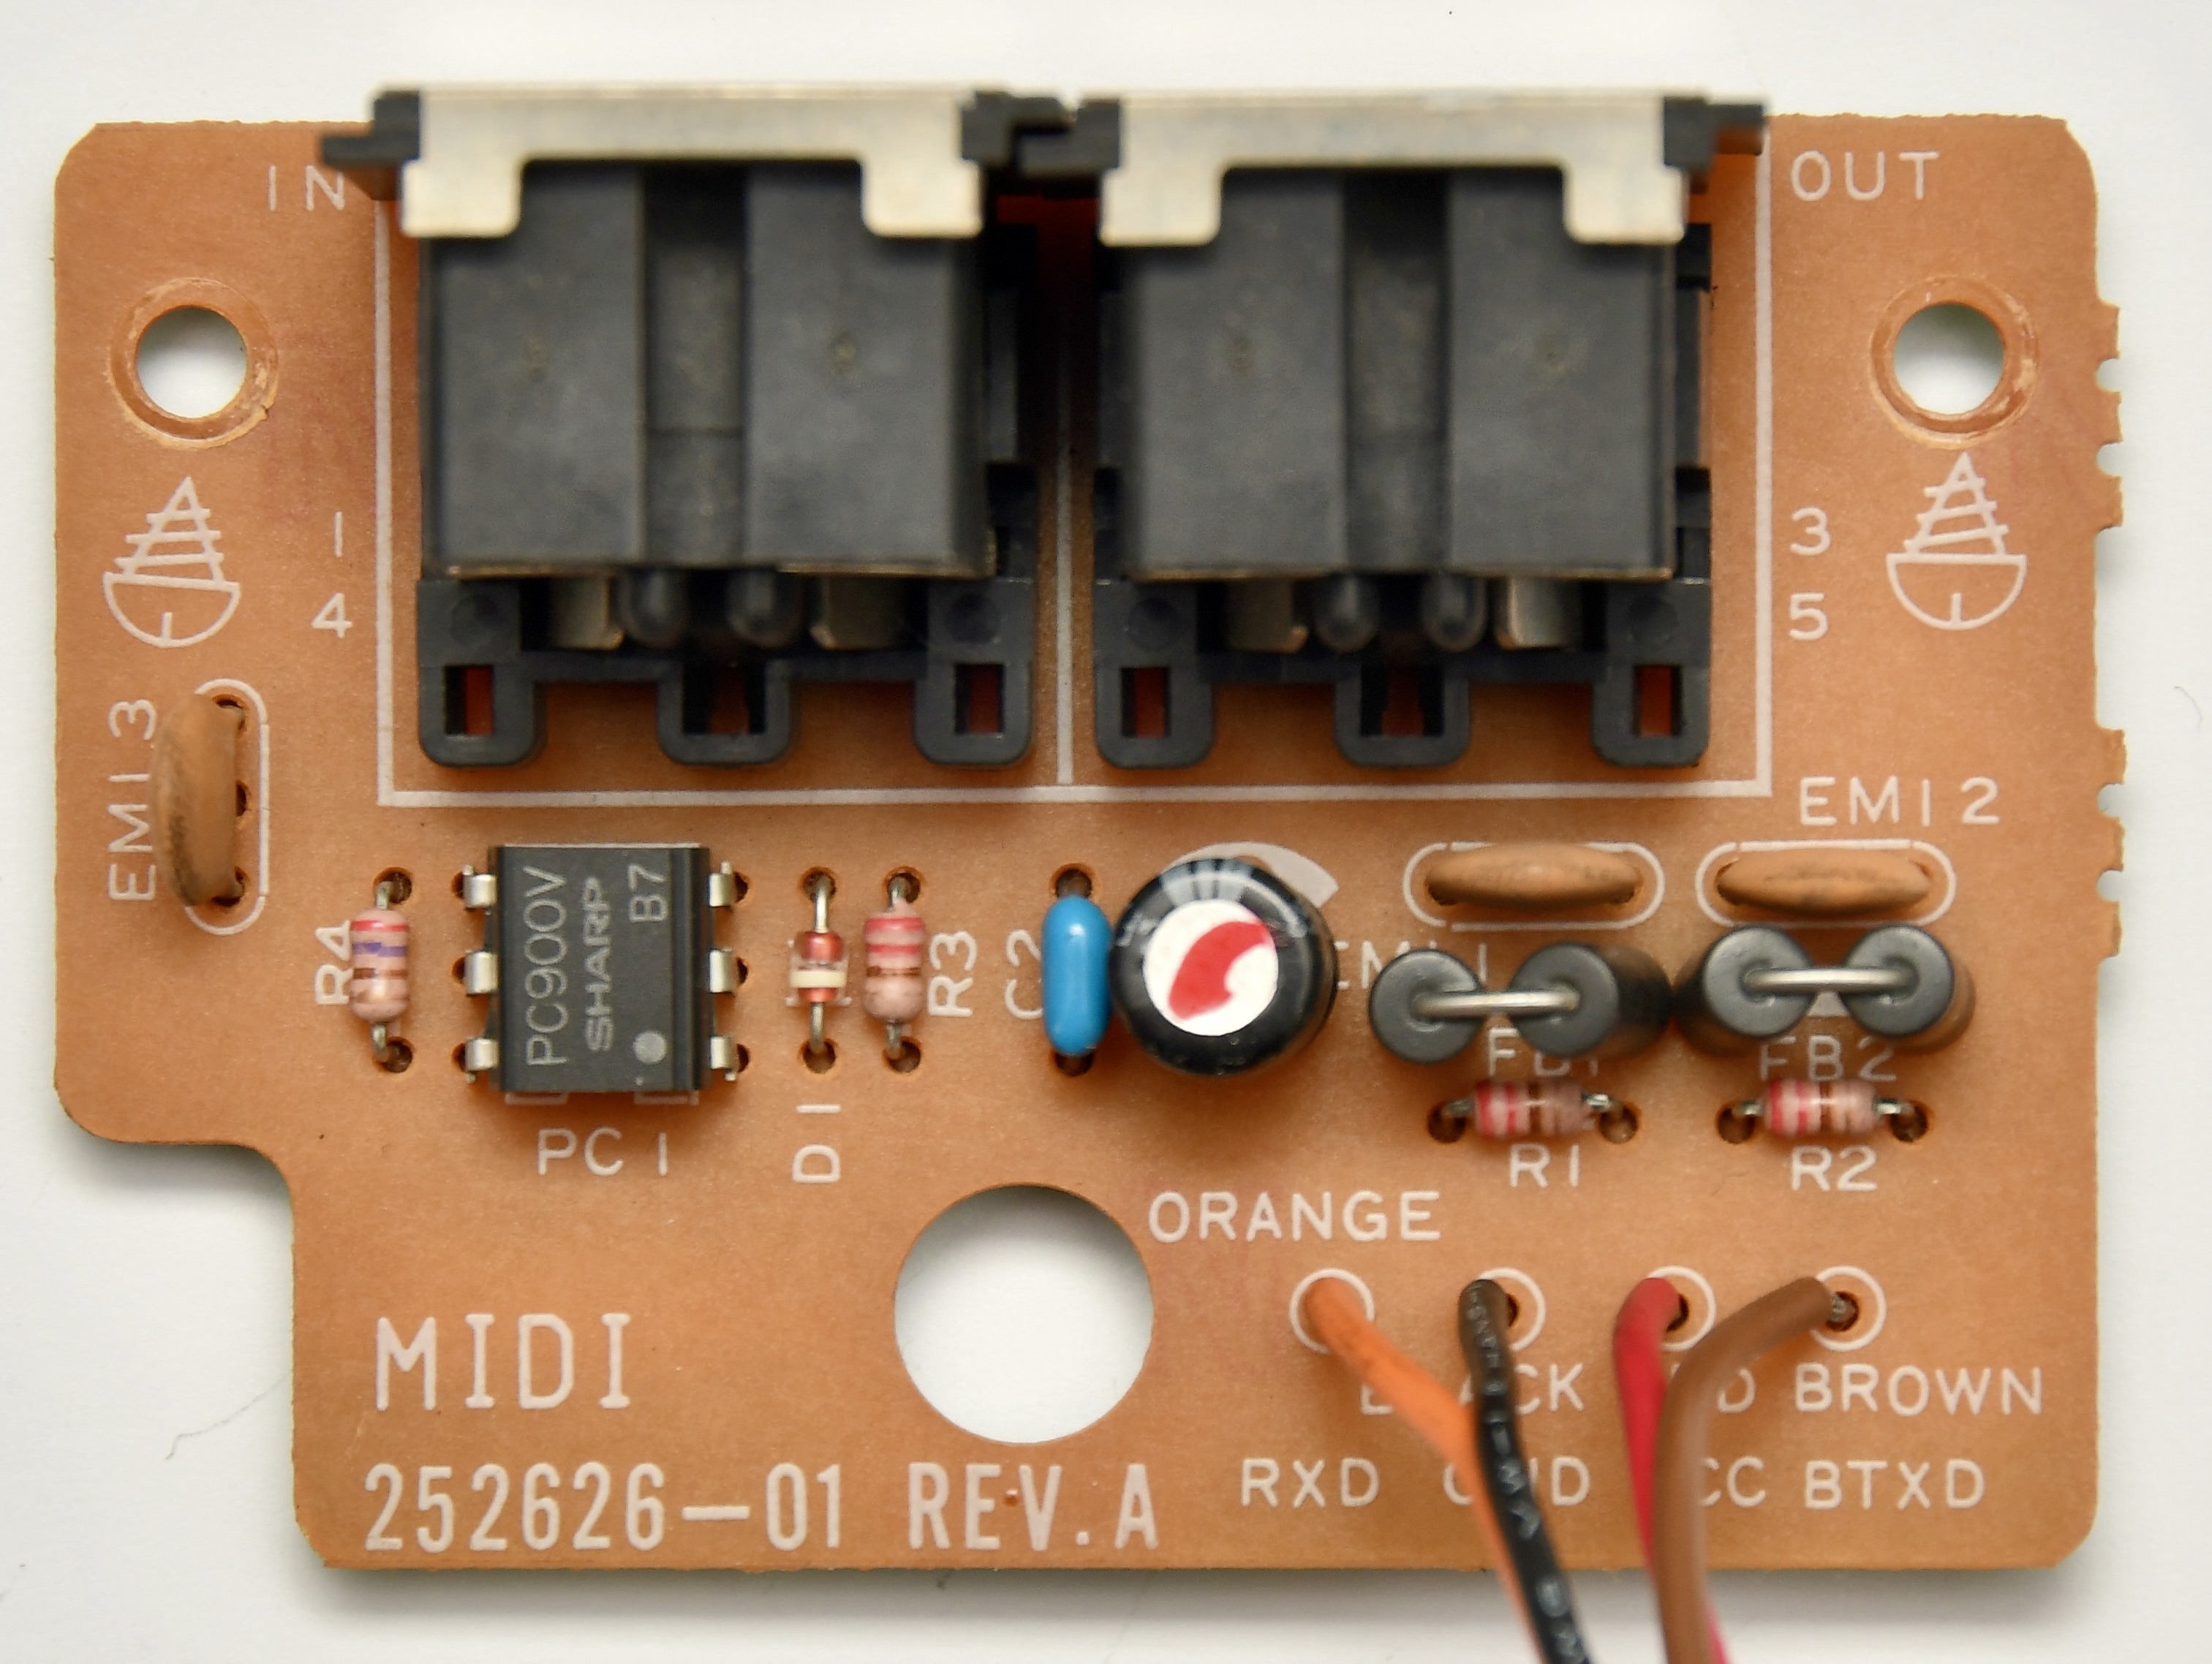
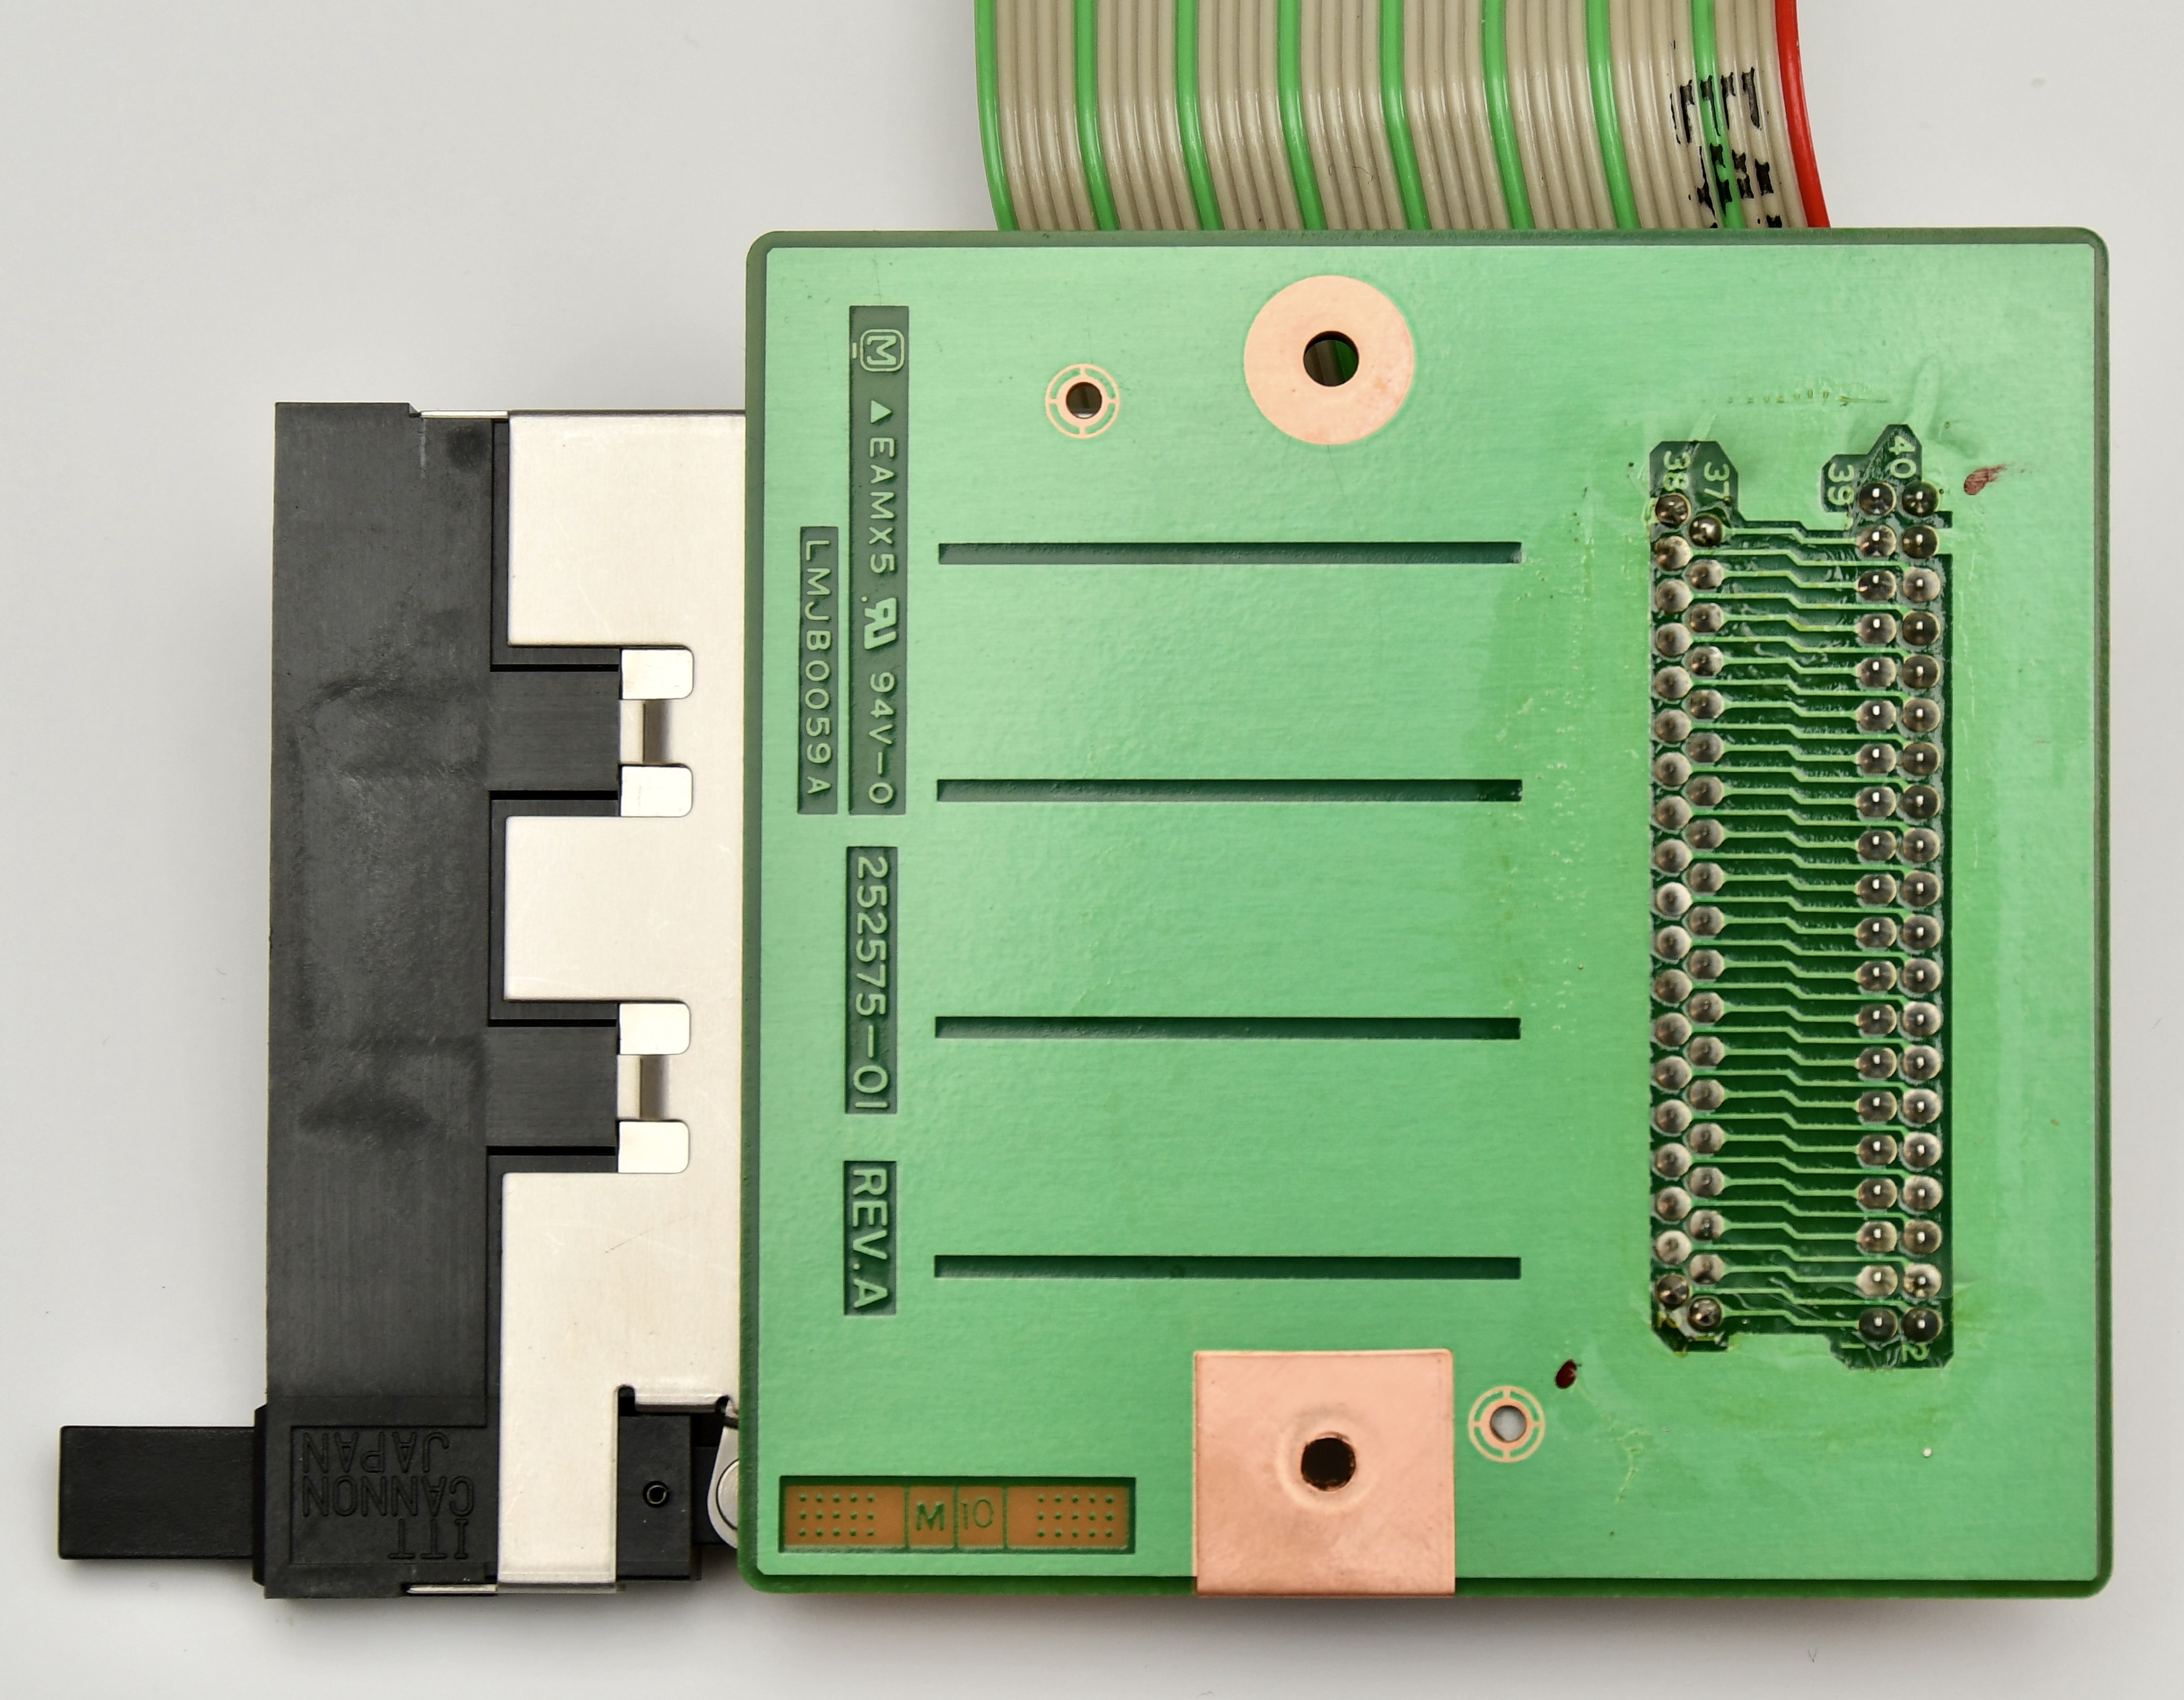
Expansion Card Module
[edit | edit source]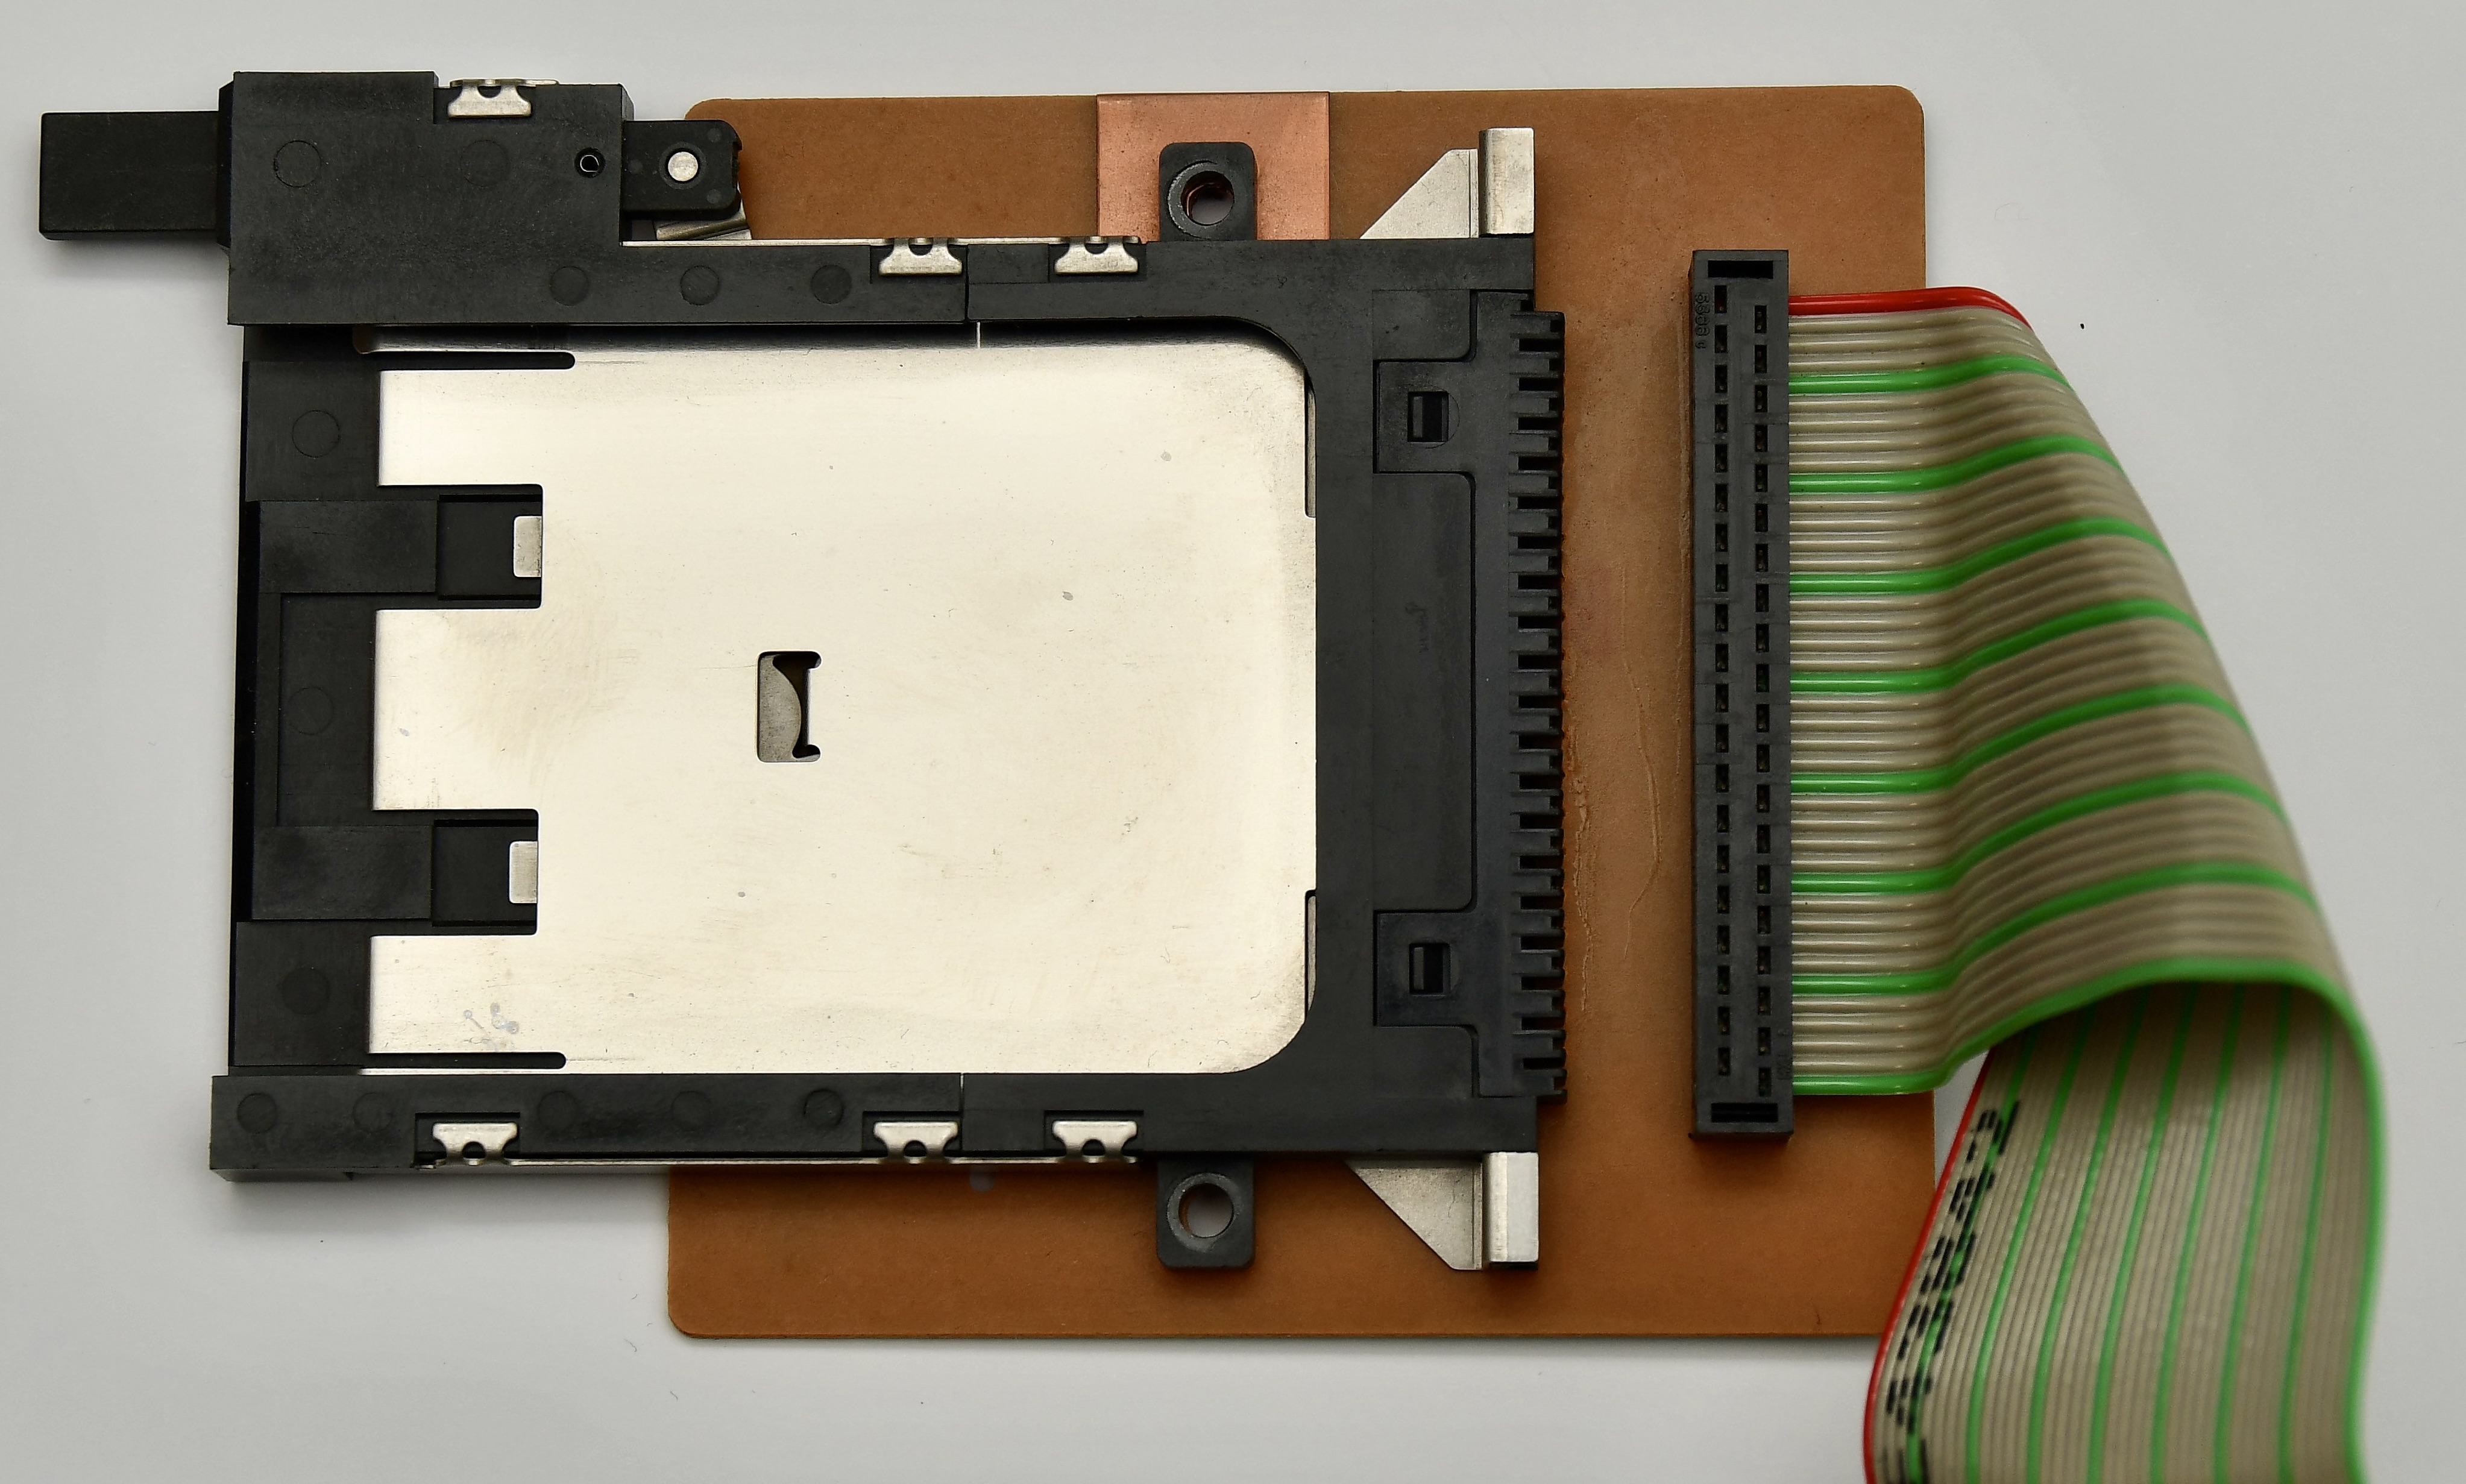
Remote Control (CD12XX)
[edit | edit source]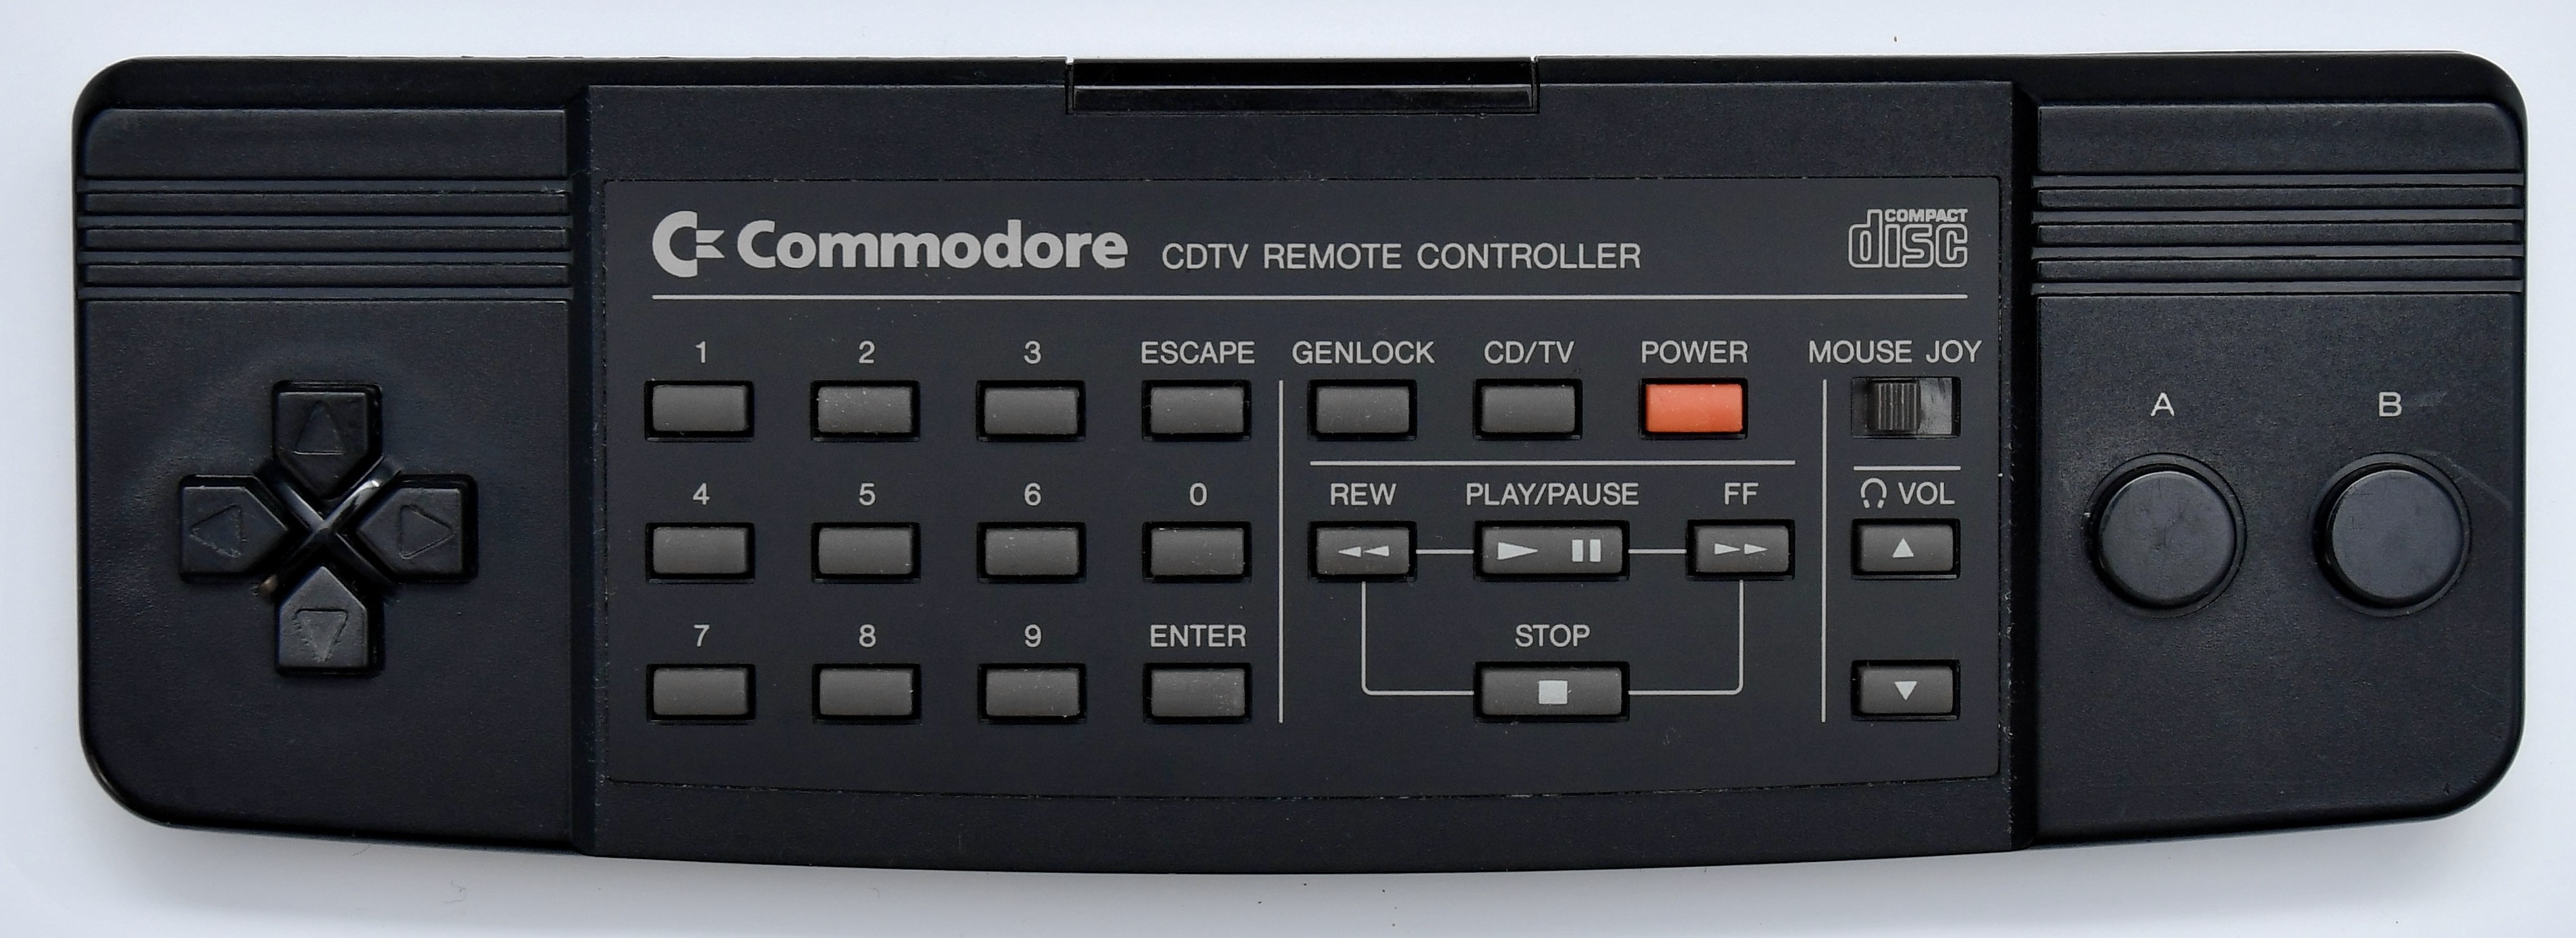
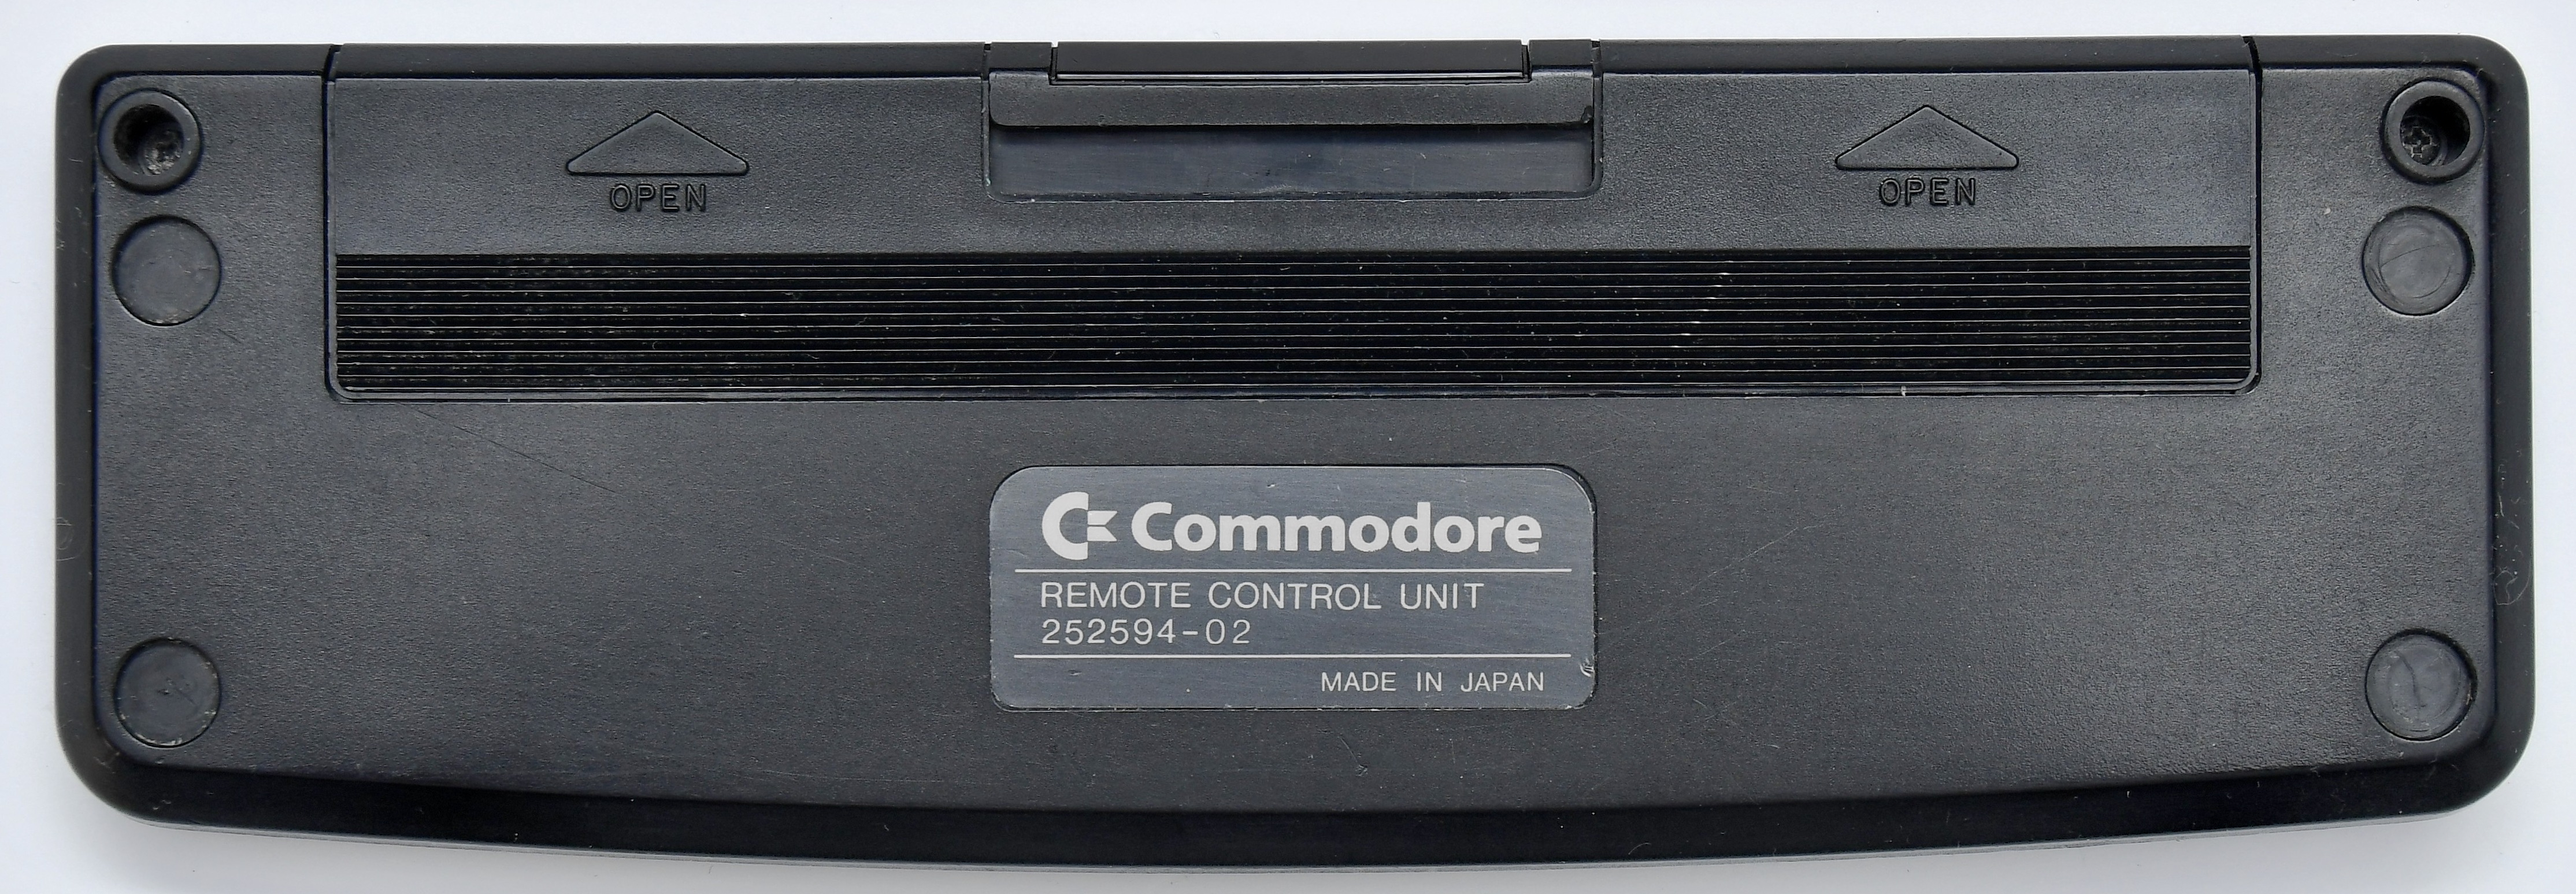
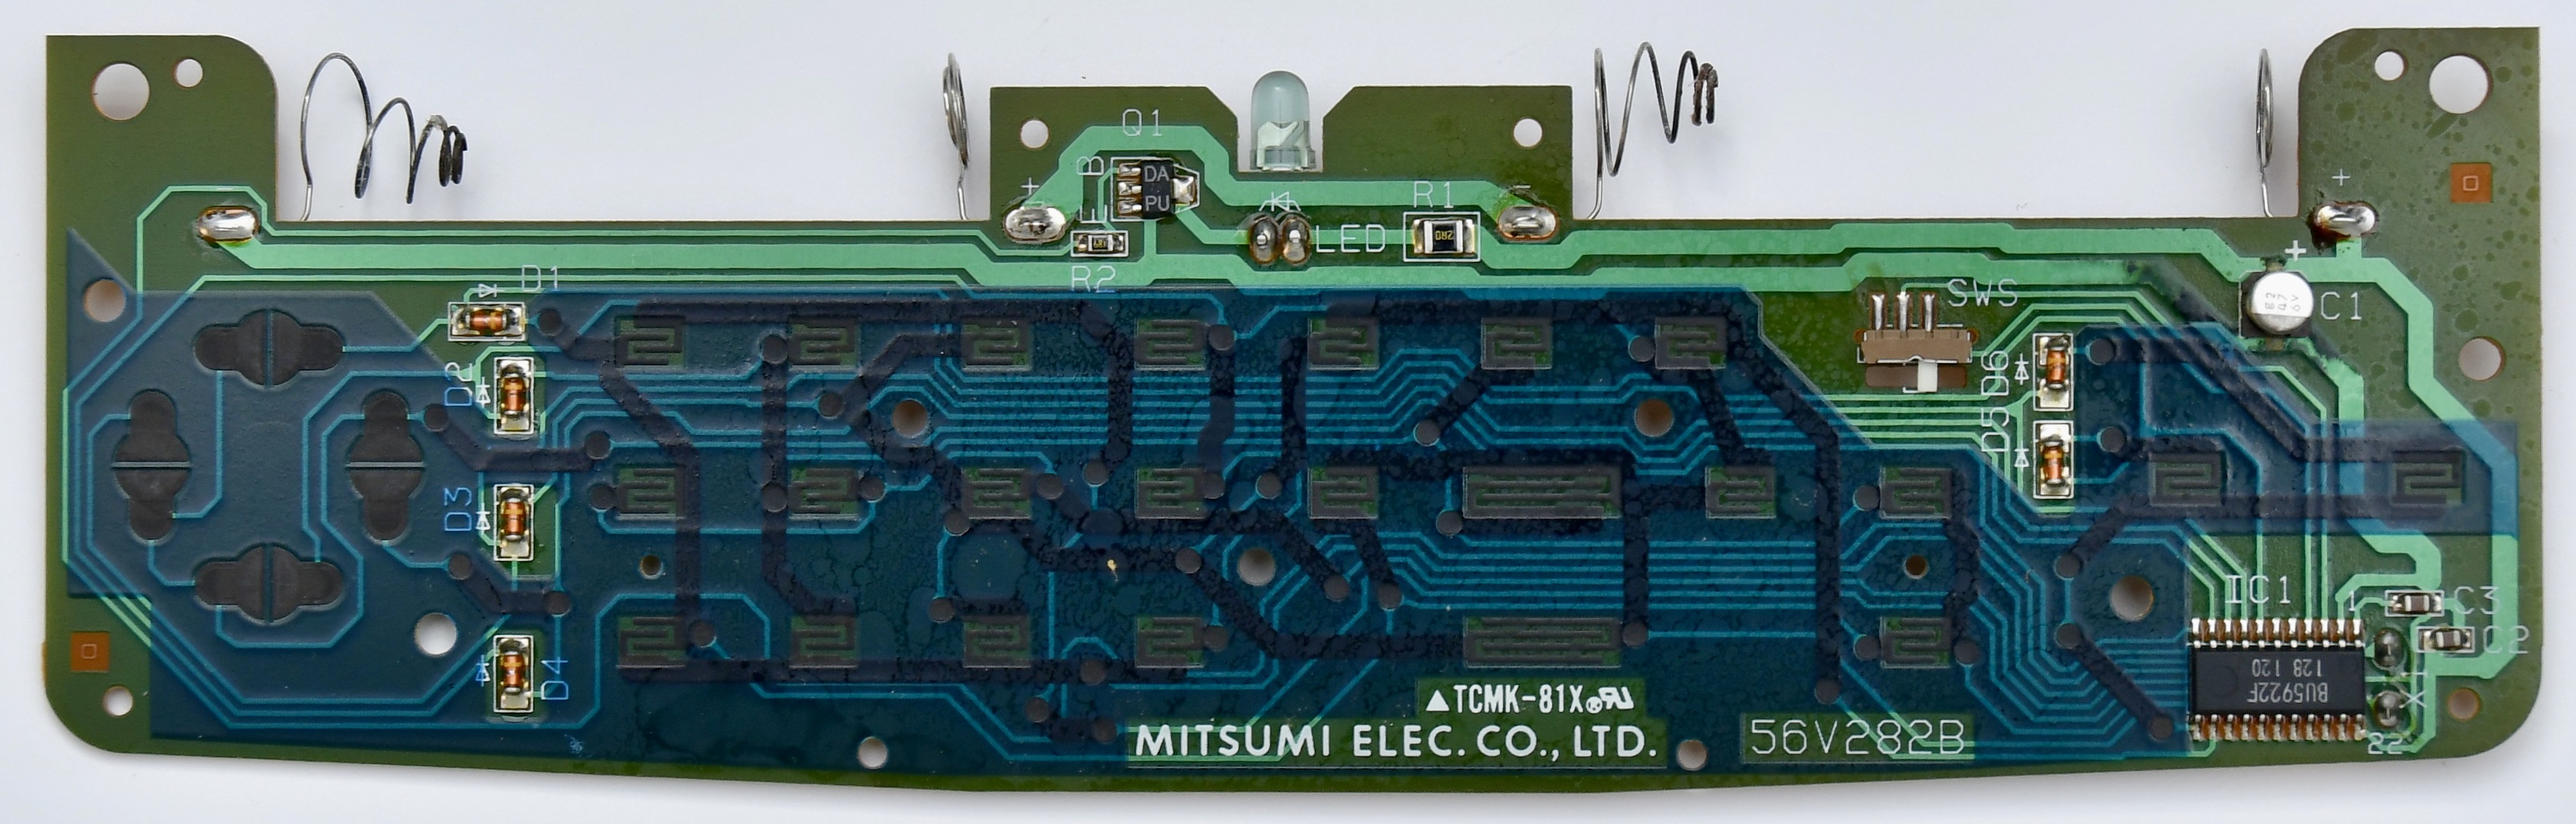
This is the standard remote control that shipped with each CDTV player. It has a four button D-pad, an A and B button, 10 number keys, an Escape and Enter key, volume control buttons for the CDTV’s built-in headphones output and standard CD player playback controls (Play/Pause, Stop, Prev/RWD, Next/FWD). It also has a button to control an optionally fitted genlock device (see CD1300 and CD1301 below), a button to switch between CDTV and TV RF output (on NTSC models), a power on/off button and a button to switch between joystick and mouse mode.
Two revisions of the CDTV Remote Control were created. The second revision, which is pictured above, saw the problematic Joystick/Mouse mode button replaced by a proper switch, so that you could actually see which mode the Remote Control was operating in.
Trackball Controller (CD1200)
[edit | edit source]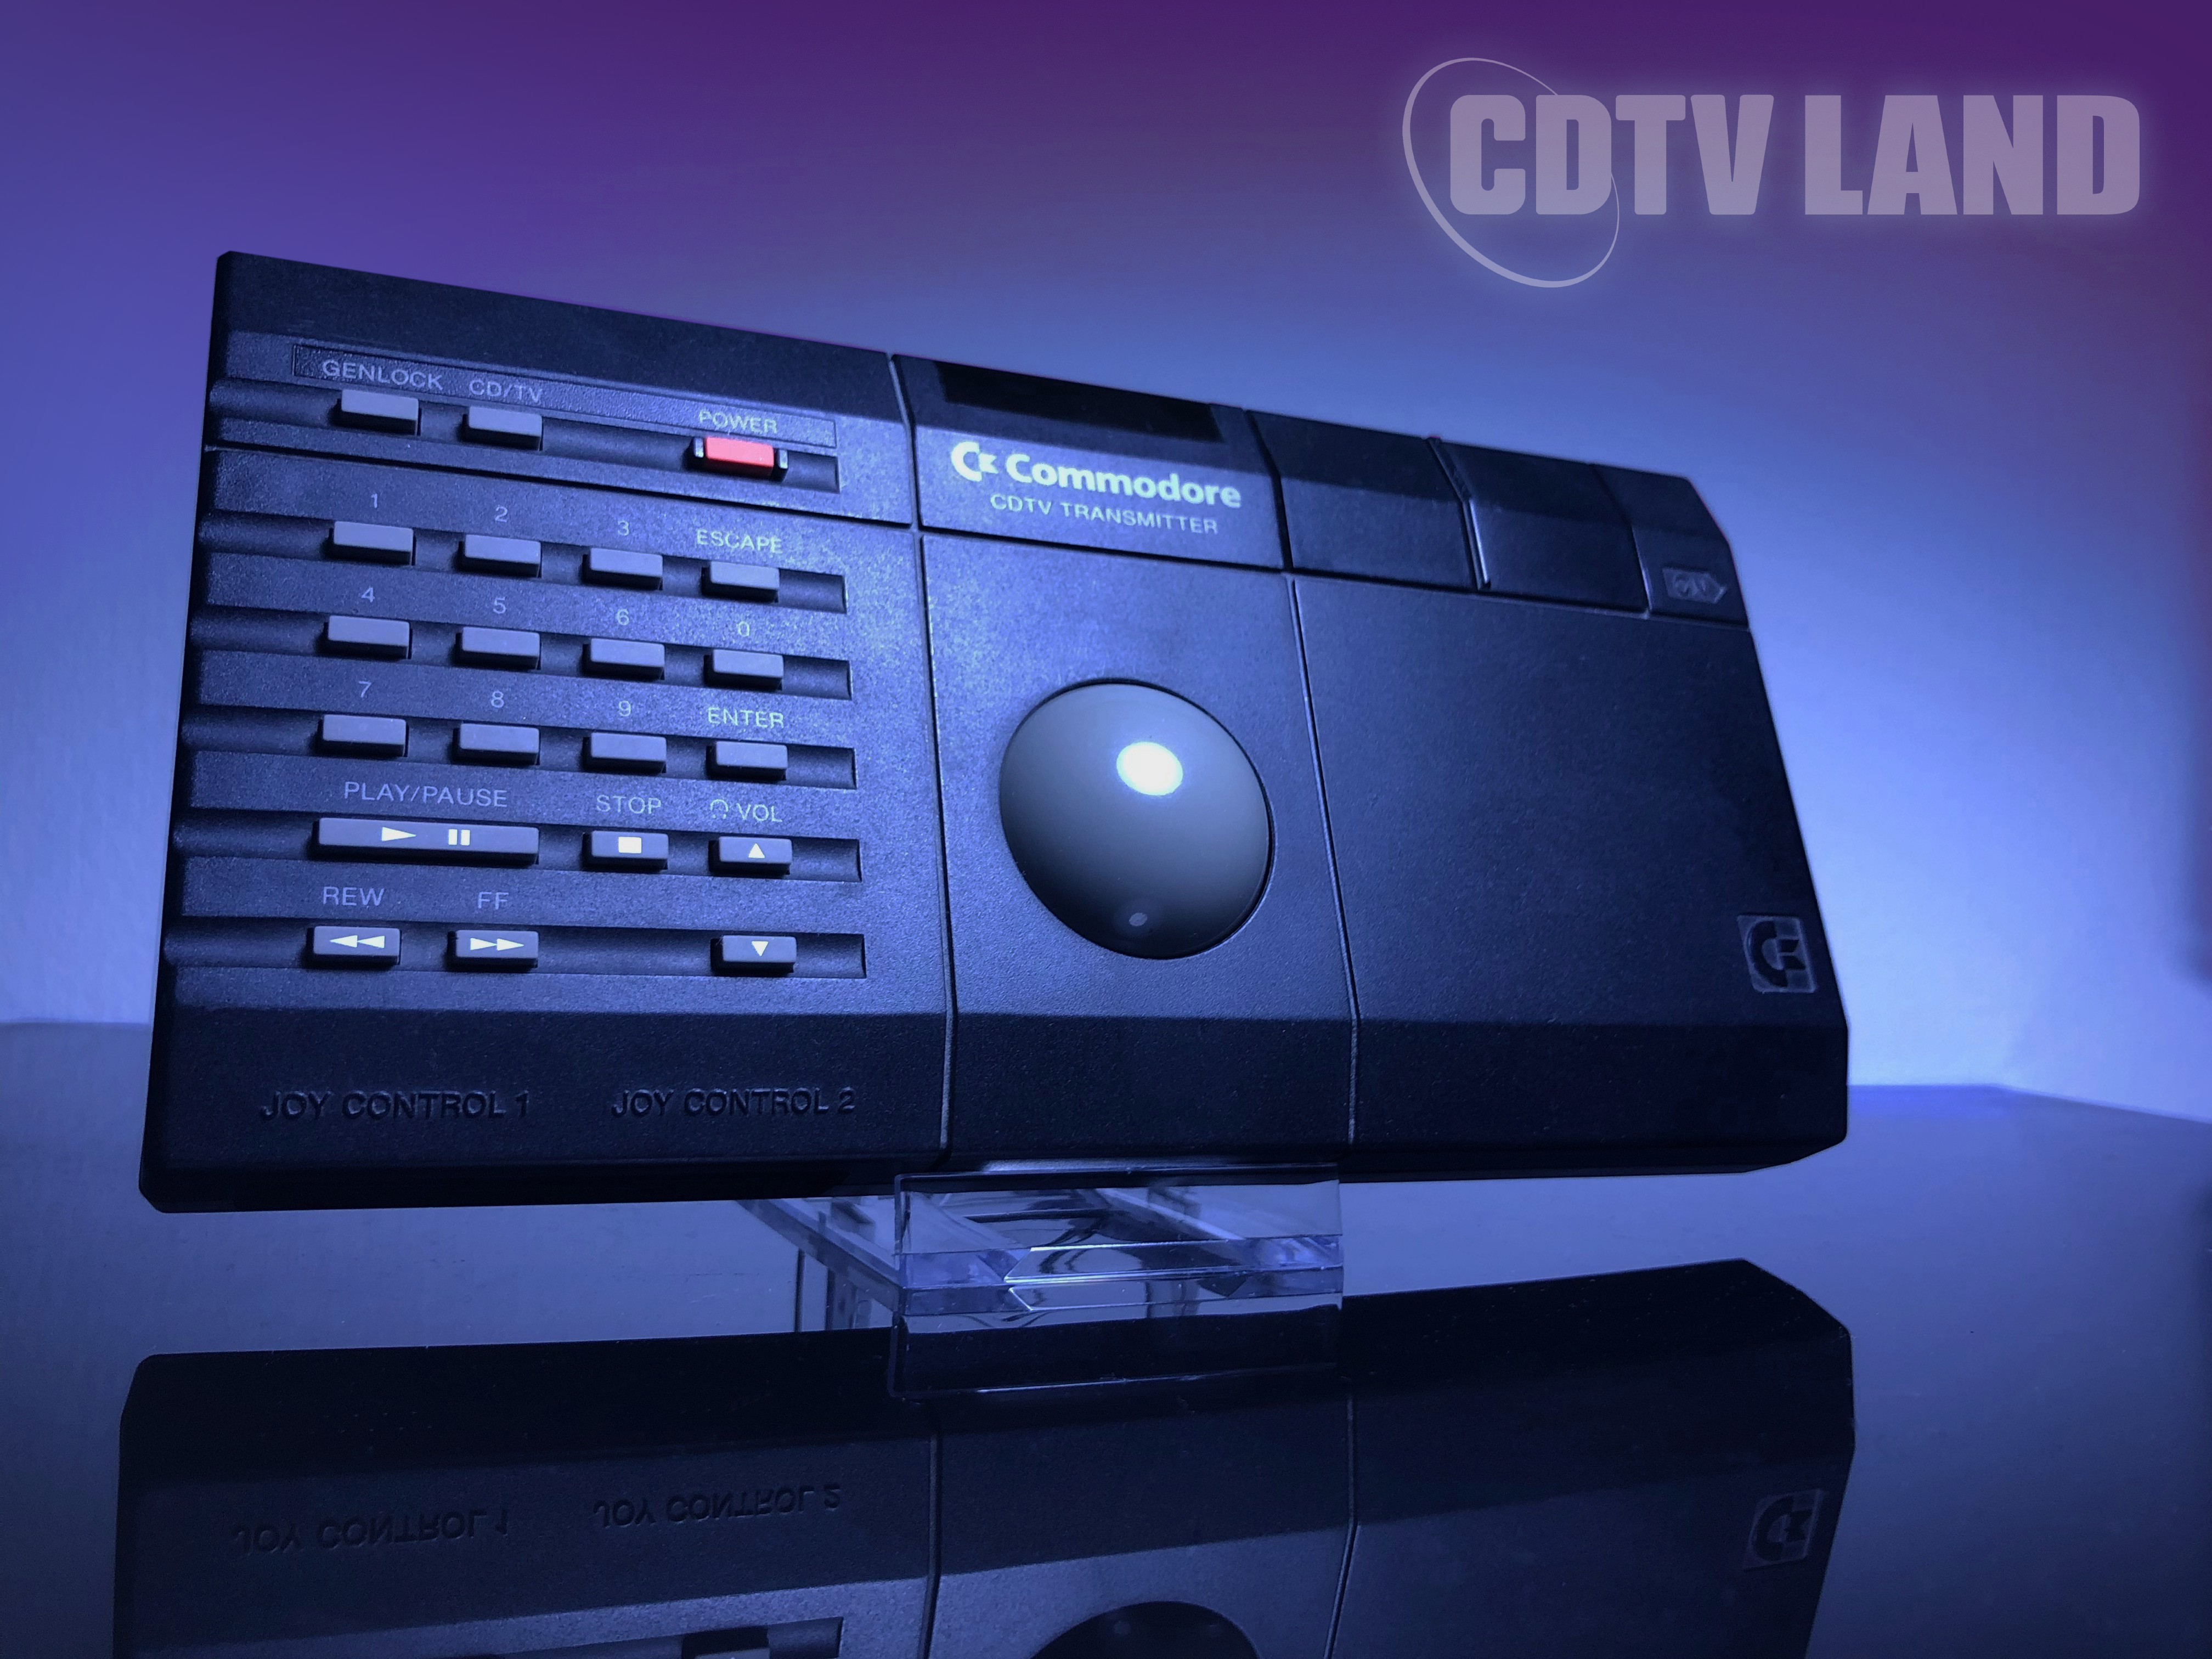
The Trackball controller has all the keypad buttons that the standard remote control has, but it replaces the four-way directional pad buttons with a tracking ball. This makes for faster and more fine grained control of the mouse pointer in CDTV applications or games that use one. It also replaces the A and B buttons with proper left and right mouse-style buttons.
The CD1200 also has two standard joystick ports at the bottom of the unit. This means that you can connect any pair of regular 9-pin D-connector Amiga/Atari/C64 joysticks to the Trackball Controller and it will transfer all your joystick movements wirelessly to the CDTV. The Trackball Controller switches off automatically after a few minutes of not being used, to save the batteries. It can be (re-)activated by pressing a button on the side of the unit. Finally, the CD1200 can also be connected to the CDTV using a cable, so you can also operate it without batteries.
Keyboard (CD1221)
[edit | edit source]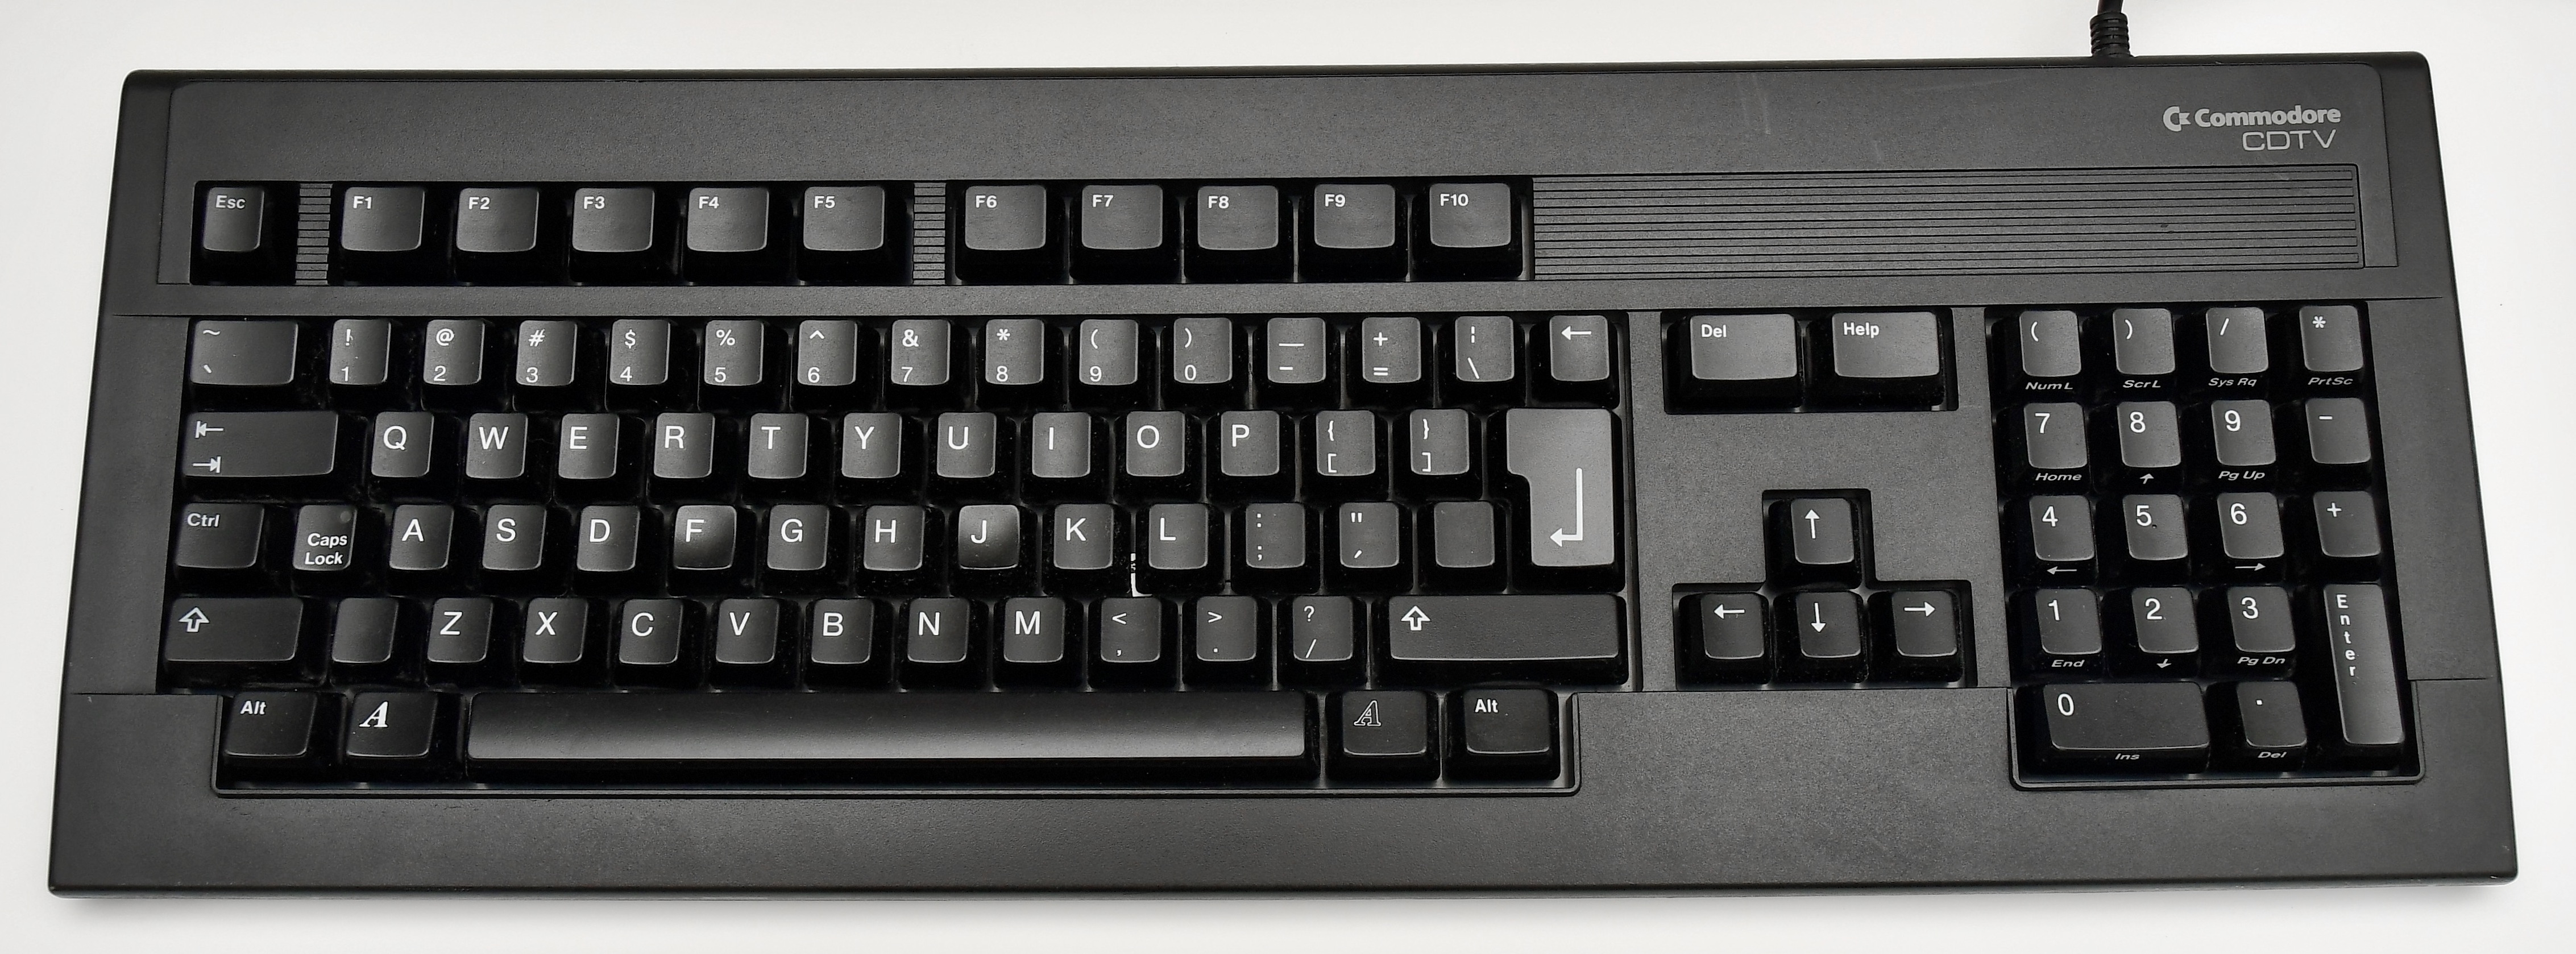
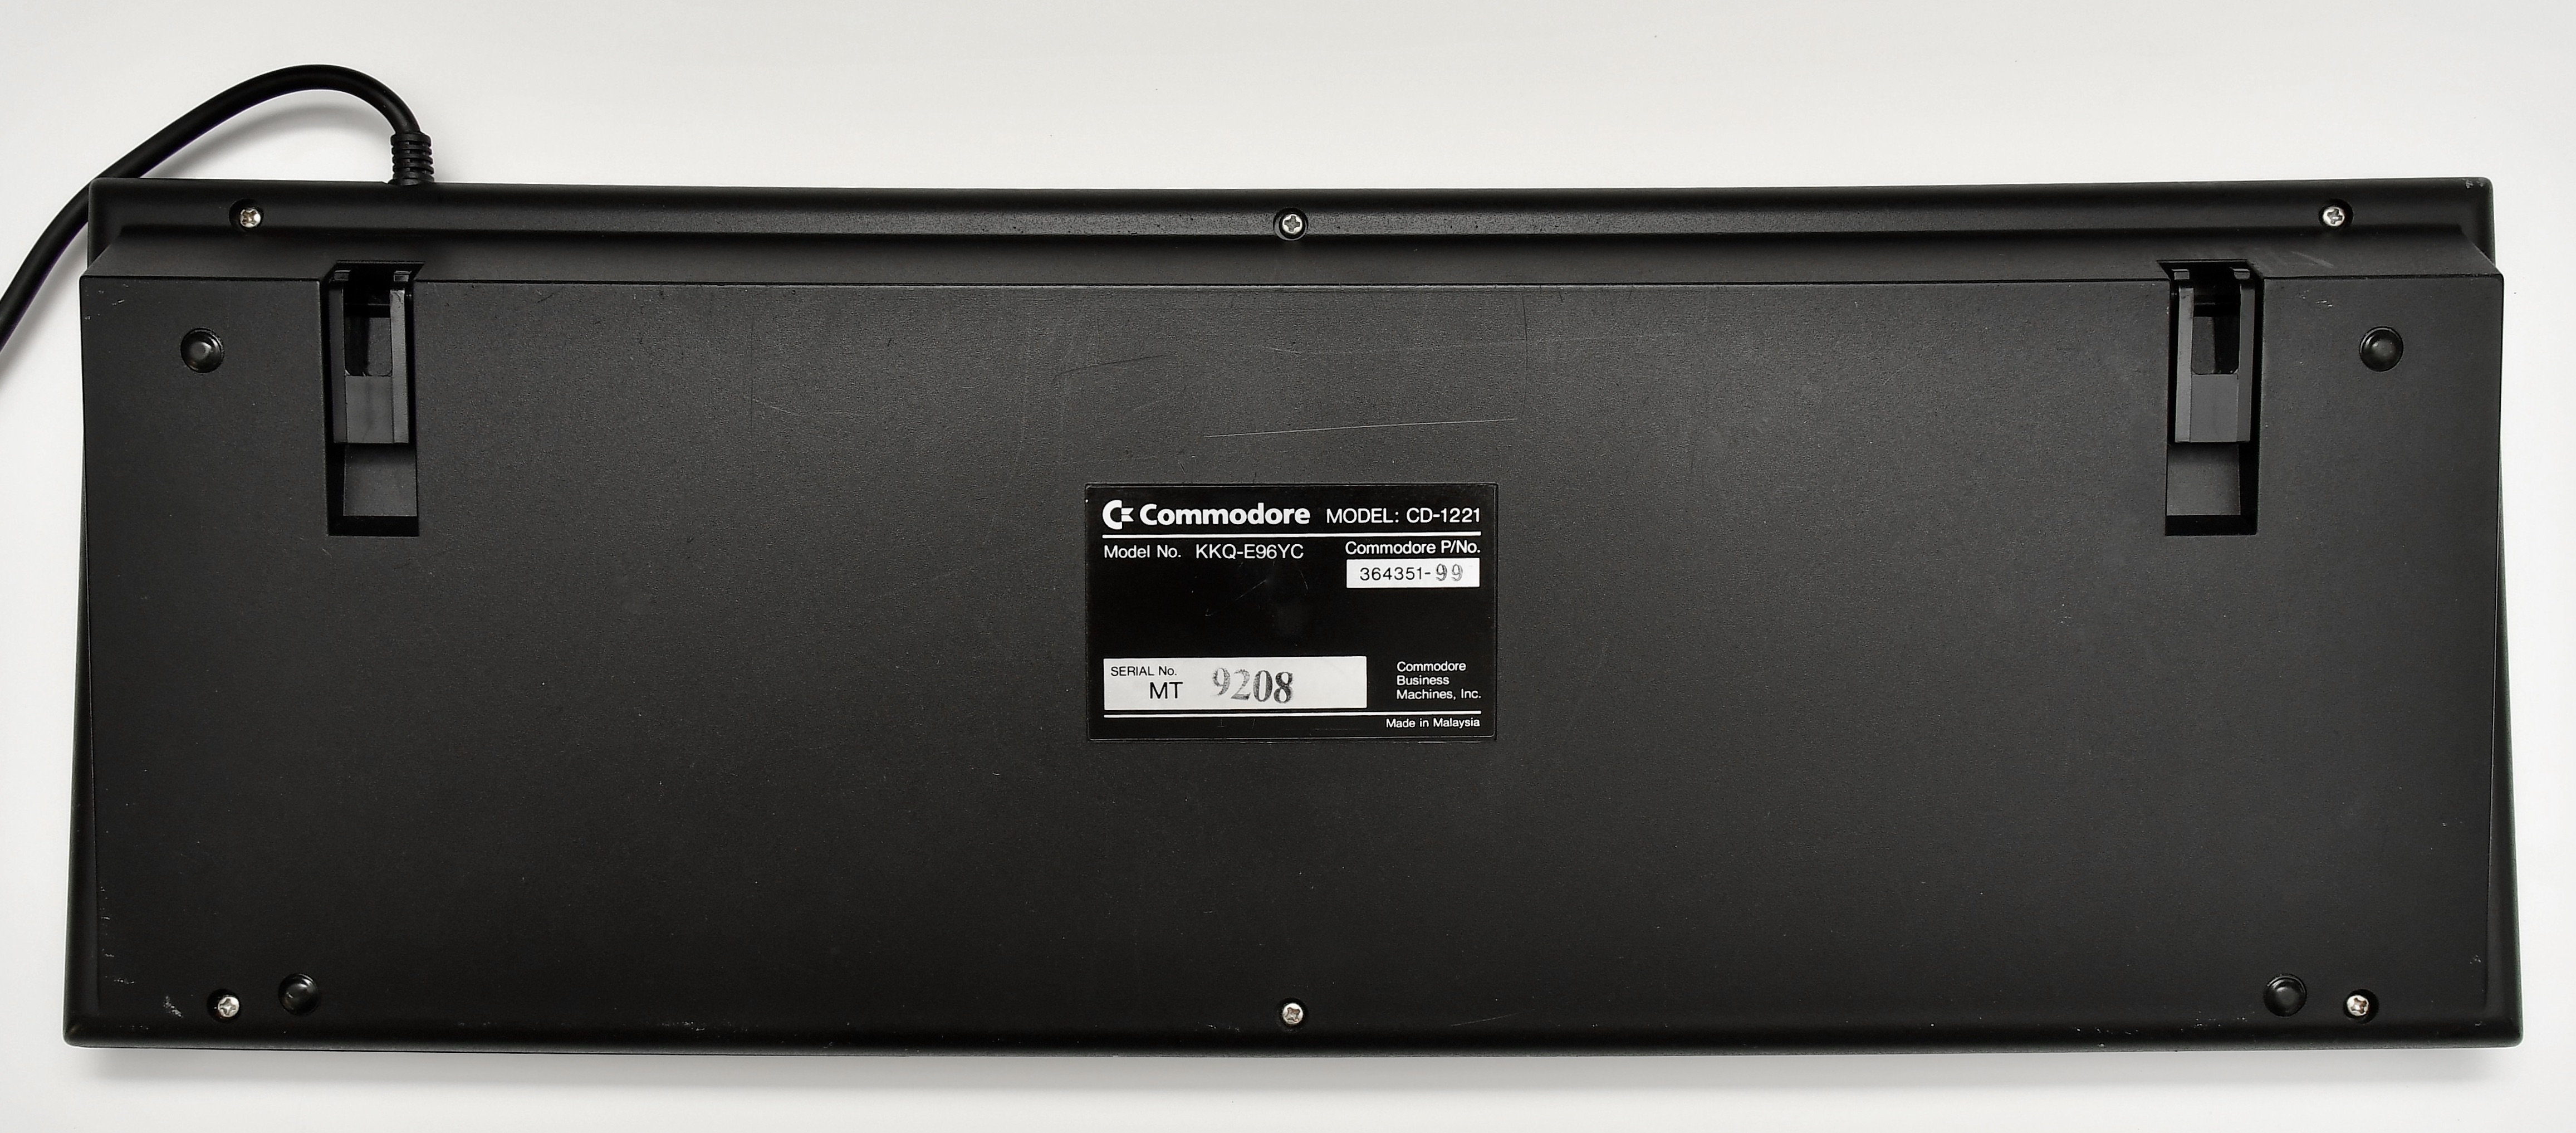
The CD-1221 is the official CDTV keyboard. It was available in various layouts (US, UK, German, French, Italian, Scandinavian, etc.) and hooked up to the back of the CDTV player. There is also a less common version of the CDTV keyboard that has the same grey key caps as Amiga computer keyboards have, instead of the CDTV black. It is unconfirmed why Commodore released the white keycaps keyboard, although given Commodore’s track record, it’s a pretty safe bet that it was an ordinary cost saving measure.
The CDTV keyboard was available separately or as part of several CDTV bundles.
Wireless Mouse (CD1252)
[edit | edit source]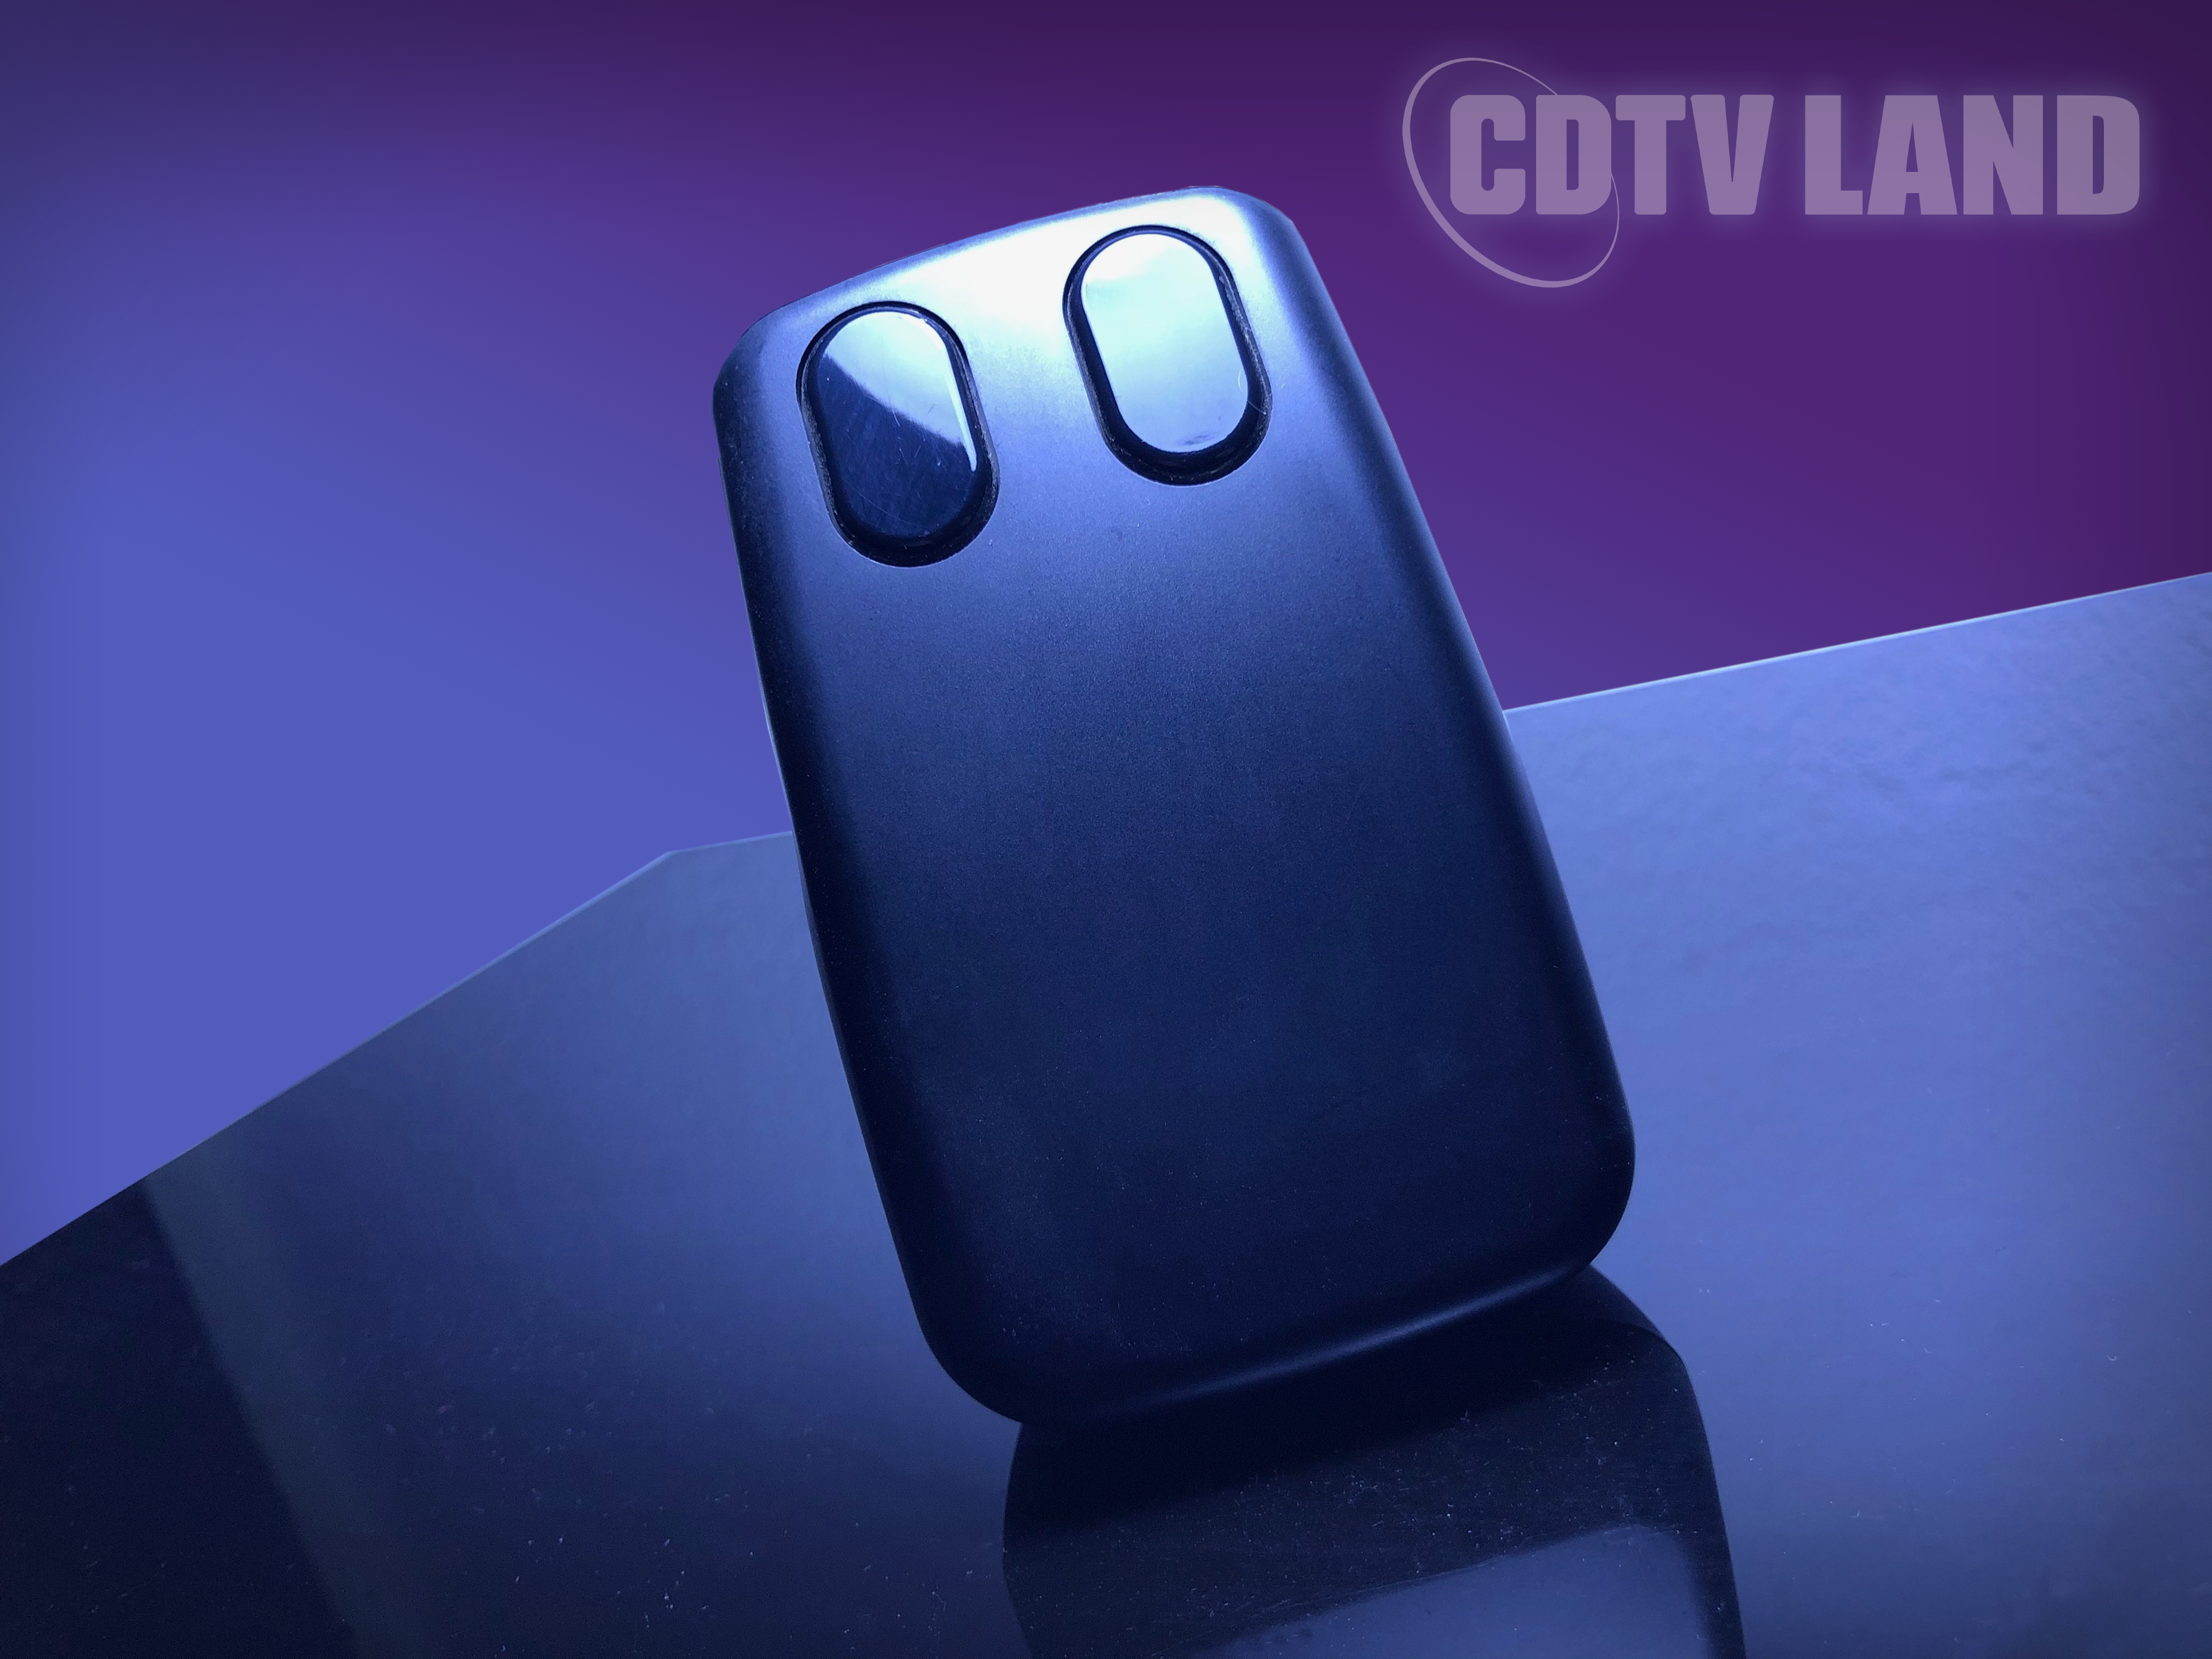
Like the CD1200 trackball controller, it has a button on the side that activates the mouse before use. The infrared wireless mouse will power off automatically if it is not used for a few minutes, to increase the battery life.
The wireless mouse was sold separately in retail, but it was also available as part of the CD1500 Professional Bundle and the CDTV Multimedia Pack.
Wired Mouse (CD1253)
[edit | edit source]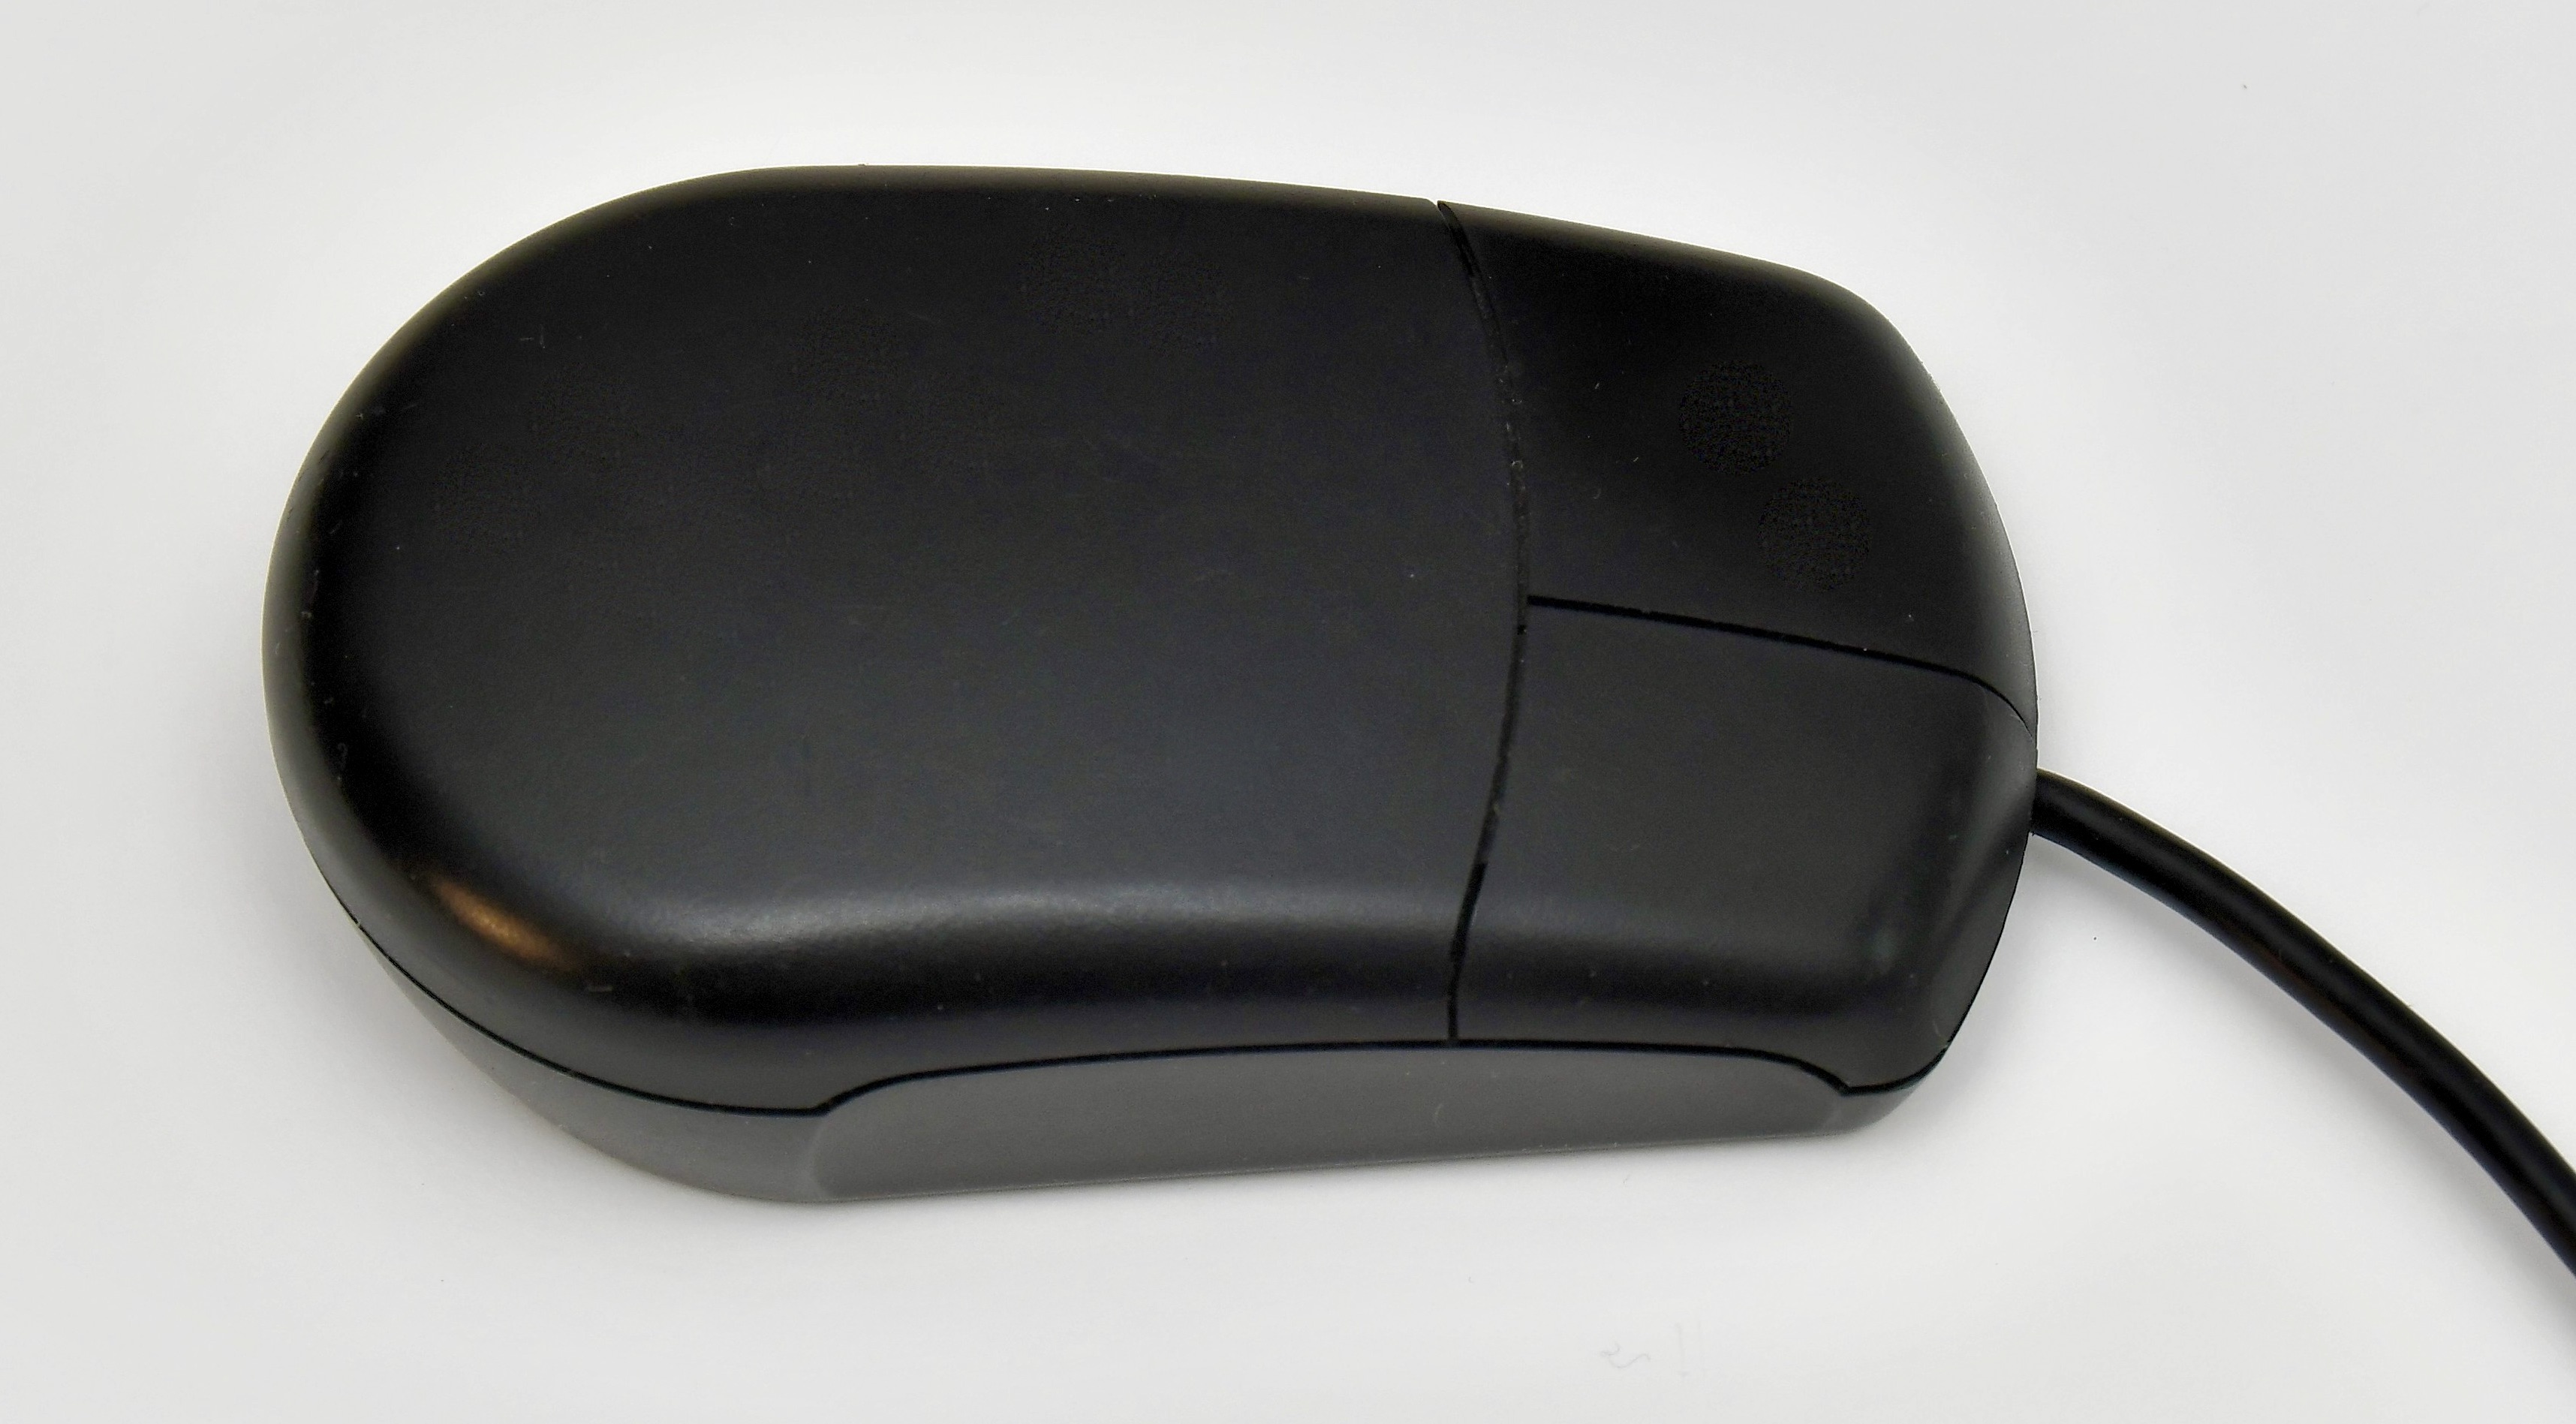

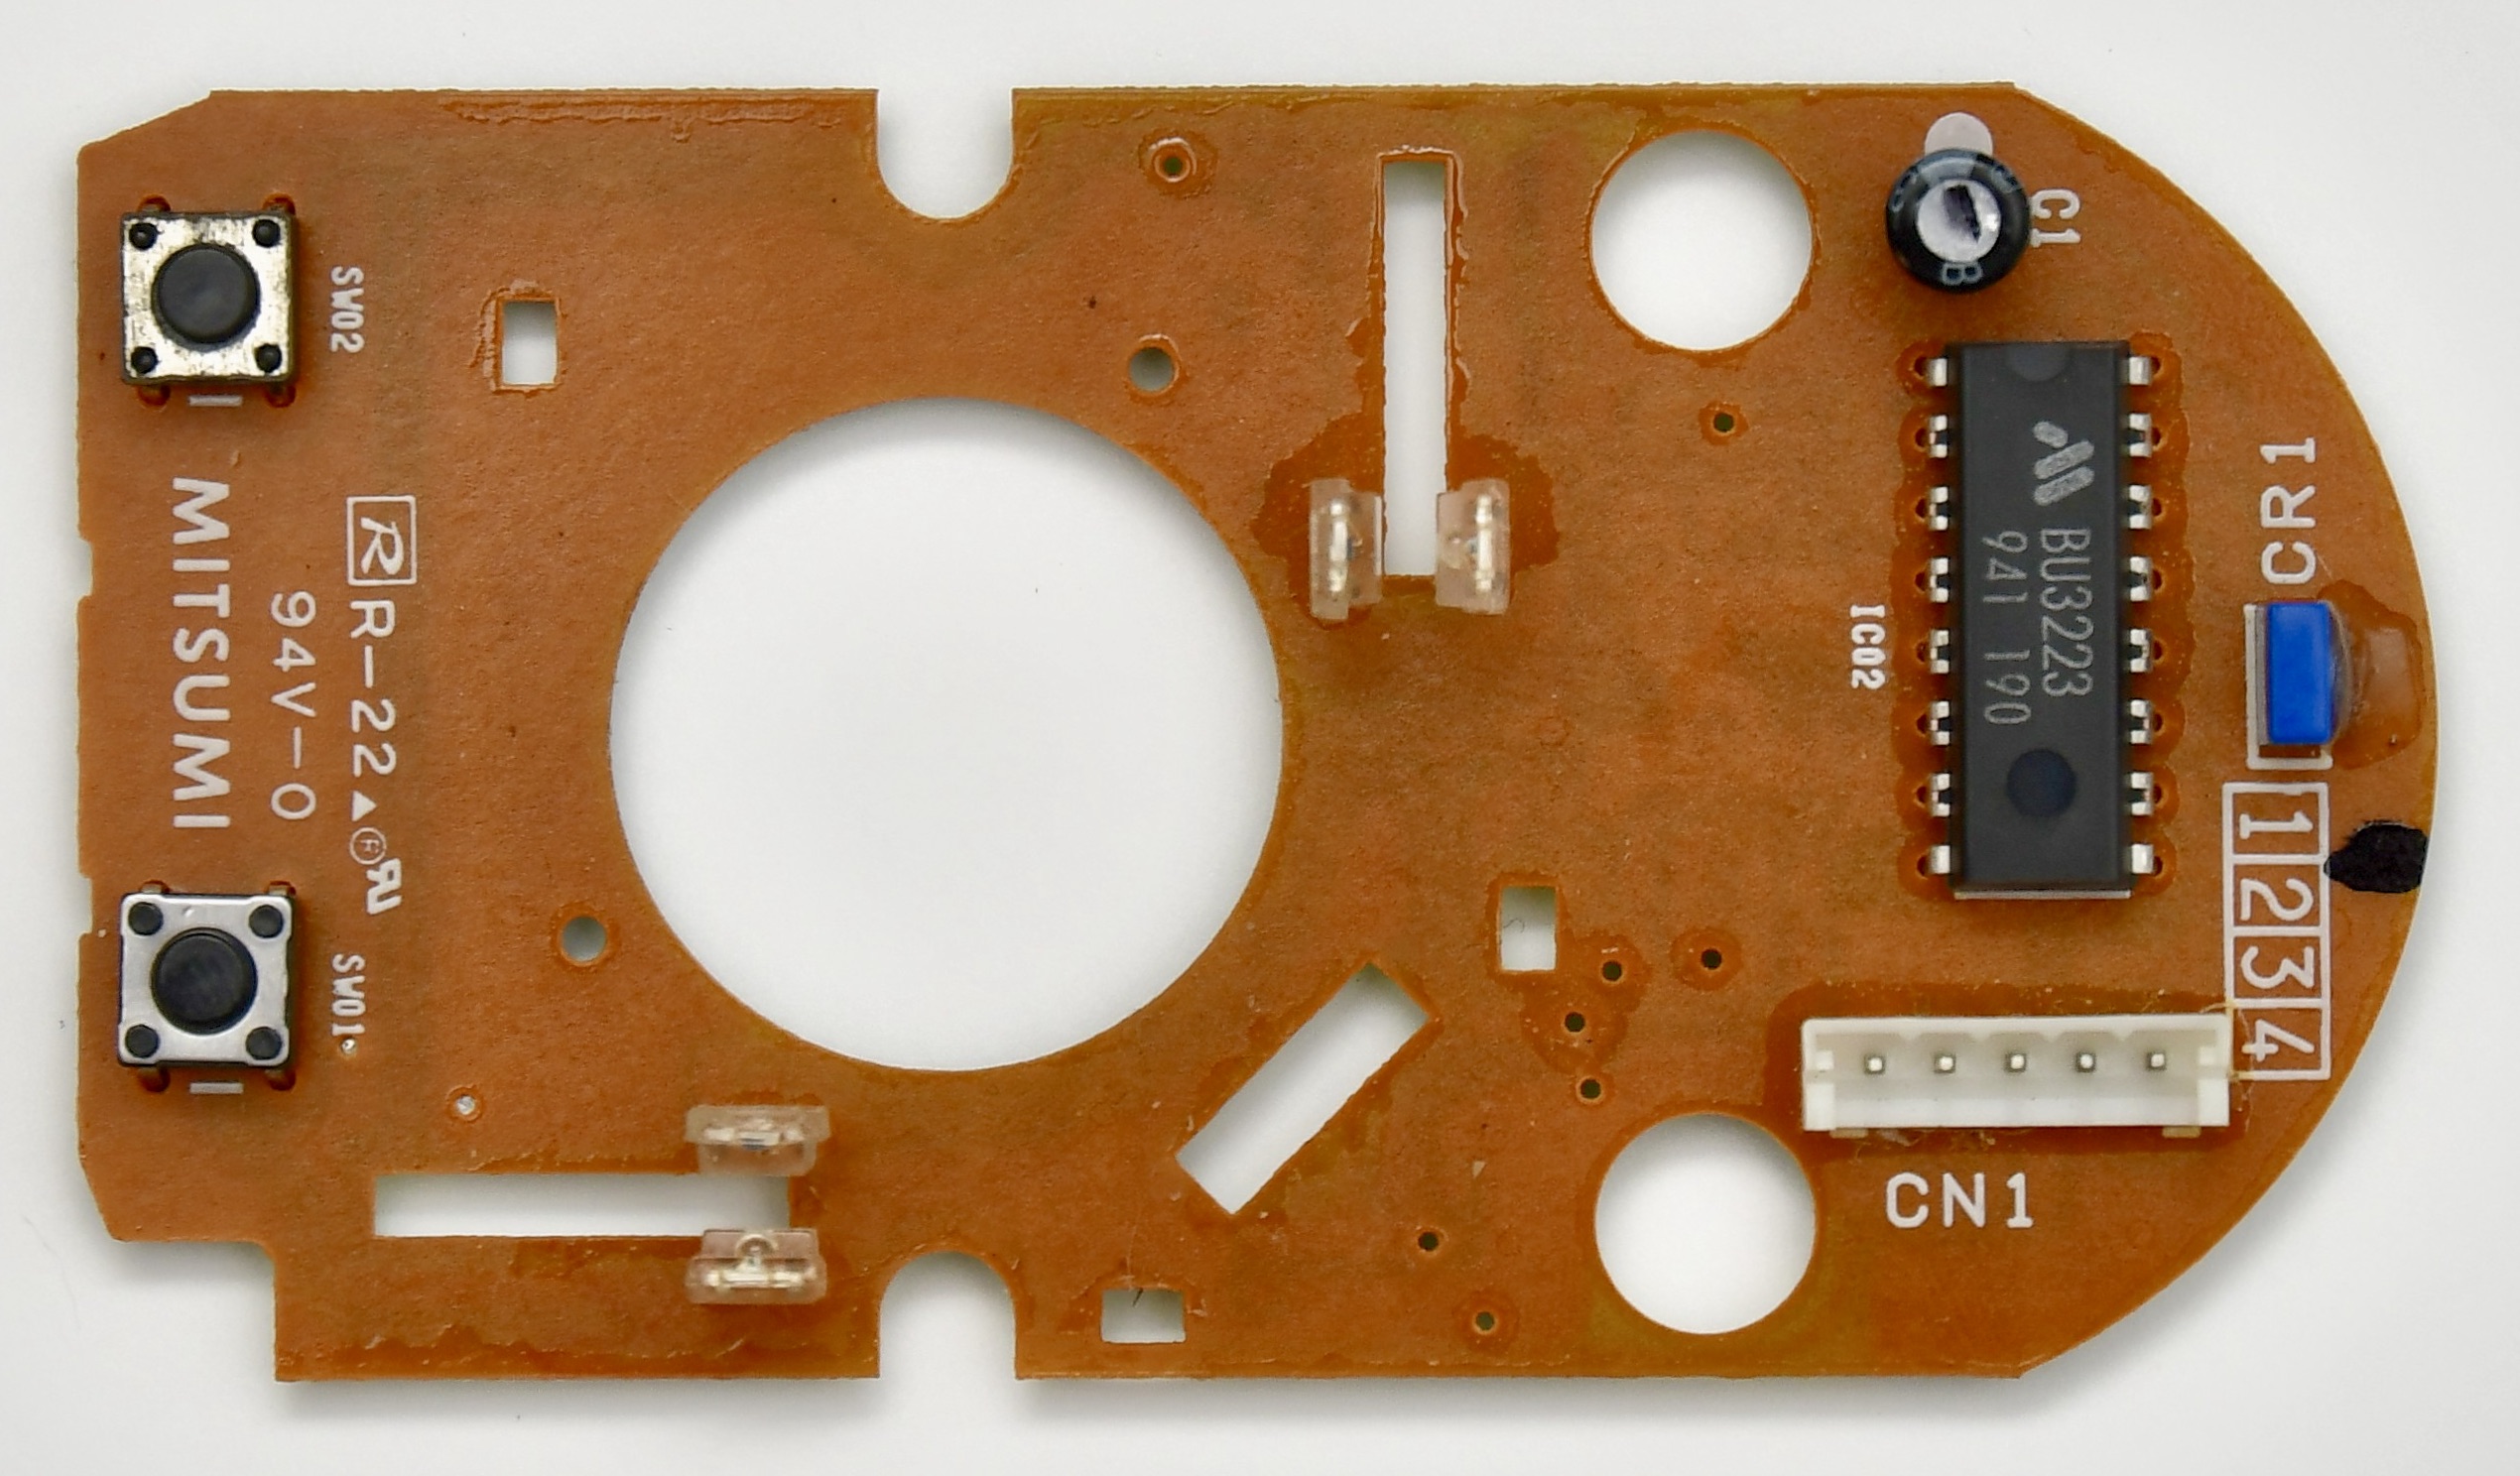
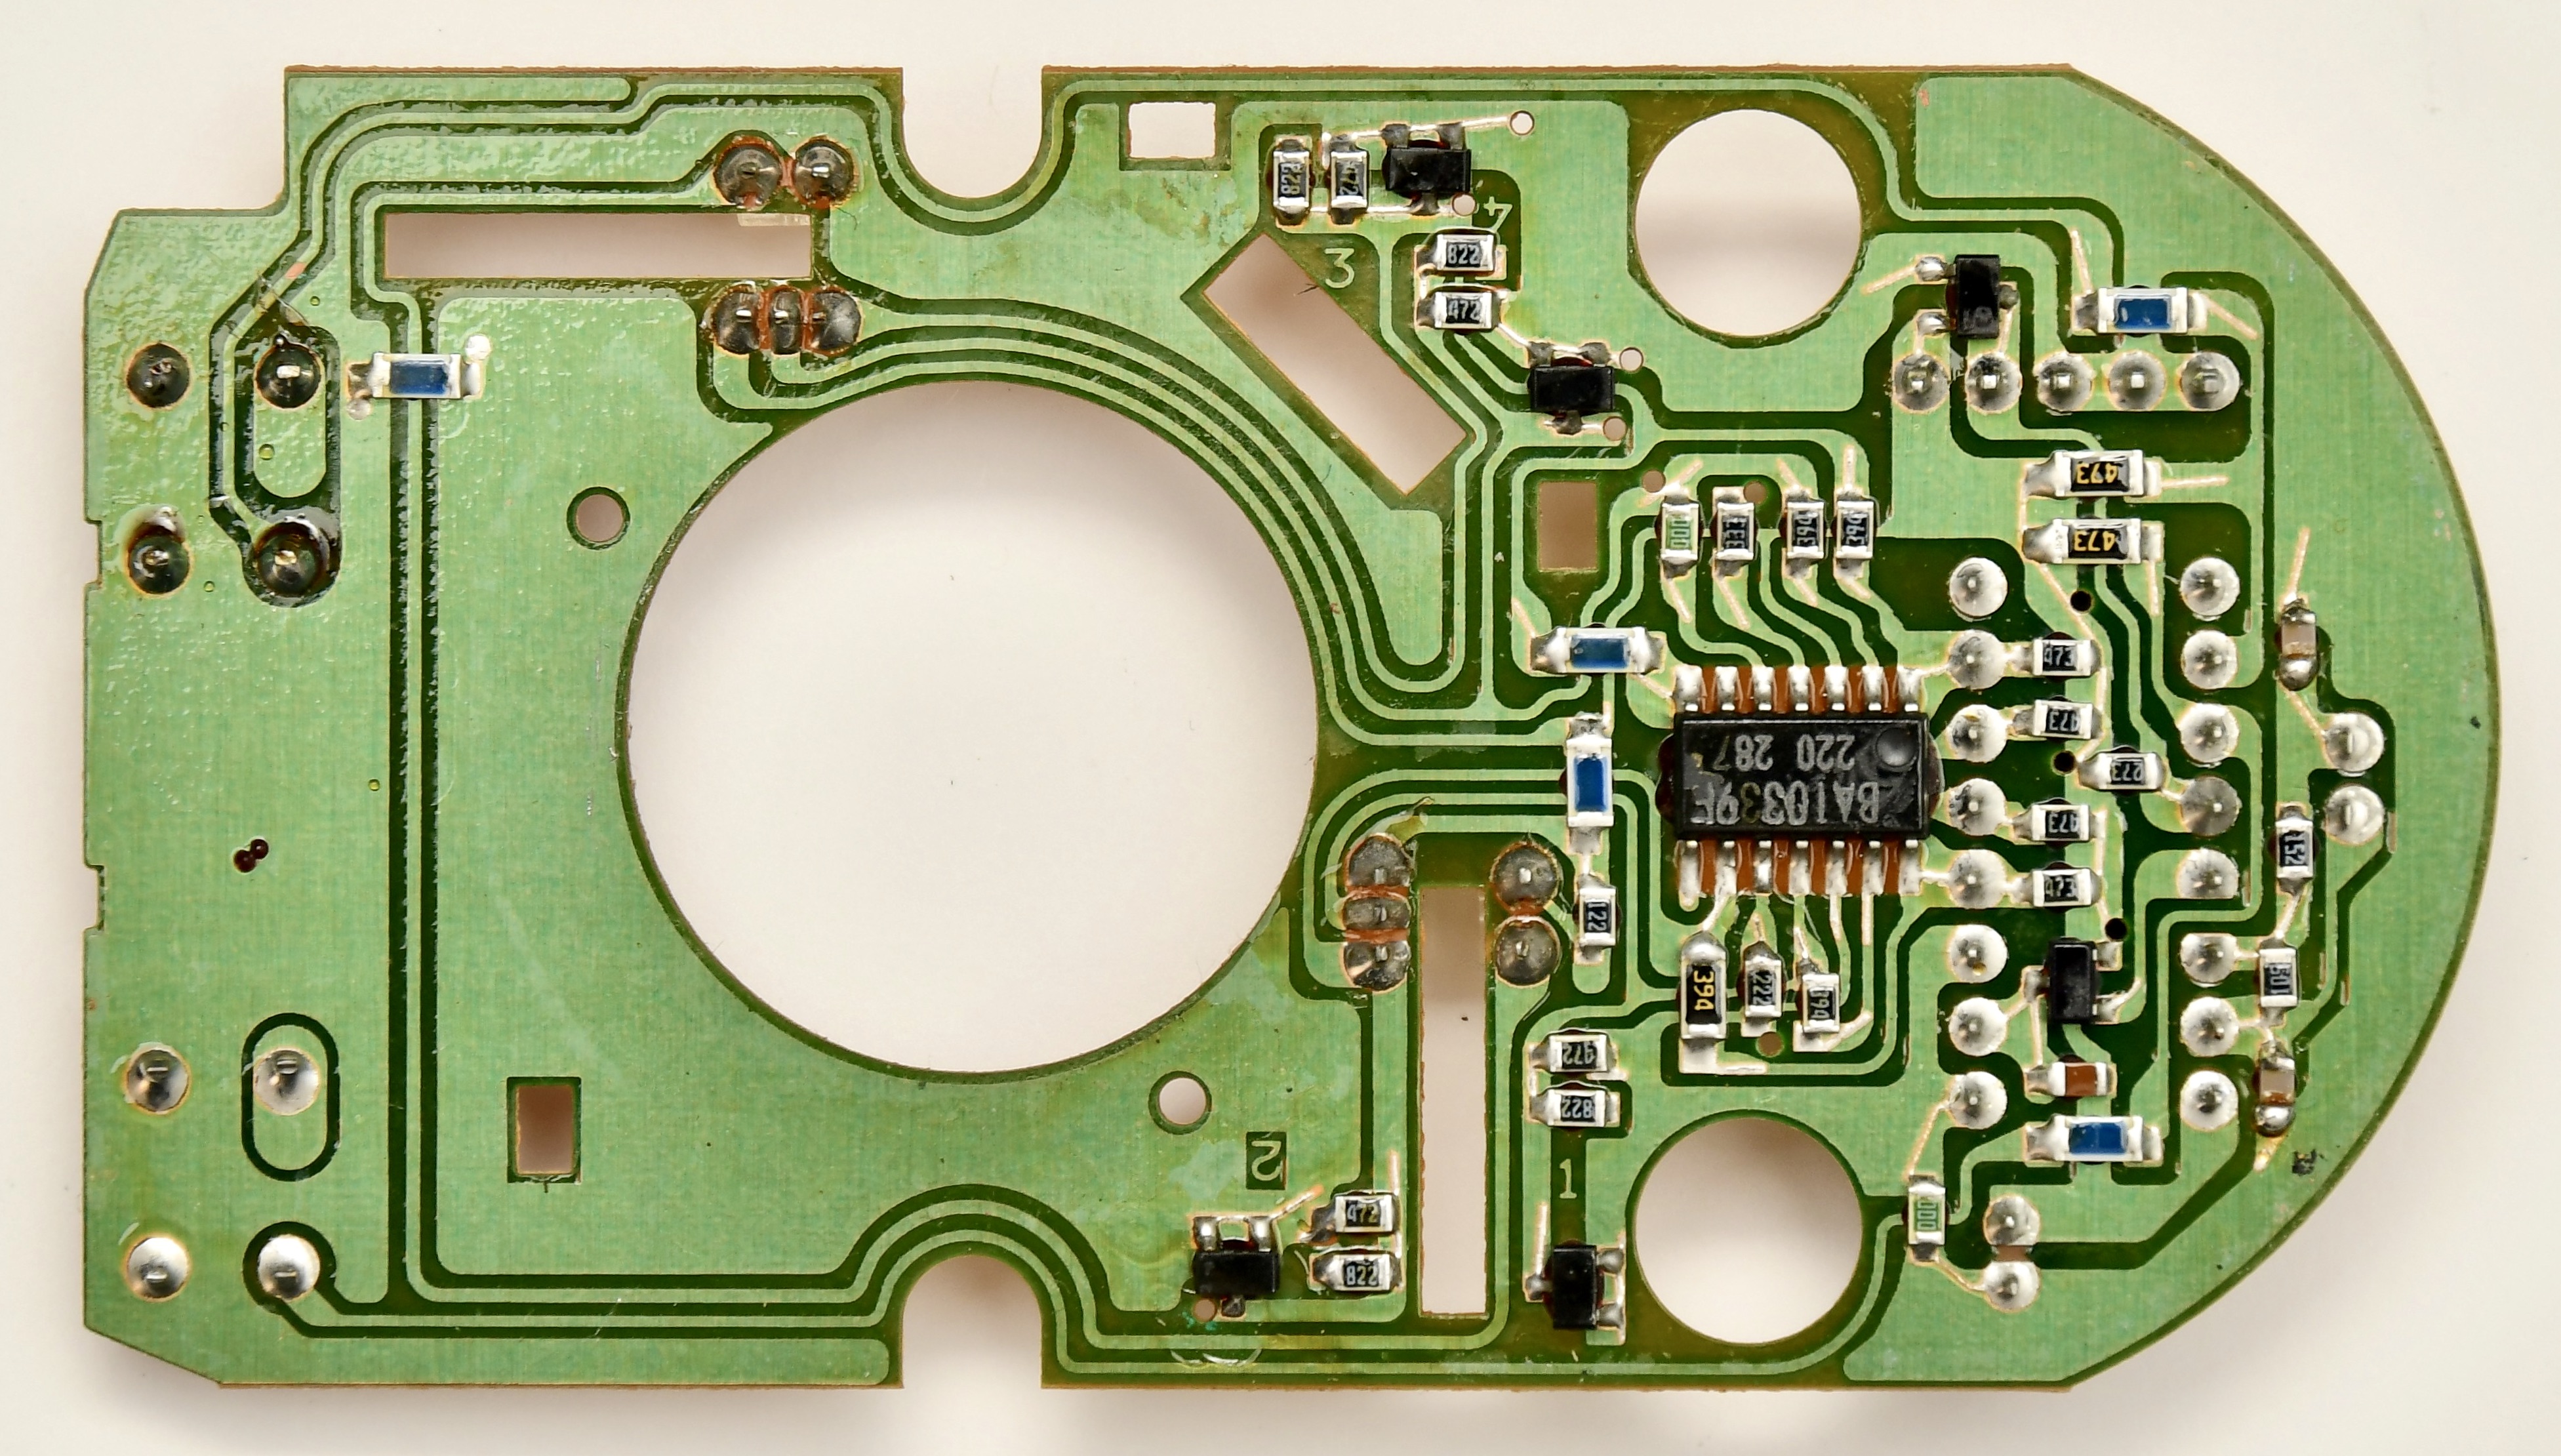
For situations where the wireless mouse can be a bit awkward to use (it requires a line of sight between the mouse and the CDTV’s infrared sensor) or for people who just prefer not to mess around with batteries, there’s also the good old wired version of the CDTV mouse, that connects to the back of the CDTV player.
The wired mouse was not available until 1992 and it's unknown whether it was ever sold separately, because no retail packaging for it has ever been seen. It comes in a plain white box, which suggests it would have been part of a bundle. However both the CD1500 Professional pack and the CDTV Multimedia Pack came bundled with the CD-1252 wireless mouse.
Genlock Video Module (CD1300 [NTSC] / CD1301 [PAL])
[edit | edit source]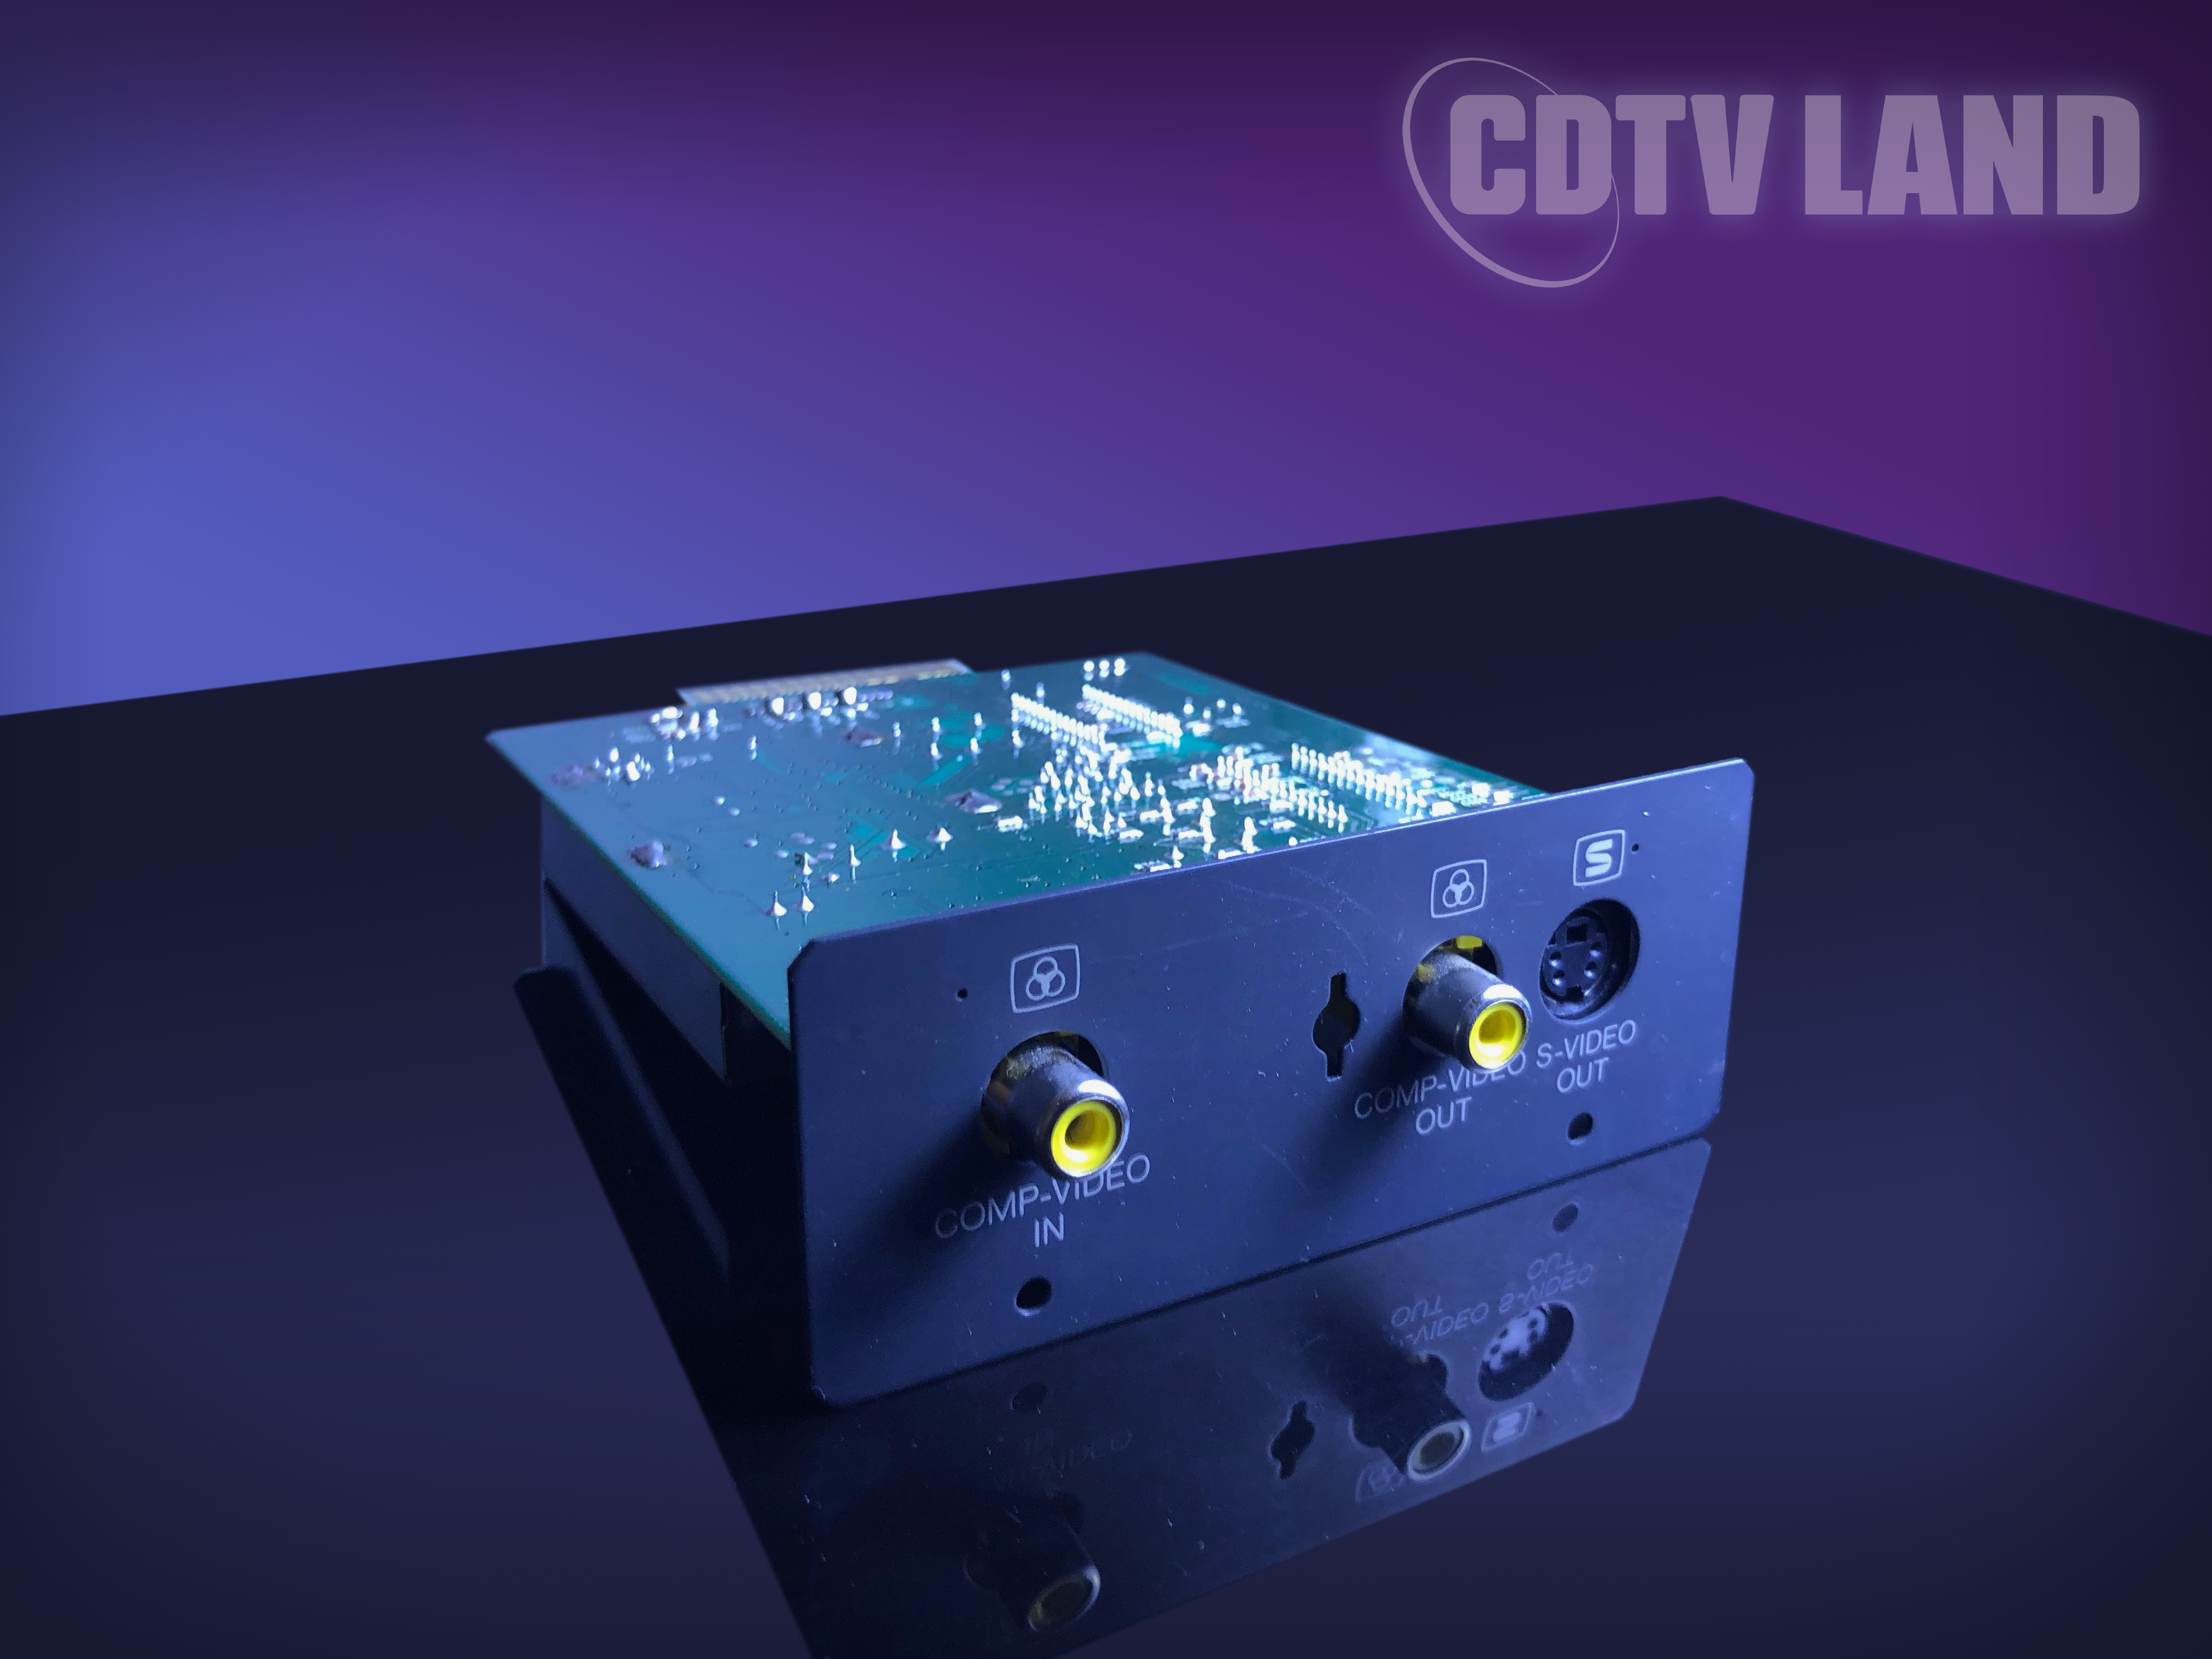
This is the Genlock Video Module, which allows you to superimpose the CDTV signal on top an external video signal. You can plug any composite source video signal (like your VCR, video camera or even Laserdisc player) into the Genlock Video Module and then use the CDTV to add titles or graphics to this video signal and record the result to e.g. a second VCR.
That means you can spruce up your family’s vacation videos with colorful graphics or captions, but it is just as easy to use it for more (semi-)professional goals like adding subtitles or captions to a video recording, or maybe vertically scrolling closing credits to a program. Really any still graphics or animations that you could create on the CDTV or an Amiga can be overlaid on an external video signal using the Genlock Video Module.
Two versions of the Genlock Video Module were released. CD1300 is the NTSC genlock and CD1301 is the PAL genlock module.
SCART Video Module (CD1321)
[edit | edit source]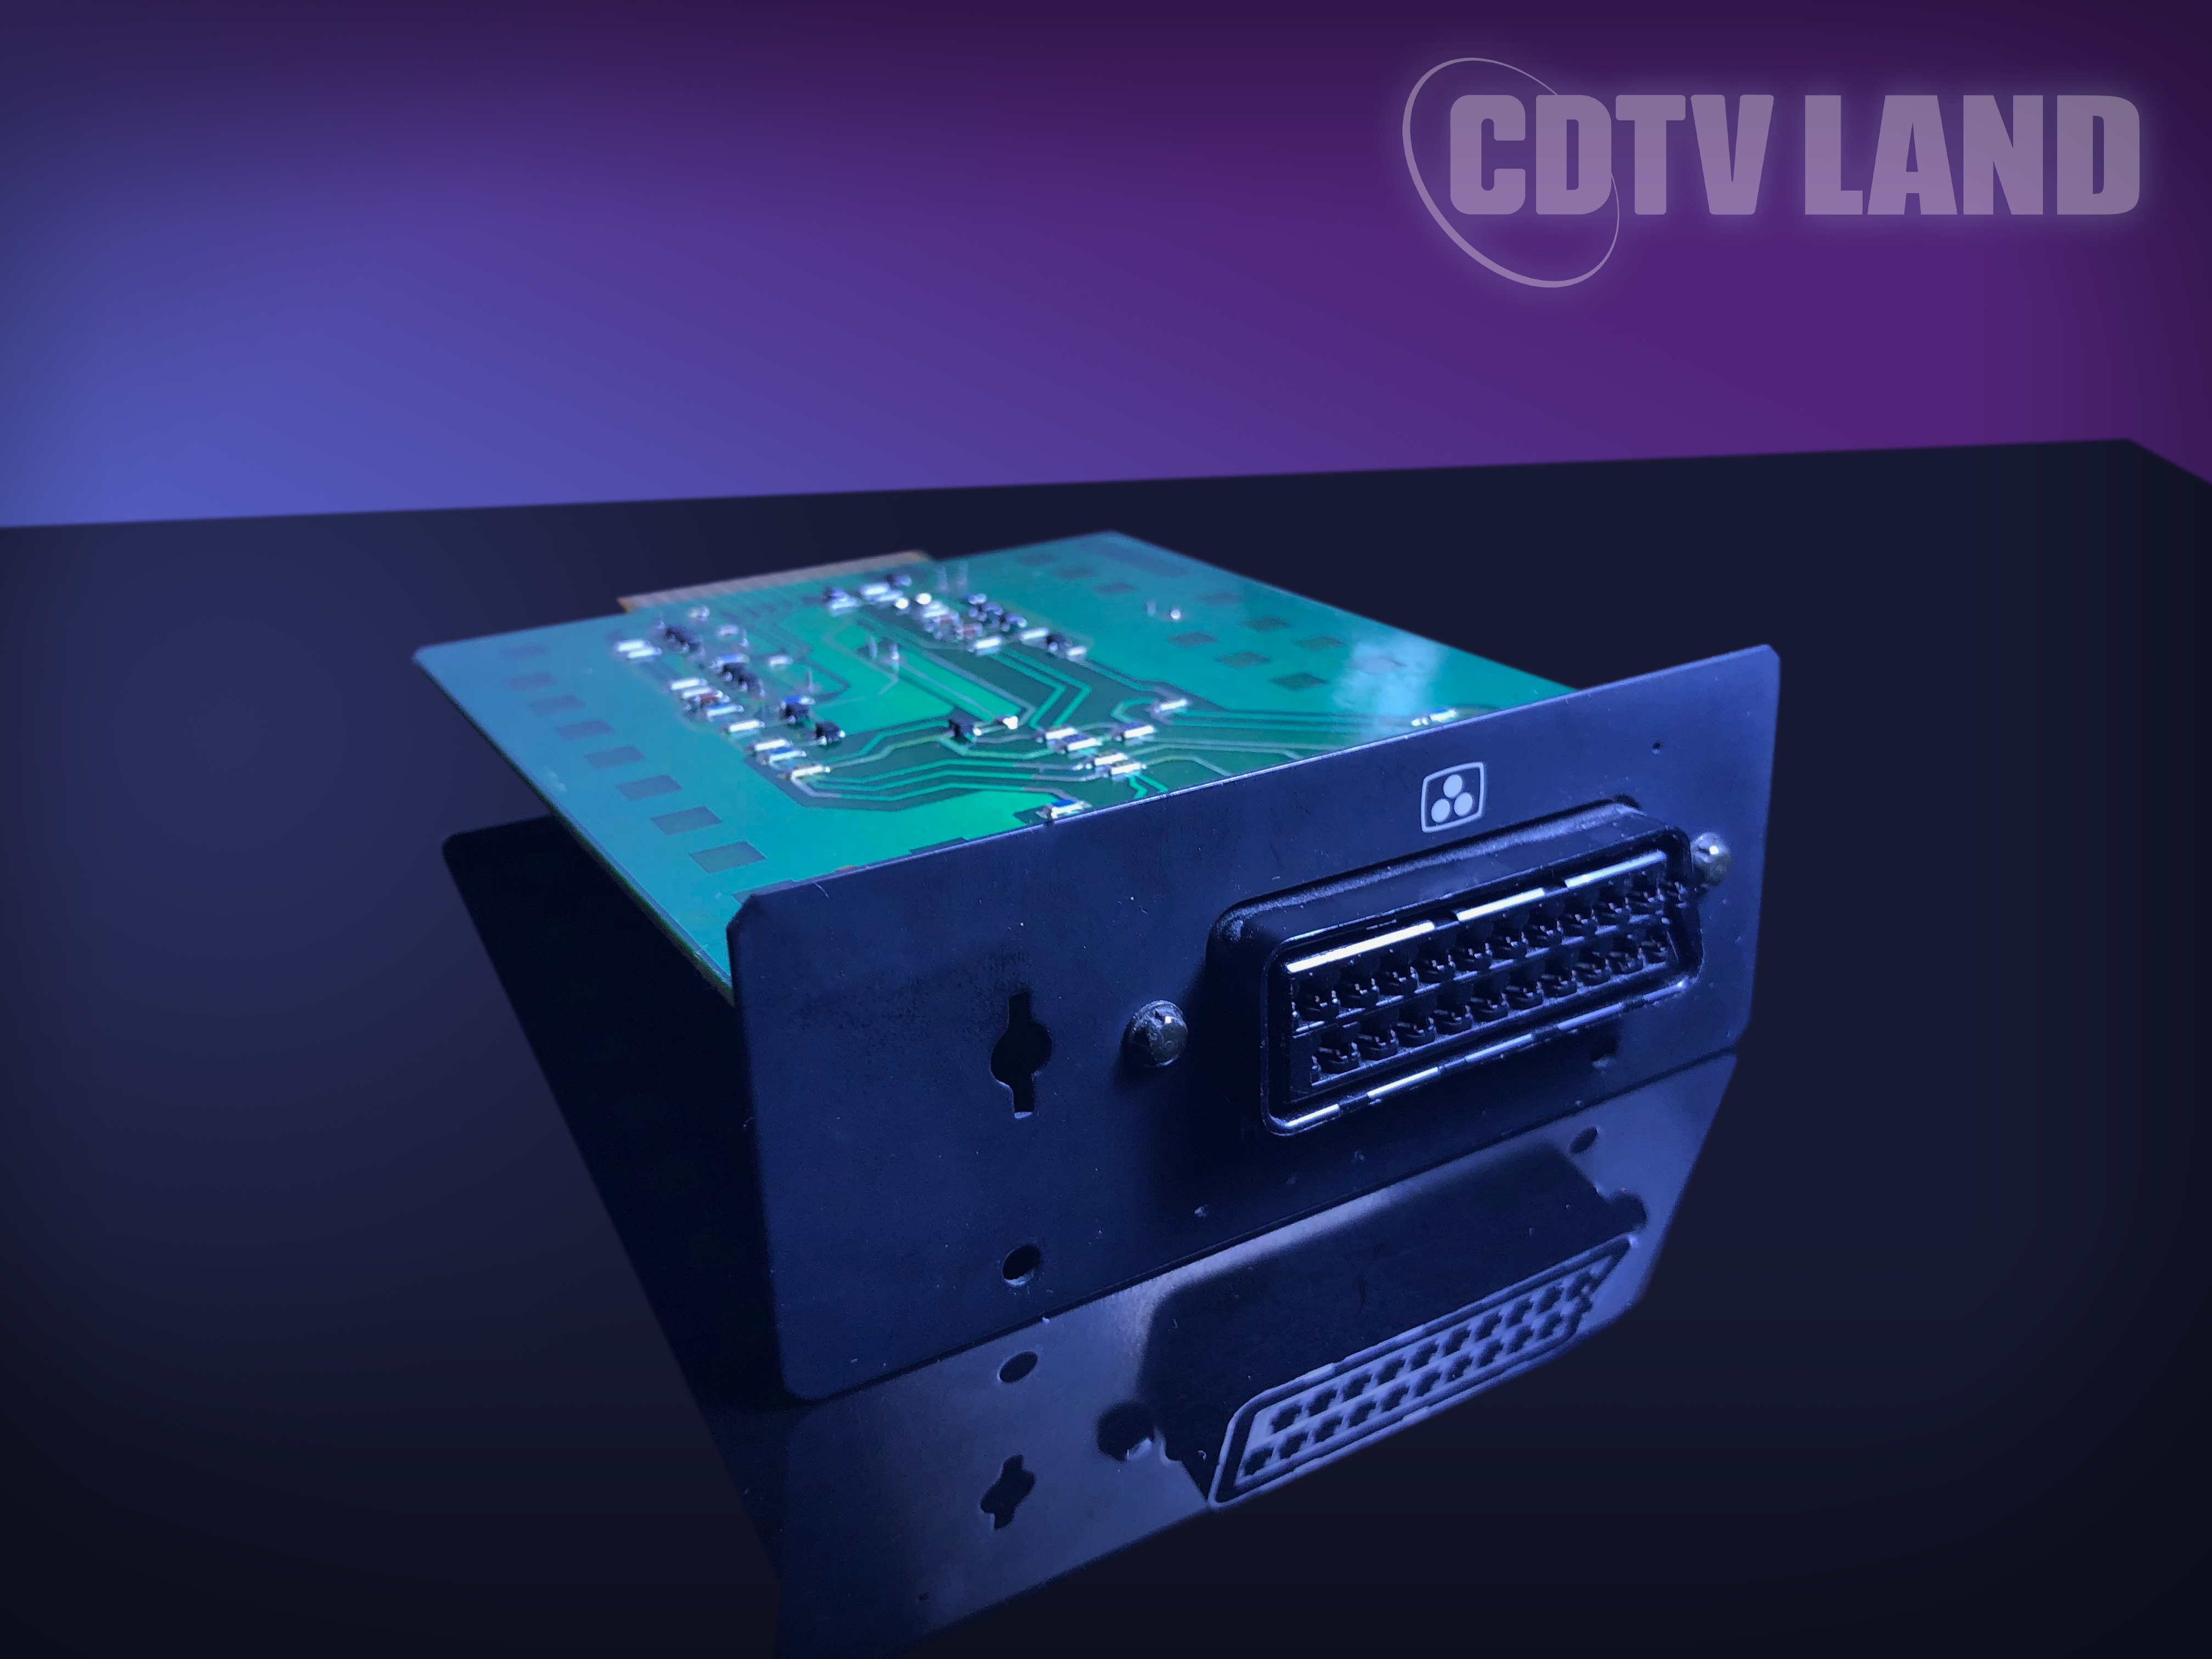
CD1321 is the SCART video module. It was probably only available in the PAL markets, because it was a European standard (originating from France). It combines composite, S-Video and RGB input and output video signals as well as audio signals and more into a single connector.
The SCART Video Module was sold as a separate accessory in most markets, however it seems that CDTV players sold by Commodore France had the SCART video module built-in as standard instead of the base RF/composite video module. France used neither PAL nor NTSC as their video broadcast standard, but instead had their own SECAM standard. Given that there do not seem to exist any CDTV SECAM video modules, including a SCART video module and SCART cable seemed to solve that problem neatly.
CD Caddy 2-Pack (CD1400)
[edit | edit source]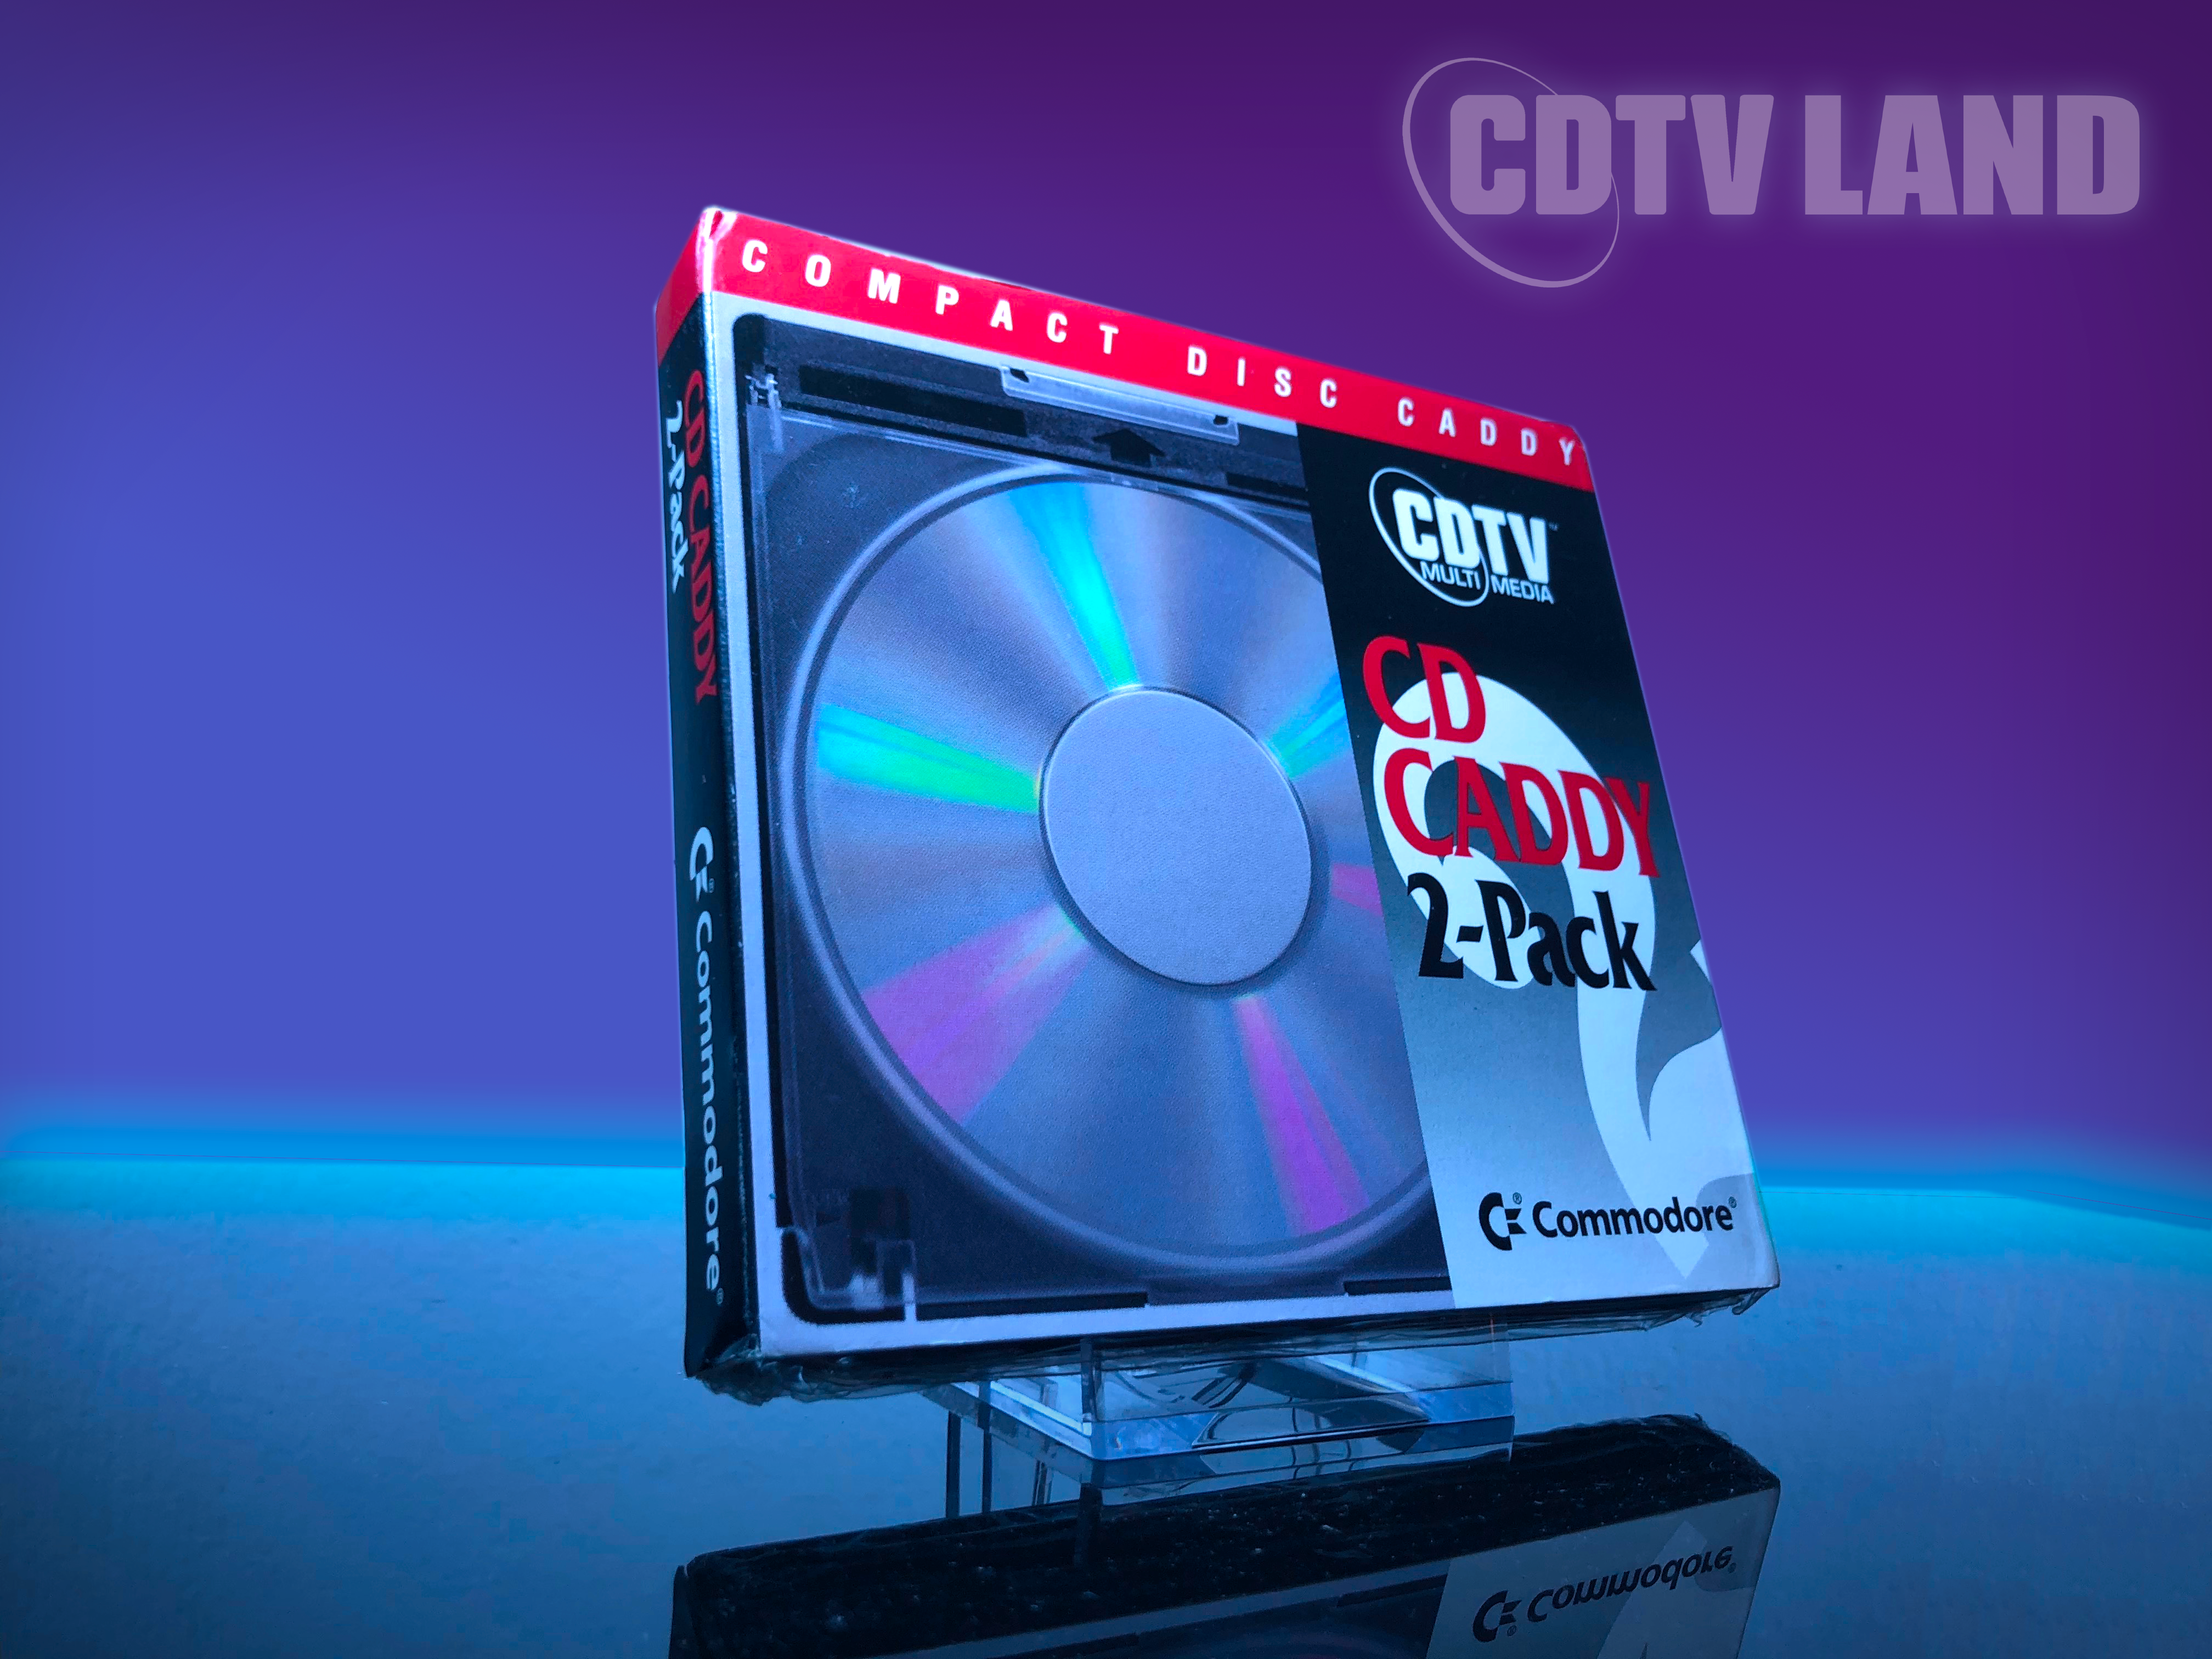
The CDTV Player’s CD-ROM drive cannot accept optical media directly. Any CD or CD-ROM needs to be placed into a caddy, before it can be inserted into the player. Every CDTV player came packed with one free black caddy, which probably suited most people just fine. But of course if you wanted more, you could stack up on additional caddies.
The official CDTV branded caddies were sold in 2-packs and cost a whopping 30 US dollars a pack. Only the packaging carries the CDTV and Commodore branding. The caddies themselves do not seem to carry any branding, and because they were an industry standard, you could probably buy them cheaper elsewhere. (although black caddies might have been harder to find than the usual beige/cream colored caddies).
The CD Caddy 2-Pack packaging has the same style as the North American CDTV player (CD-1000) packaging, which suggests this particular retail packaging might have been available only in North America. The caddy 2-packs would also come in just a plain white box with a part number sticker.
The caddy 2-packs were included with some CDTV player bundles that were released mid-1992 in North America (CDTV Professional Pack, CDTV Library Pack and CDTV Learning Pack). This particular CD Caddy 2-Pack is very hard to find in its original packaging.
Memory Cards (CD1401 / CD1405)
[edit | edit source]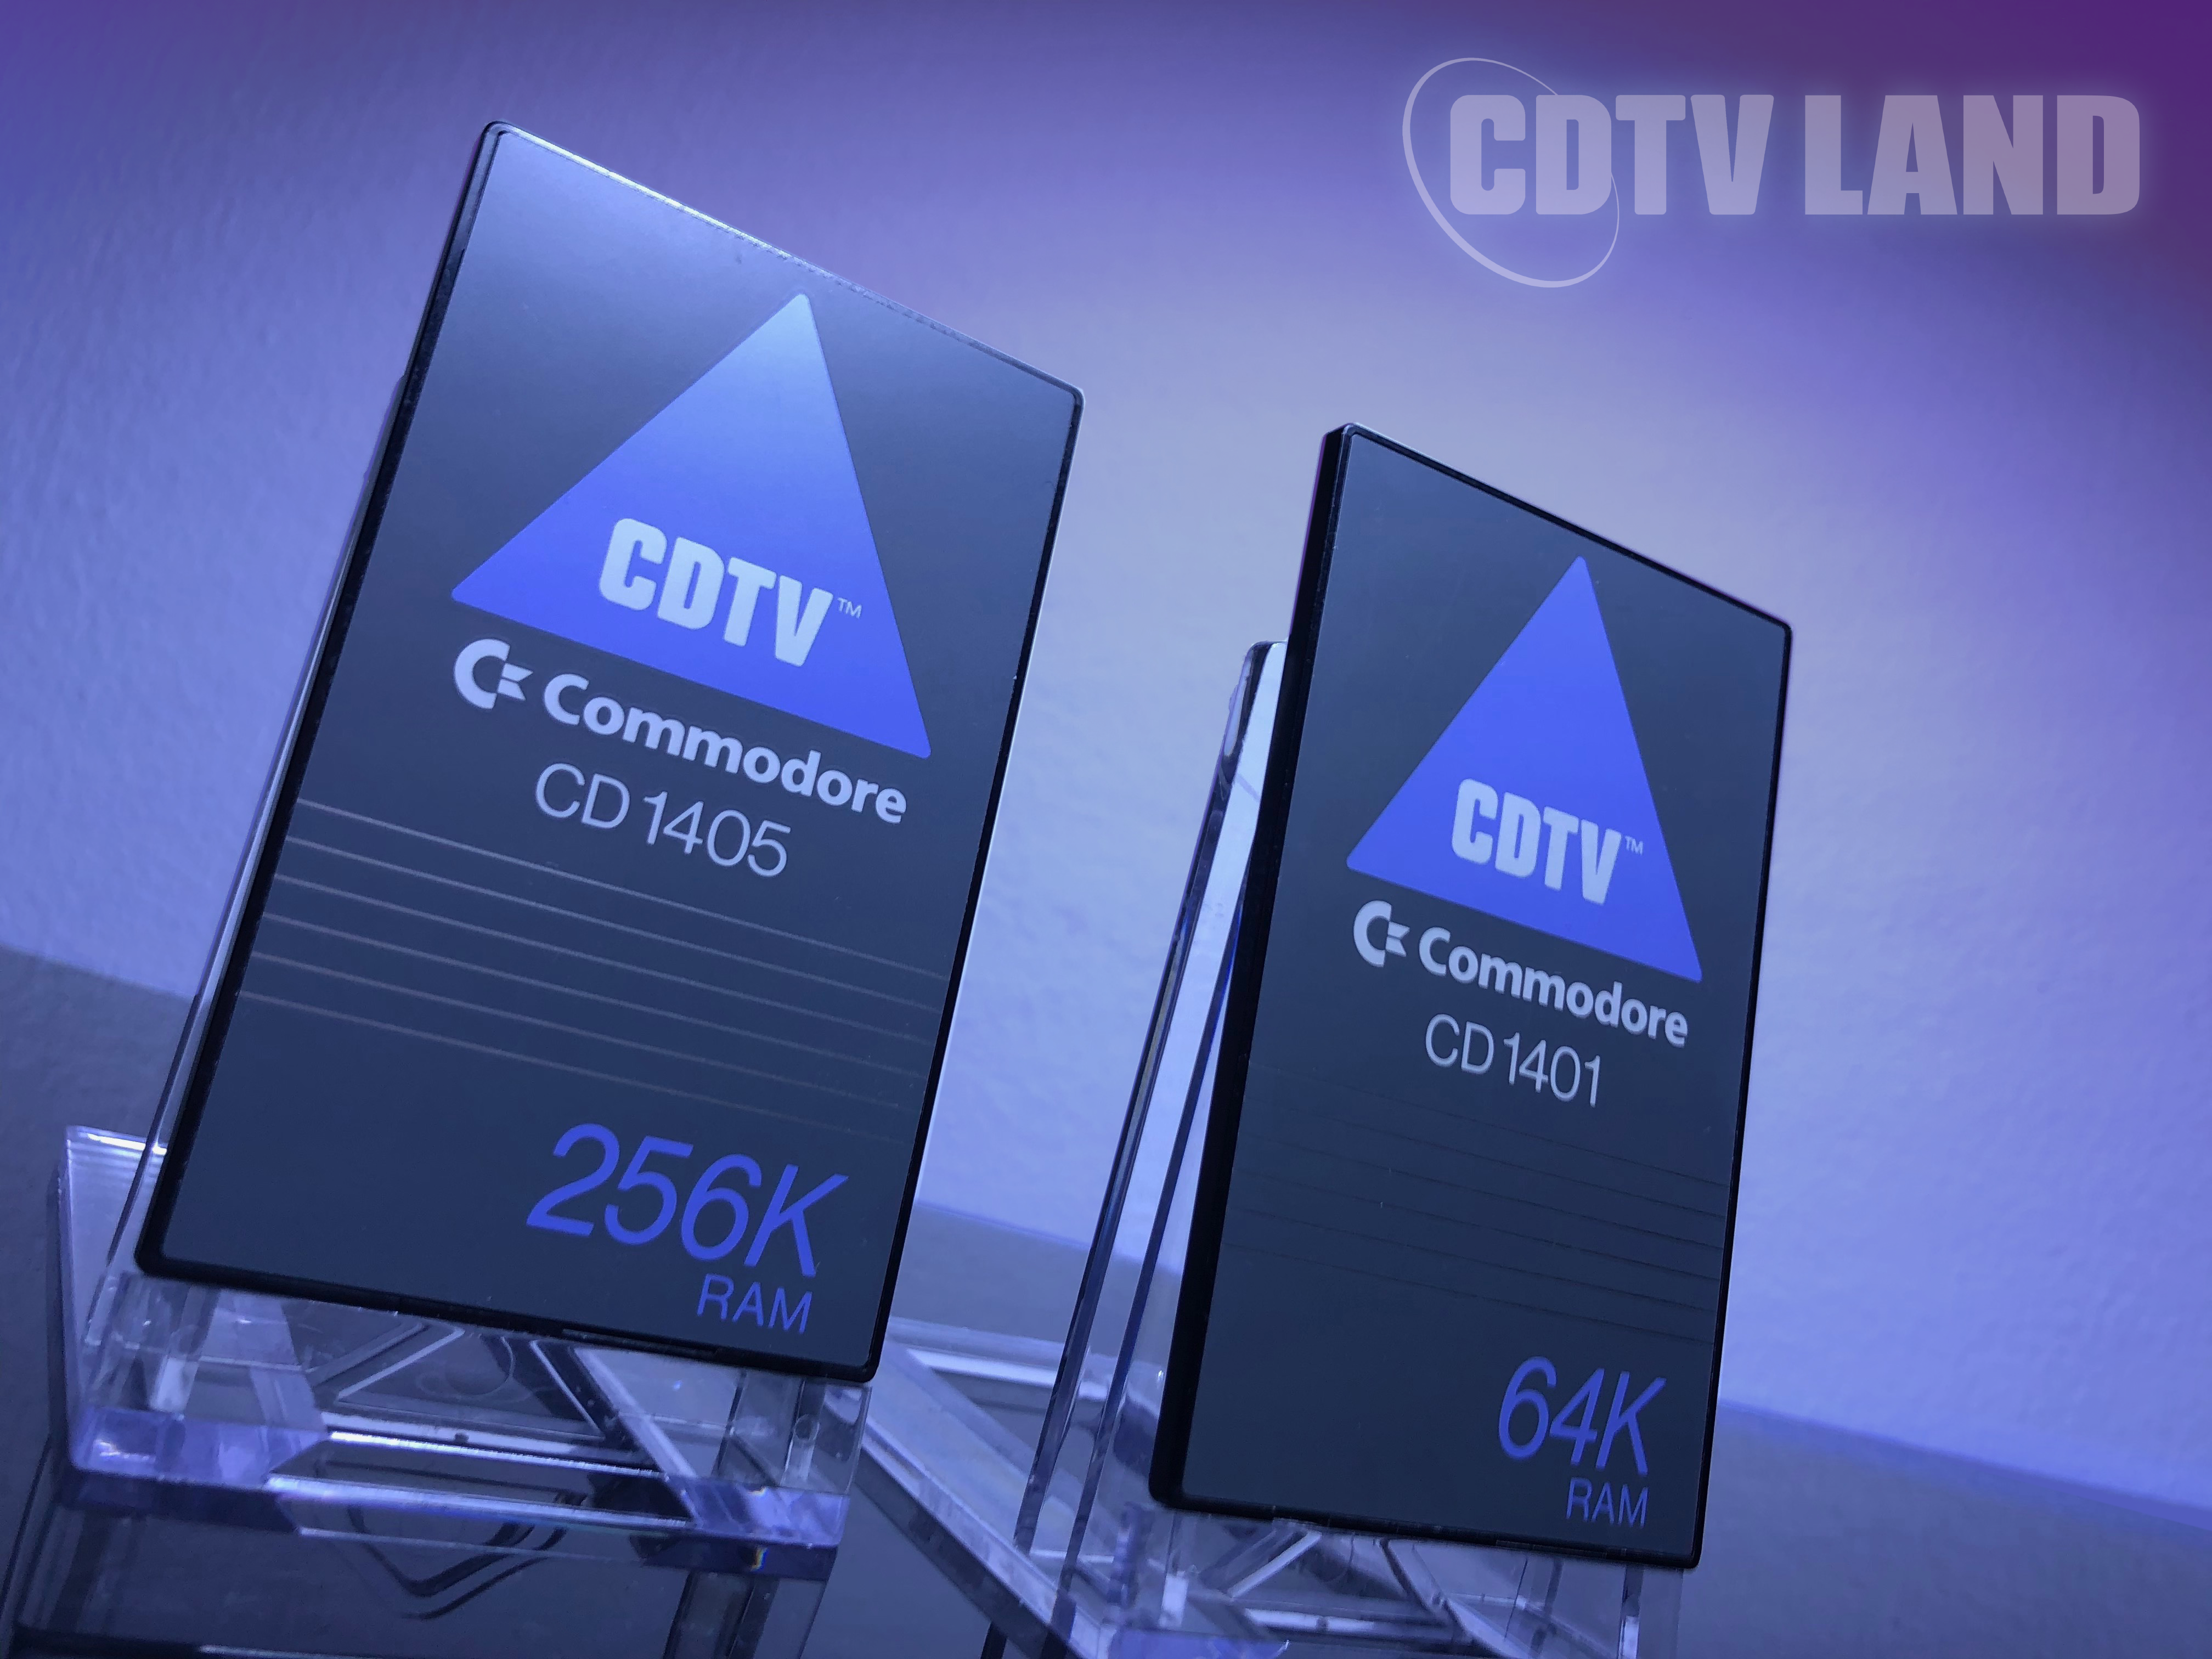
Because you can’t save anything to a CD-ROM, an alternative method of saving data was needed. Enter the CDTV memory cards! The CDTV player has a special memory card slot that is accessible through the front panel, neatly hidden behind a removable door. Some CDTV titles can save data to these memory cards (think save games), but the memory cards were much more versatile than that.
Because they plugged straight into the CDTV’s address bus, they were addressable as regular RAM. This means you could also use them to expand the total amount of memory of your CDTV or do some fancy stuff like installing drivers (resident modules) that got activated on CDTV startup or even use them as AmigaDOS devices. Sadly, all these advanced features remained unused during the original life of the CDTV.
Not many memory cards were manufactured, because they were very expensive technology back in the early 1990s. This makes them very hard to find nowadays, especially the 256K card (CD-1405). A common misconception is that these are PCMCIA cards. They are not! They’re just battery backed SRAM.
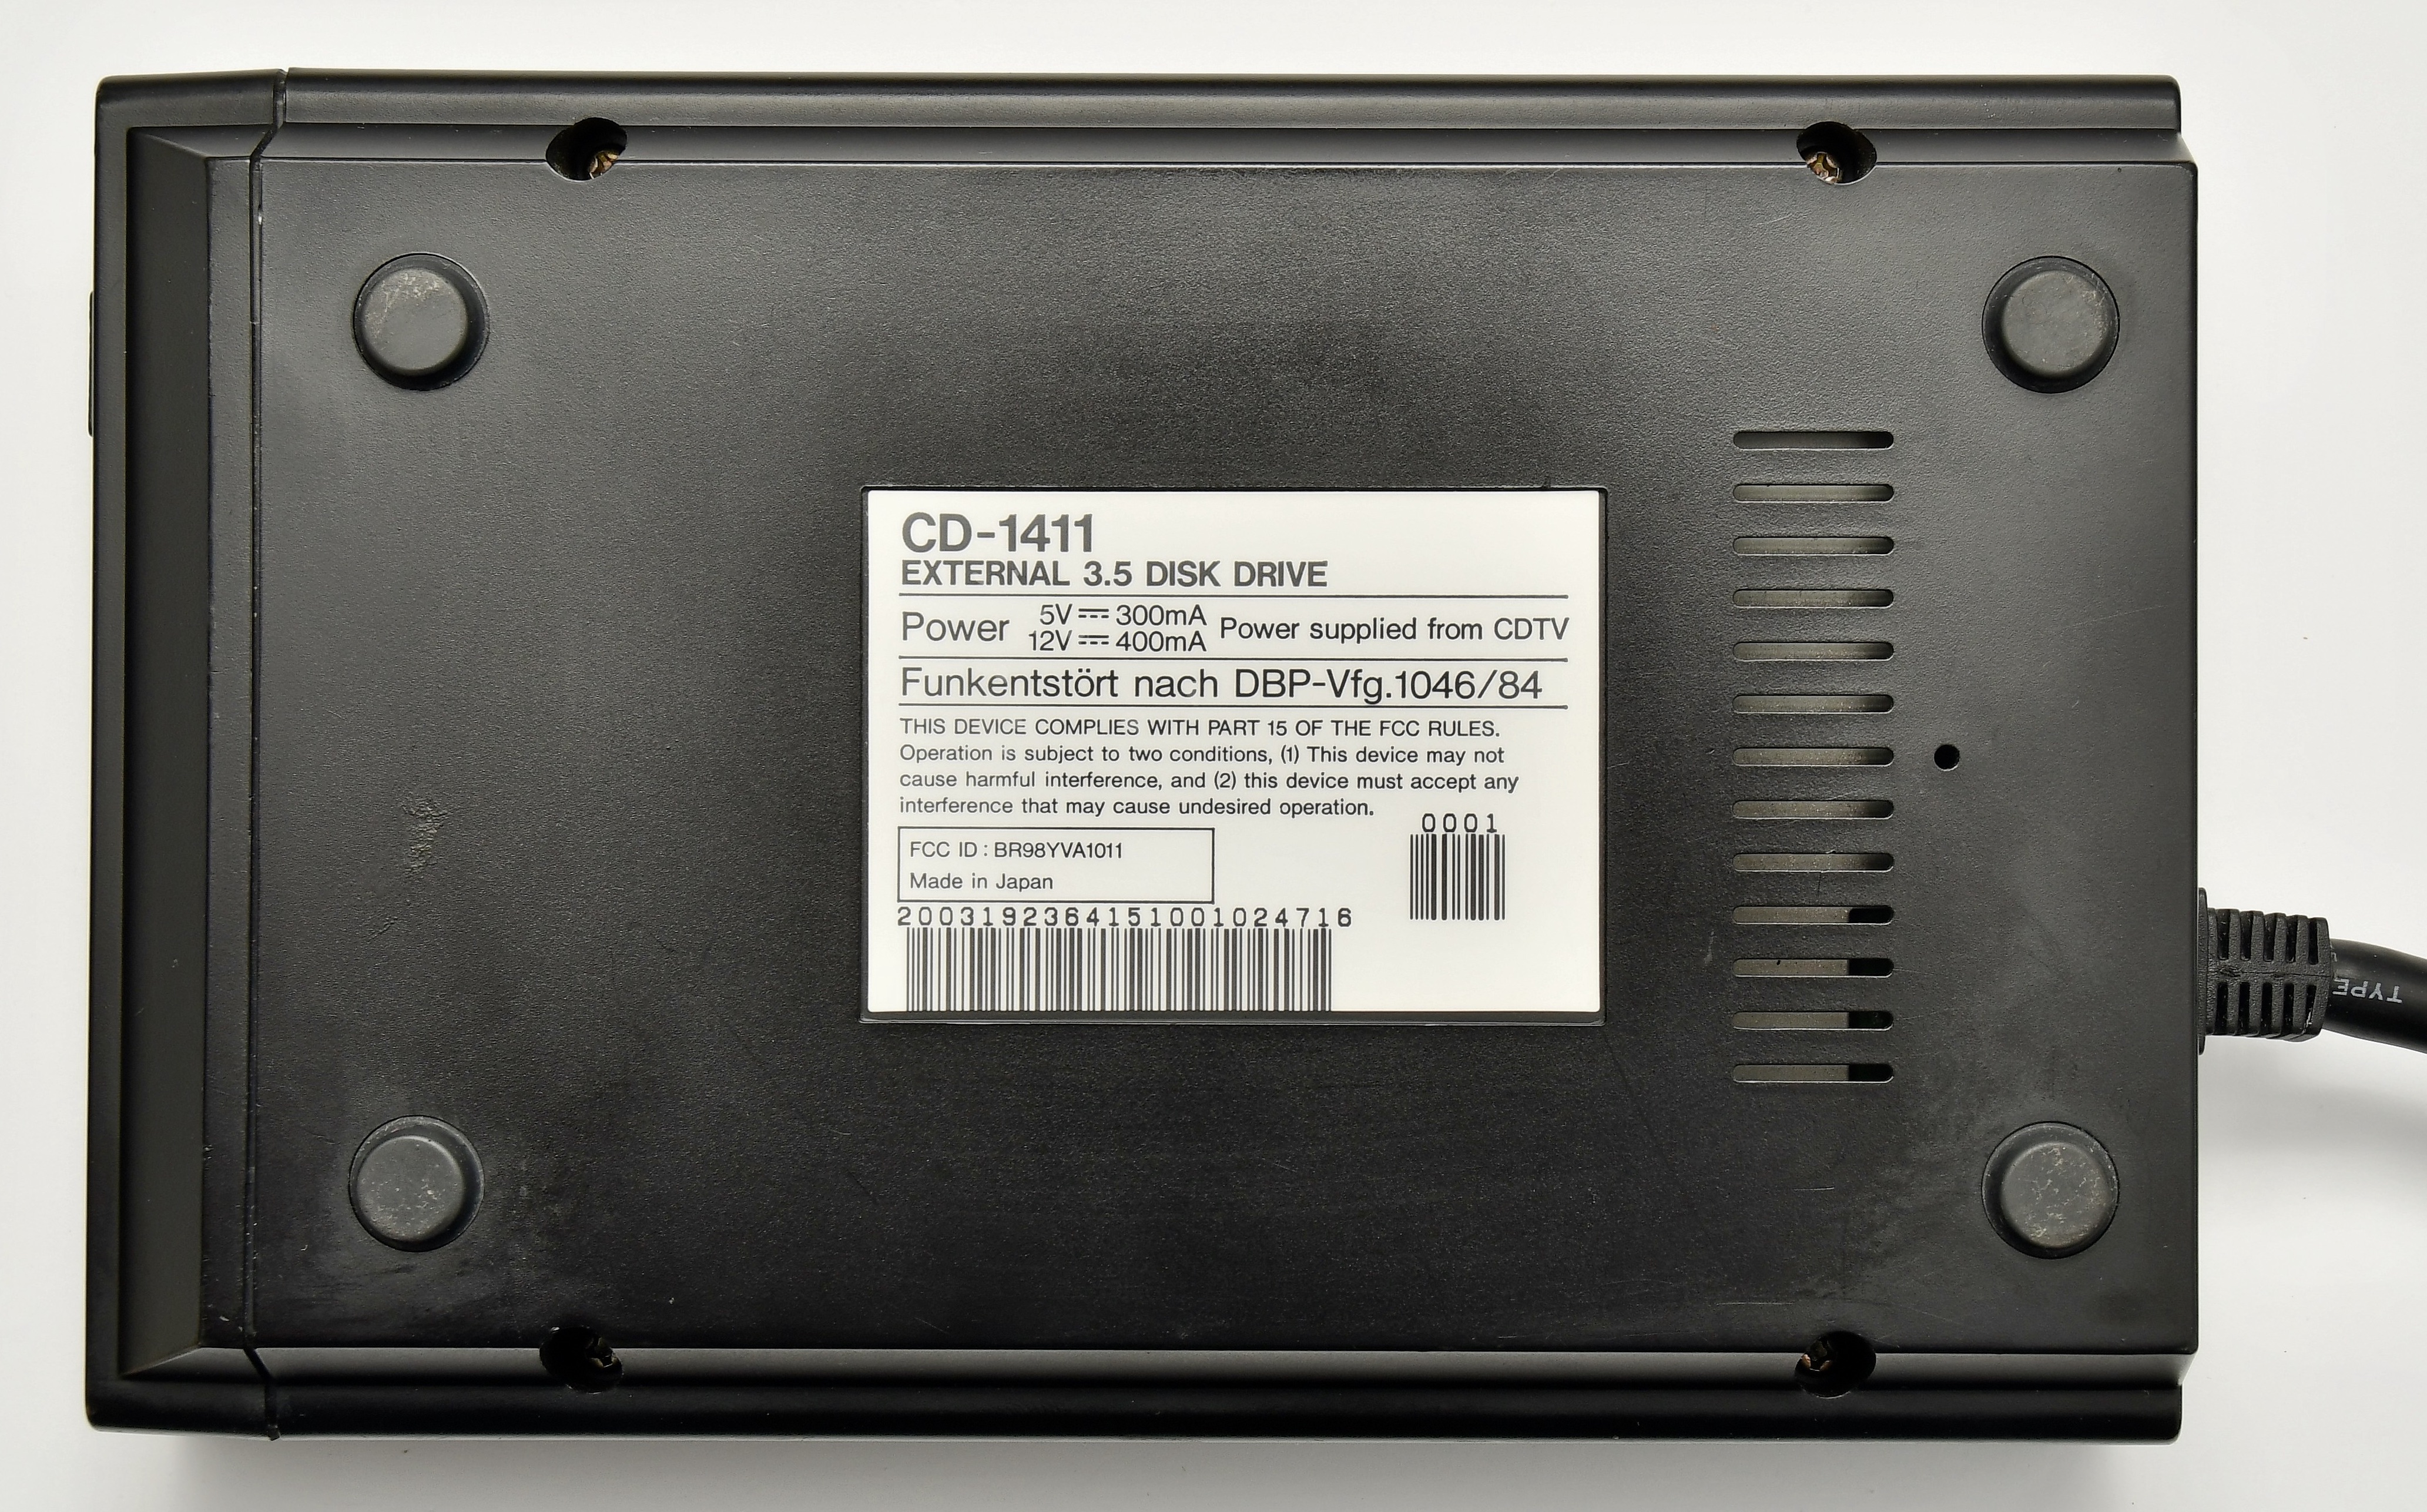
Floppy Disk Drive (CD1411)
[edit | edit source]

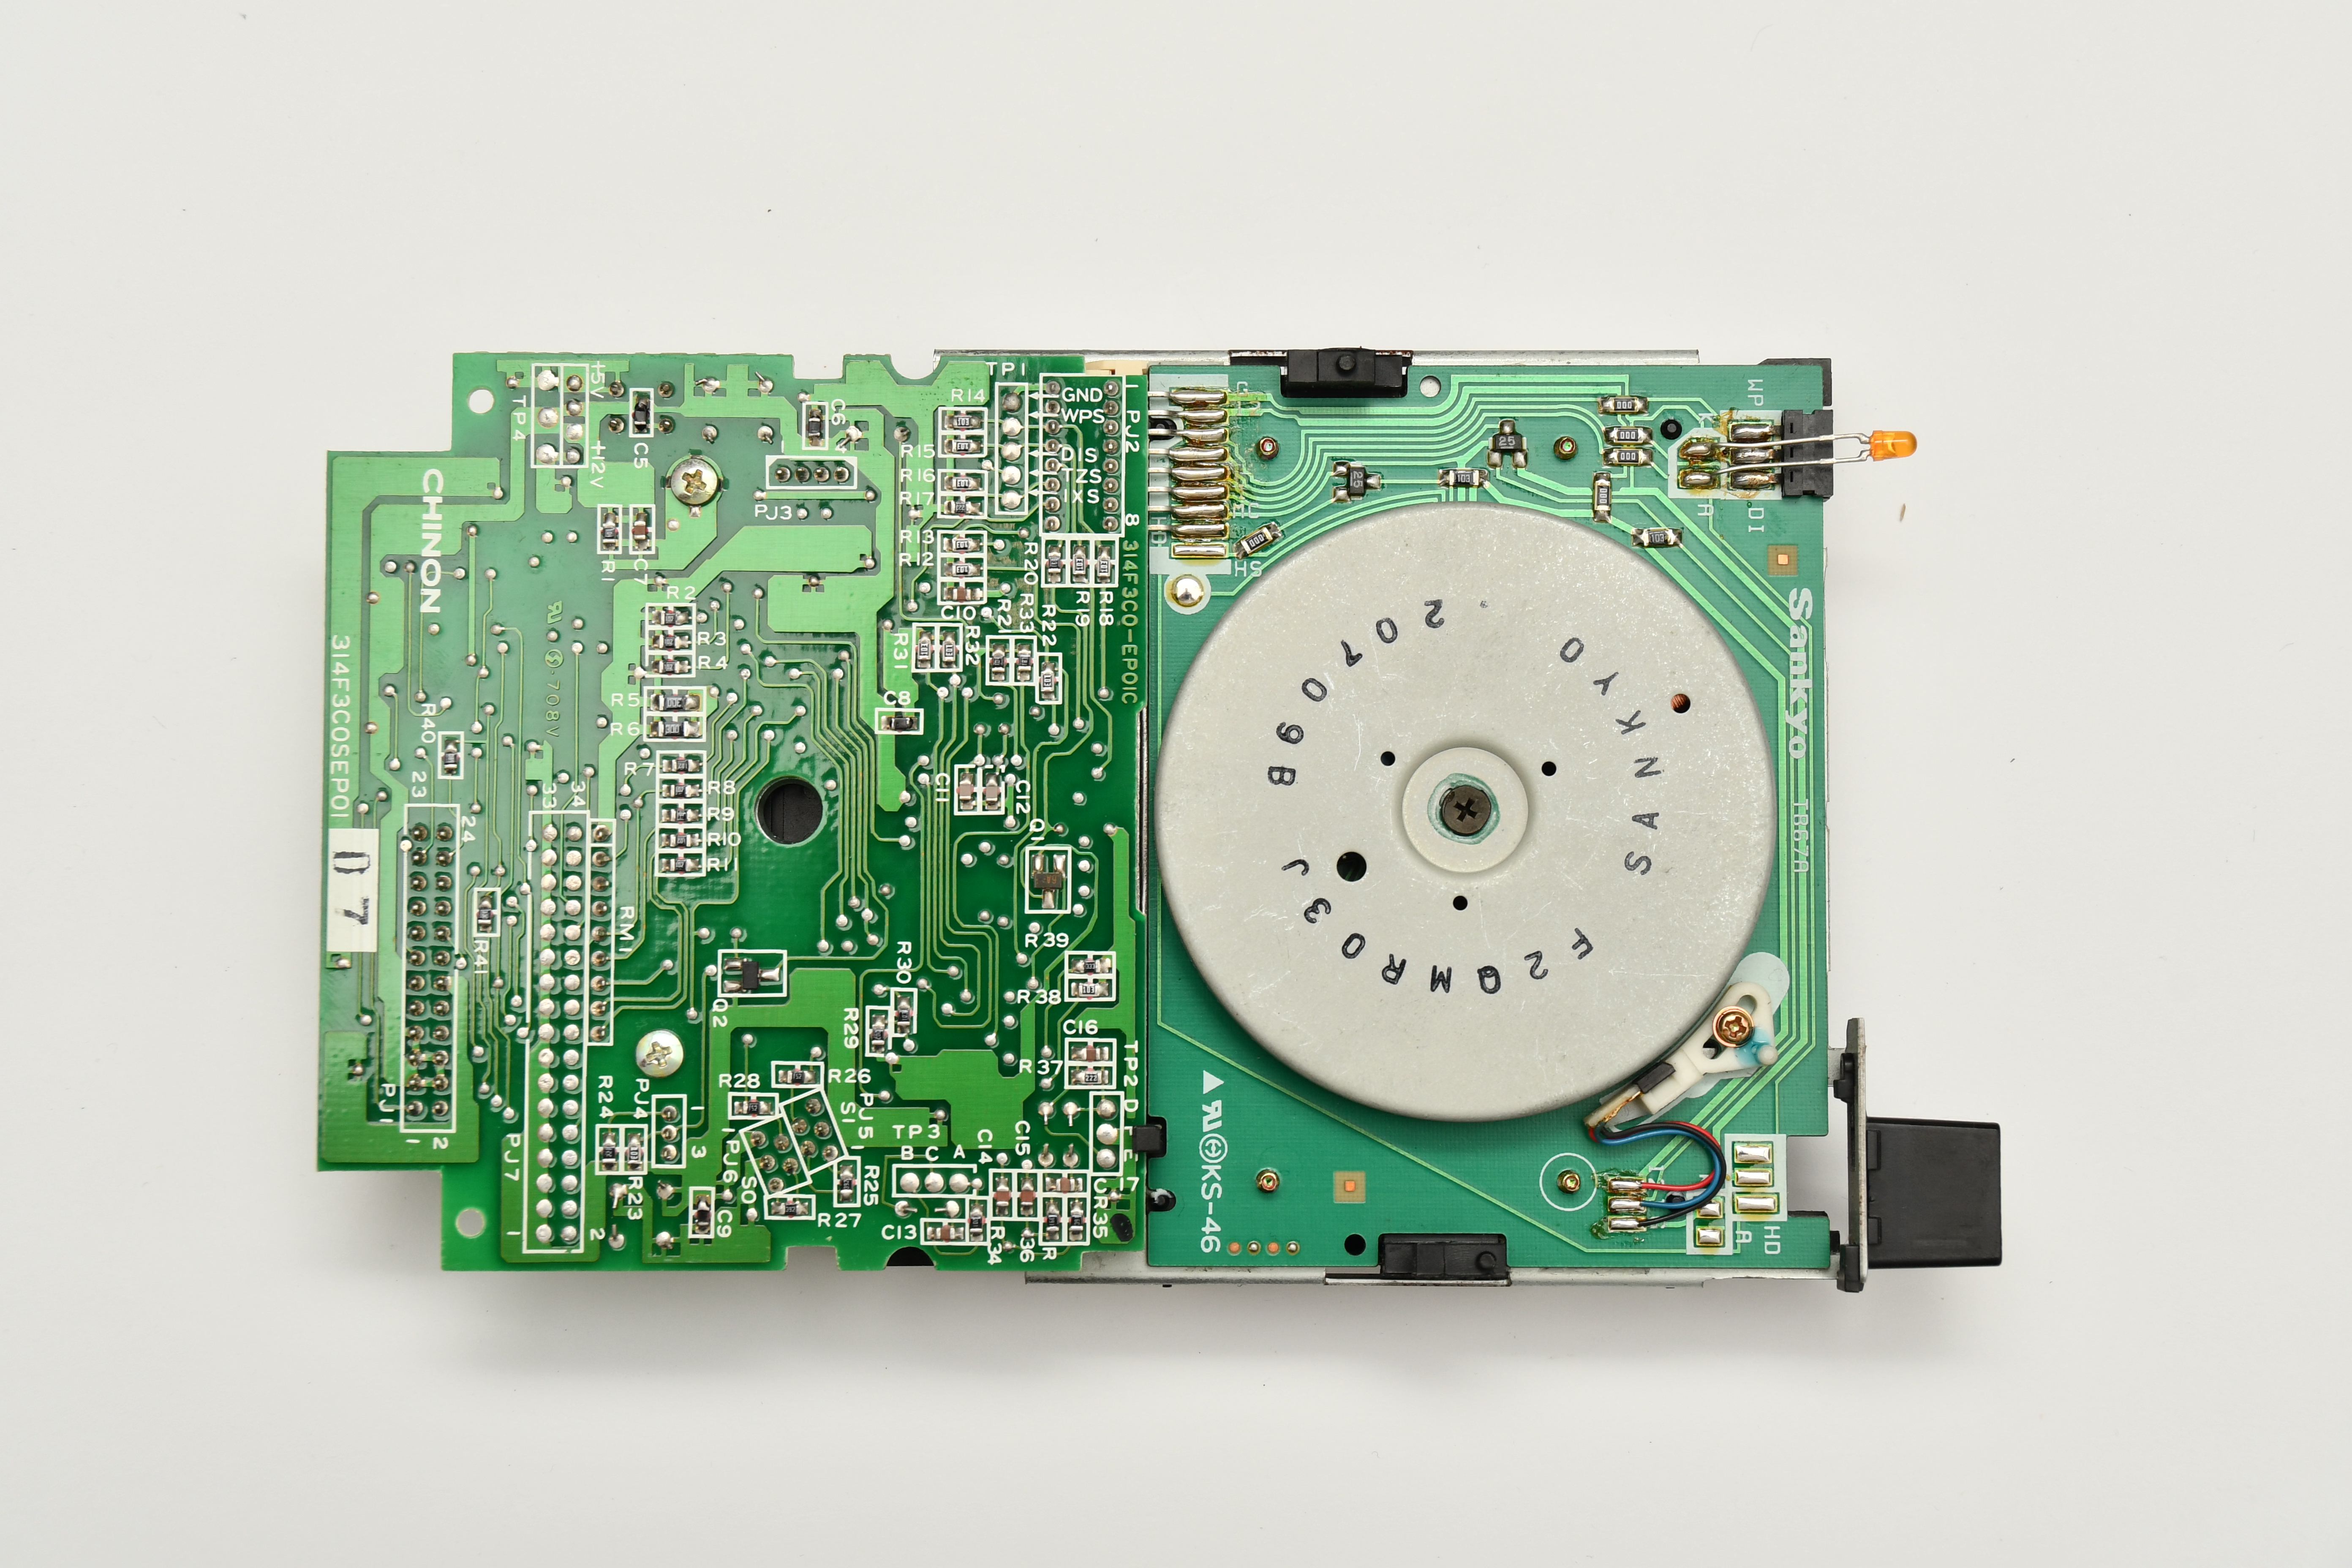
Monitor (1084S-D2)
[edit | edit source]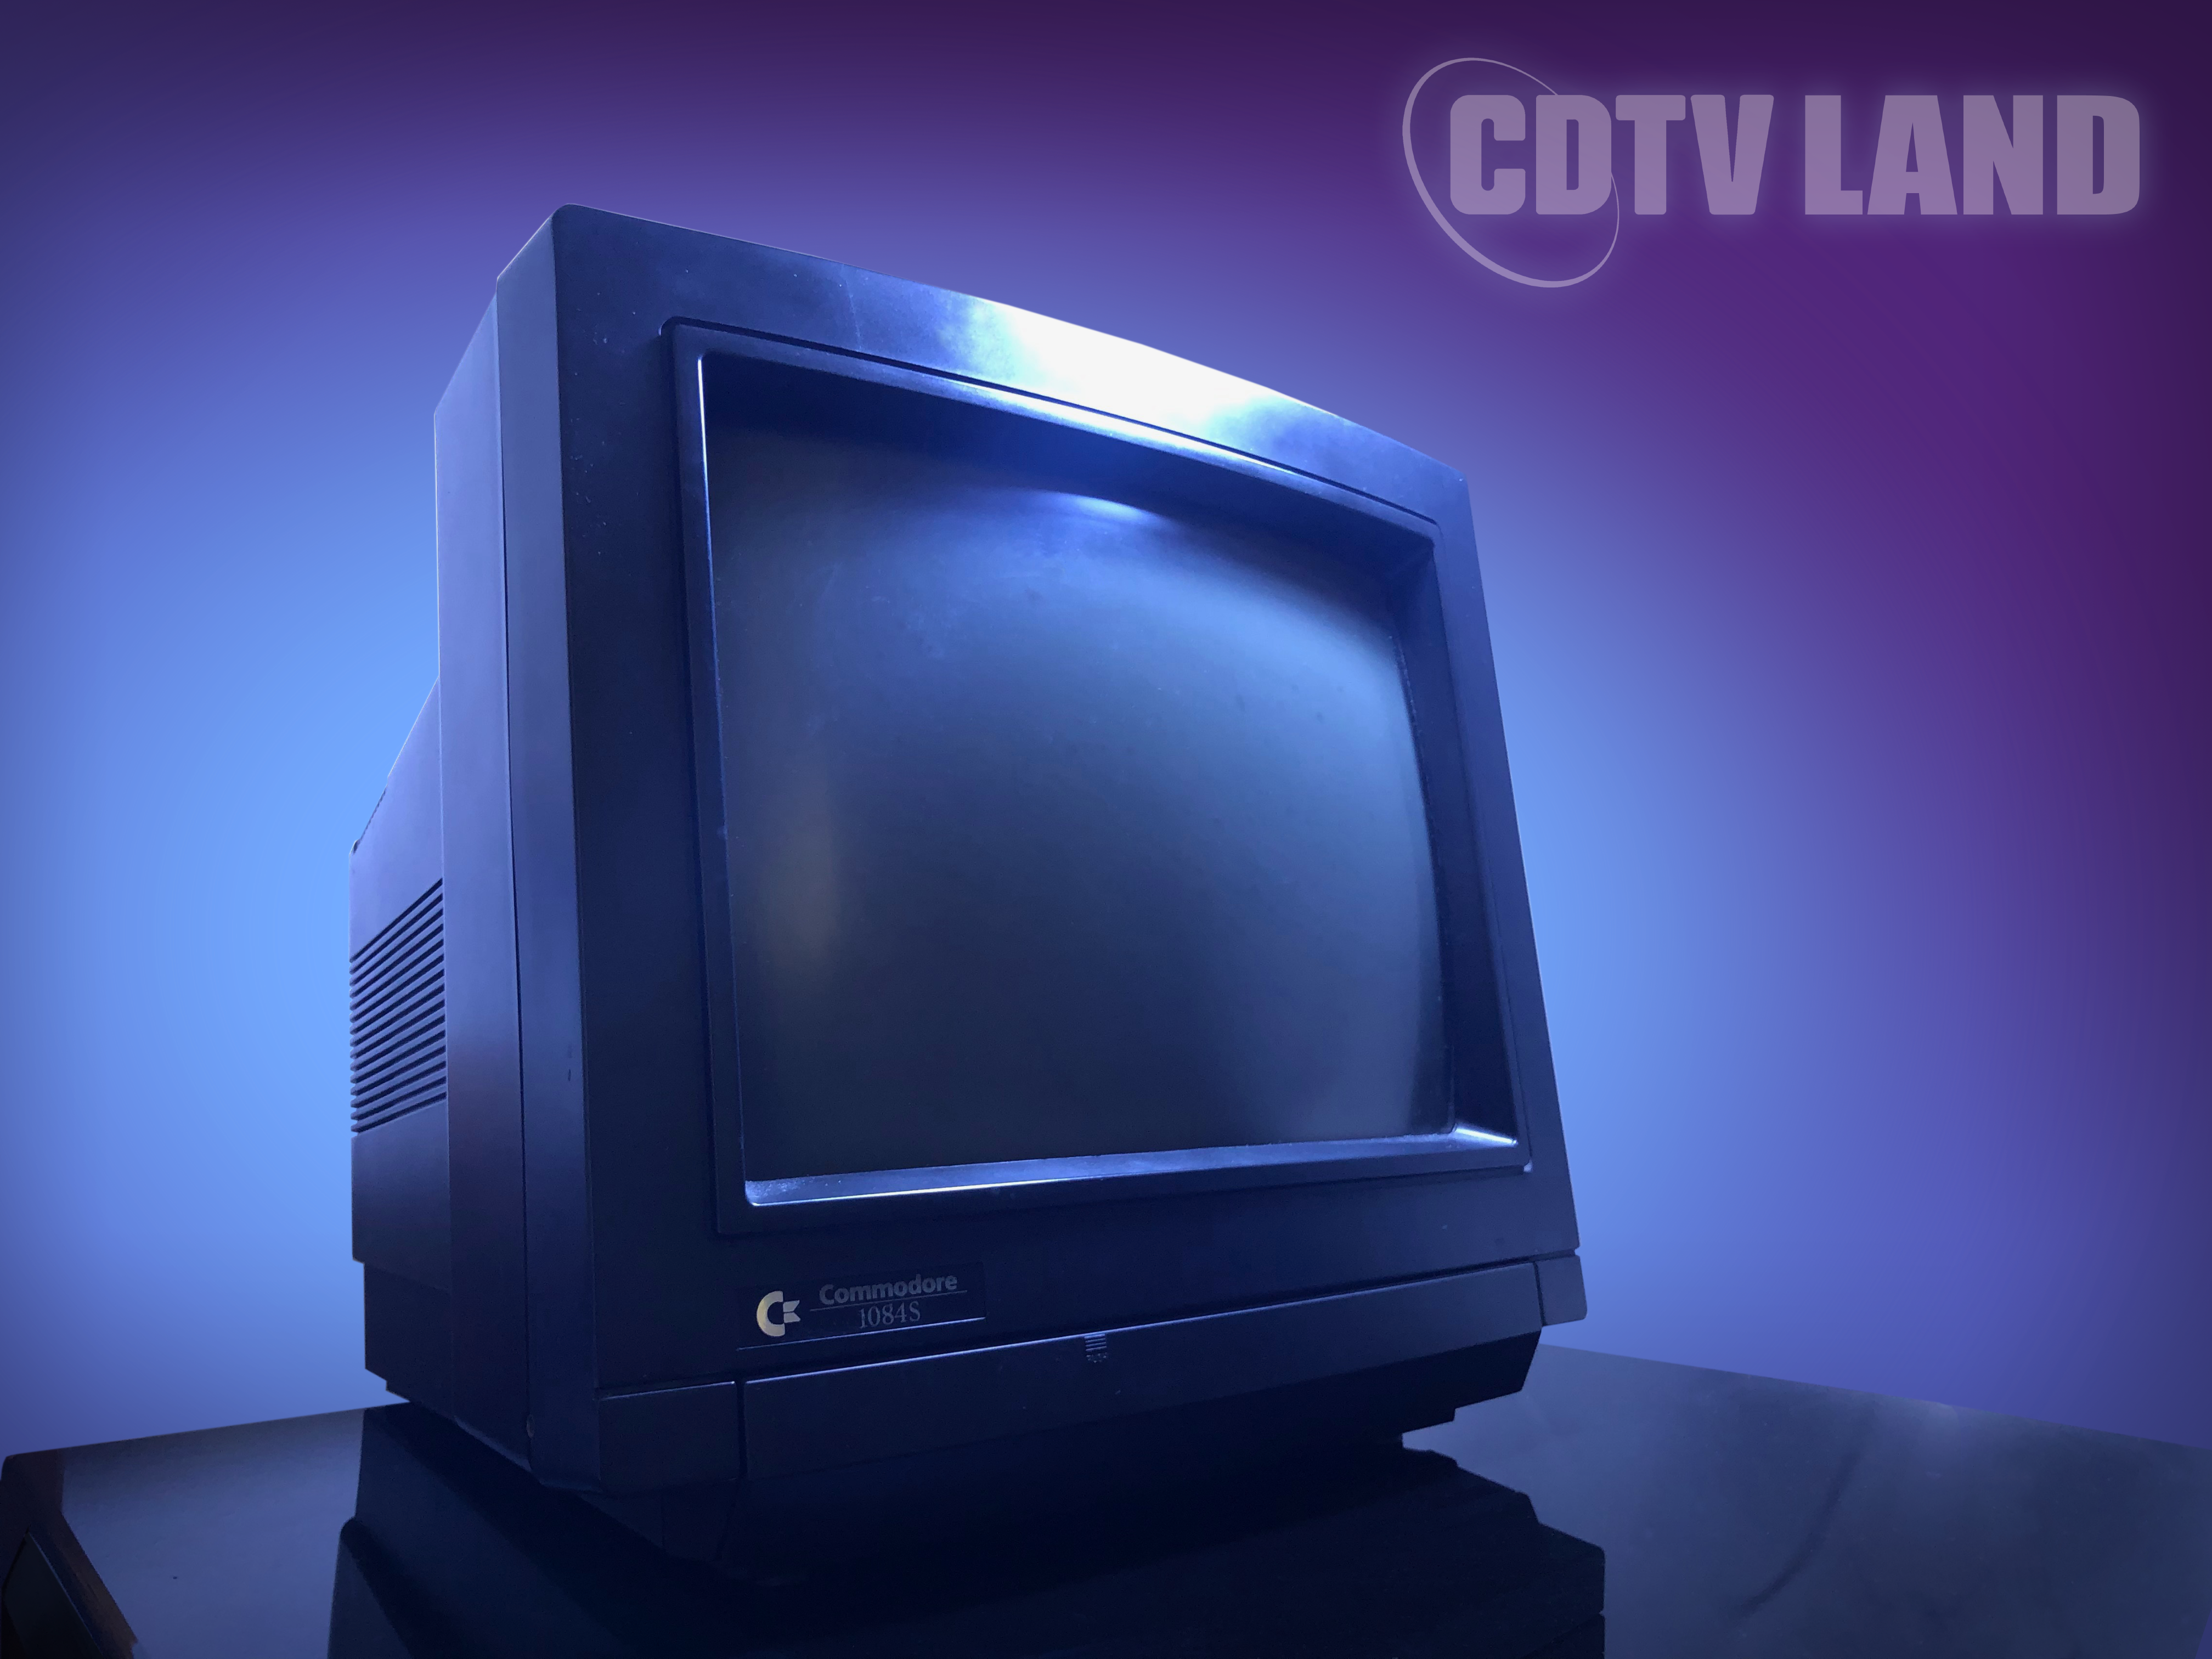
The 1084S-D2 monitor does not carry any visible CDTV branding, but it was created specifically for the CDTV line. It was released in 1992, after Commodore repositioned the CDTV as an Amiga computer. Whereas the CDTV keyboard, mouse and disk drive were available both separately and as part of the CDTV Multimedia Pack, this monitor was generally sold separately (although individual dealers might have sold it bundled with CDTV packs). It seems only a few thousand of these monitors were made and only for the PAL markets (Europe, Australia, New Zealand), because they only work with 220V-240V AC. Commodore also released a number of 1084S-D2 monitors that were painted black, i.e., they were originally regular beige monitors, that got a black coat of paint.
Being based on Commodore’s venerable 1084 line of RGB monitors, this is still one of the finest CRT monitors you can get. It automatically switches between 50 Hz and 60 Hz video signals, so you can connect both “PAL” and “NTSC” systems.
Video Module (363713-01 [NTSC] / 363713-02 [PAL])
[edit | edit source]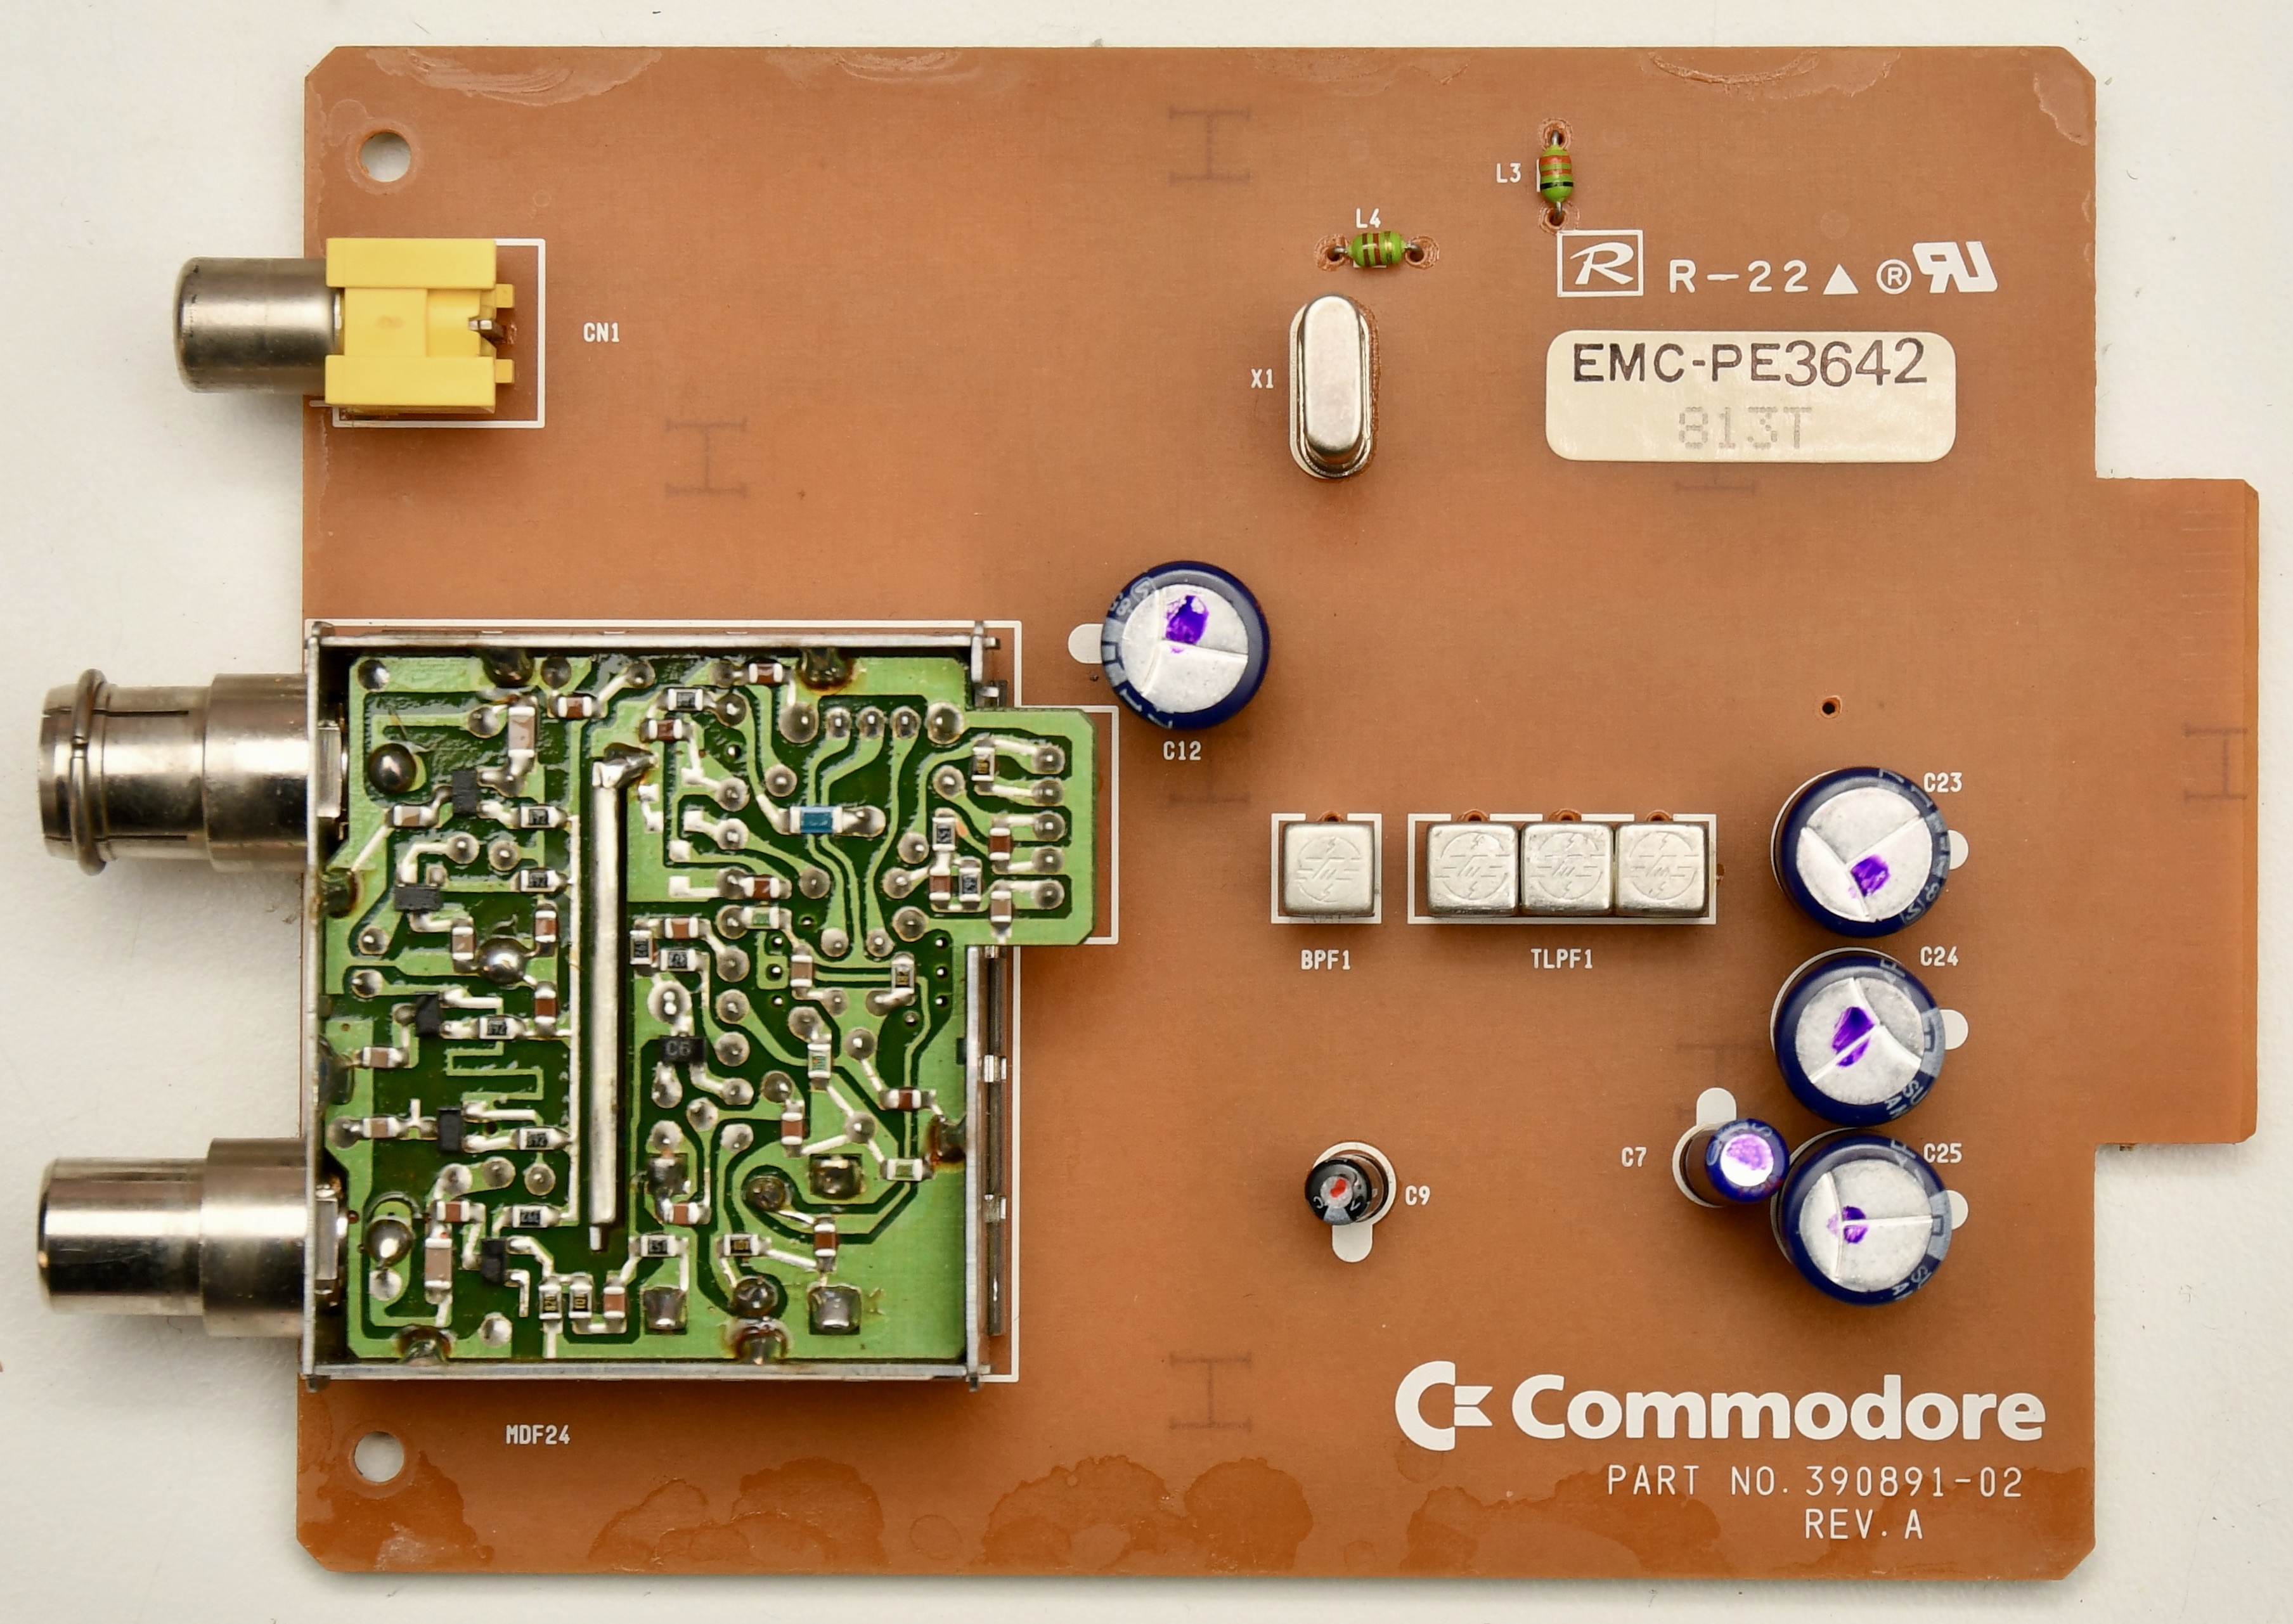

Auto RF Switch (252652)
[edit | edit source]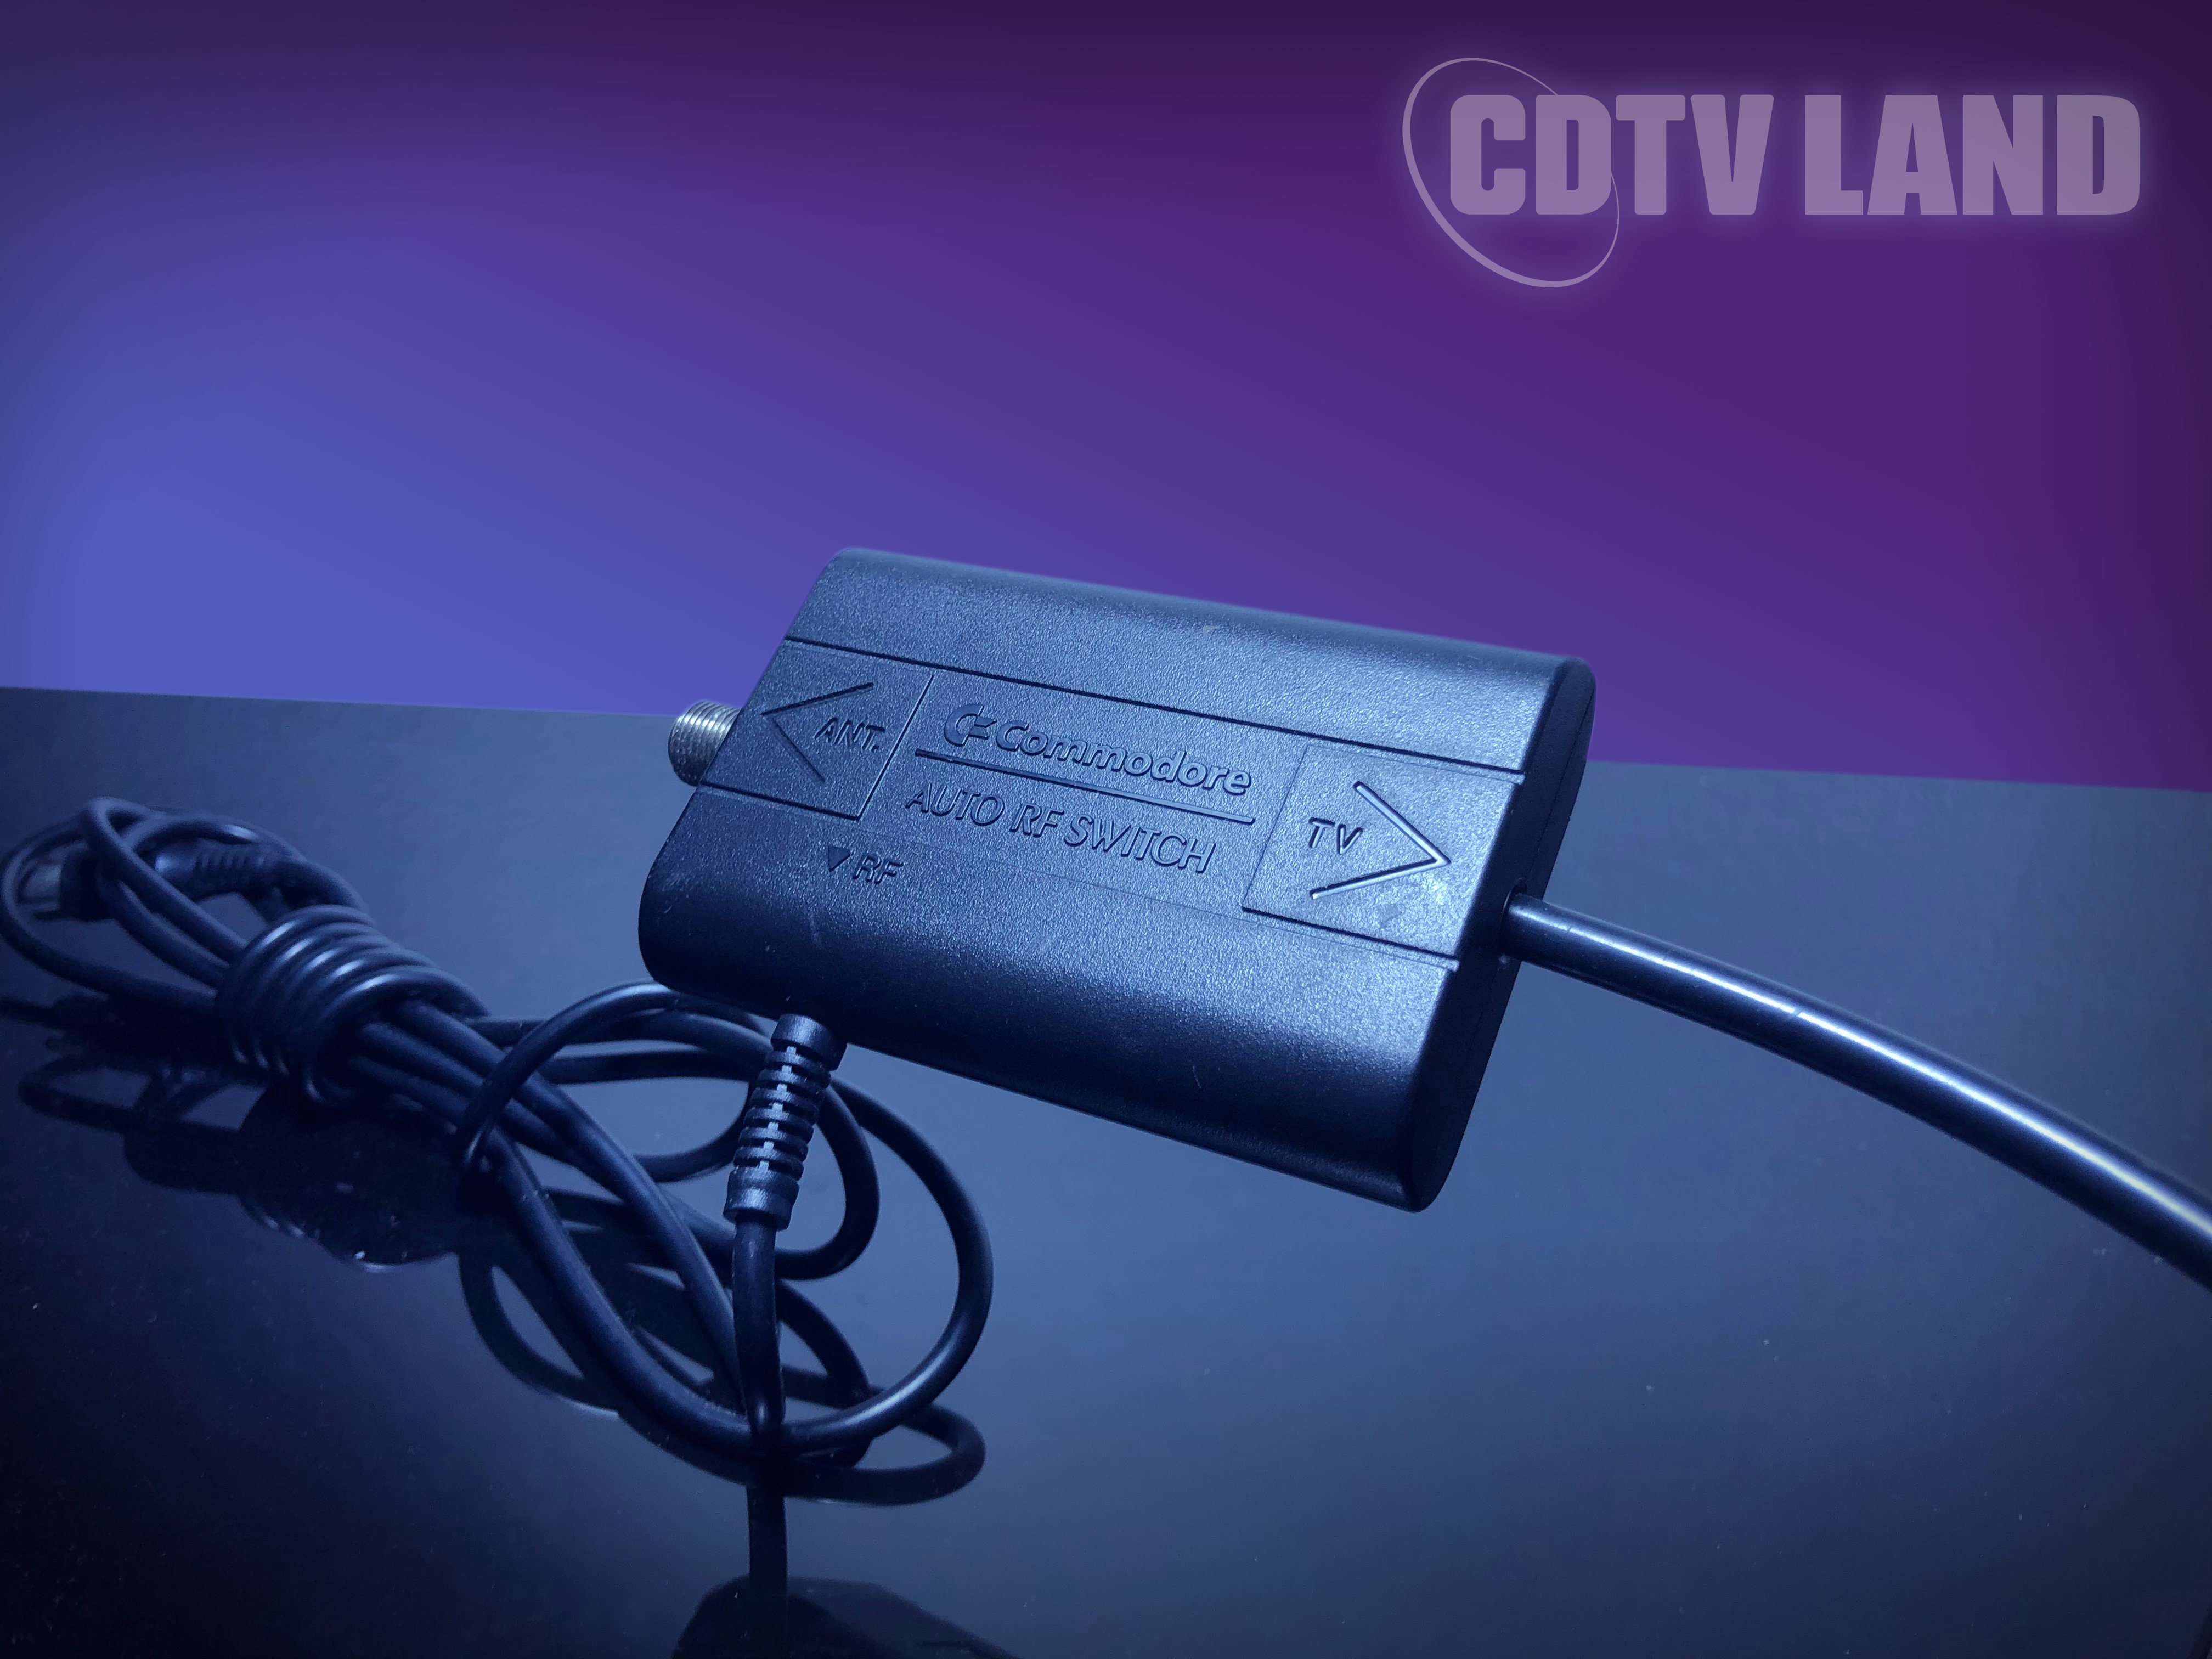
Not sold separately, but packed together with the CD-1000 main unit in North American (NTSC) markets, this is the Auto RF Switch. The NTSC CDTVs carried S-Video, component and RF out connections. Back in the early 1990s, RF was probably still the most prevalent method of hooking up a video source to a television set. You would hook up both your RF cable/antenna and CDTV to this Auto RF switch and plug the other cable coming out of the switch into your TV.
The Auto RF Switch can then switch between your cable or antenna RF television signal and the signal coming from the CDTV. Switching between the TV signal and CDTV signal can be done by pressing the CD/TV button on the CDTV Remote Controller, the Trackball Controller or by pressing the CD/TV button on the CDTV player’s front panel.
The Auto RF Switch was not available in the PAL markets (Europe, Australia, New Zealand), because the CDTV signal was daisy chained into the cable/antenna RF signal itself directly. The CD/TV button therefore has no function on PAL CDTVs.